Advertisement
Quick Links
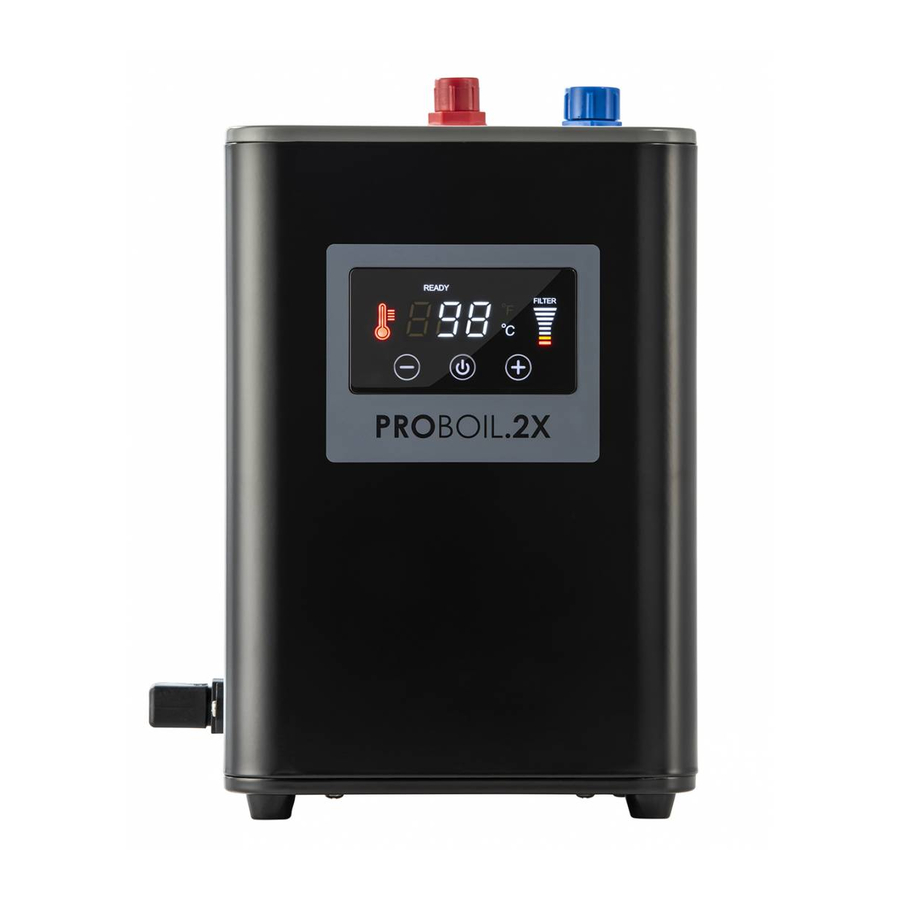
PROBOIL2 to PROBOIL.2X
Upgrade Installation Guide
www.proboil.co.uk
See top of boiler unit for contact details
Please read these instructions carefully before installation
We have a policy of continued product and quality development and improvement.
Accordingly, we reserve the right to amend the specification at any time. All errors and omissions excepted.
PROBOIL 2 to PROBOIL.2X Upgrade Installation Guide v1b
1
Advertisement

Related Manuals for Abode Pronteau PROBOIL2

Summary of Contents for Abode Pronteau PROBOIL2
- Page 1 PROBOIL2 to PROBOIL.2X Upgrade Installation Guide www.proboil.co.uk See top of boiler unit for contact details Please read these instructions carefully before installation We have a policy of continued product and quality development and improvement. Accordingly, we reserve the right to amend the specification at any time. All errors and omissions excepted. PROBOIL 2 to PROBOIL.2X Upgrade Installation Guide v1b...
- Page 2 Thank you for choosing PROBOIL.2X. By reading this entire guide you will ensure that the product is installed and used safely and will give its best performance, this guide should be used in conjunction with any additional product guides. 1 1 1 1 PROBOIL.2X user guide PROBOIL.2X user guide PROBOIL.2X user guide PROBOIL.2X user guide...
- Page 3 ⚠ WARNING This appliance must be disconnected from the power during installation, maintenance or cleaning. ⚠ WARNING Only use the supplied power cable and connect it directly to the power outlet rather than an extension power outlet. ⚠ WARNING The appliance must be installed so that it can be disconnected from the mains power supply and the outlet socket must be accessible at all time.
-
Page 4: Installation Preparation
1.1.4 Sensible fire safety precautions: ⚠ Do not store or use petrol or other flammable rags, paper, aerosols, vapours or liquids in the vicinity of this or any other appliance. ⚠ Install the unit on a heat-resistant surface. Make sure that the installation surface is firm and level. - Page 5 This drawing of PROBOIL2 can be used for reference throughout the PROBOIL2X replacement process: Key Description Mixer tap Base plinth Base plinth seal Sink or worktop (max. 50mm) White triangular plate (for steel sinks only) Lower gasket Metal horseshoe Fixing stud Fixing nut Domestic cold flexible hose (including non- return valve)
- Page 6 2.1.2 Removing the existing PROBOIL2 PROBOIL2 PROBOIL2 boiler: PROBOIL2 Remove the boiler: 1. Turn power off, take 2. Turn on the tap until water runs cold, 3. Firmly pull up black rubber hose (a), press collar (c) down and pull pipe (b) the plug out.
- Page 7 OR: Continue to use the PROBOIL2 tundish and drain hose (Not preferred option) 1. Pull black rubber boiled water 2. Push silicone outlet tube (K) onto stem of outlet pipe (E2) from tundish (E3). tundish (E3). 2.1.3 Install the new PROBOIL2X PROBOIL2X PROBOIL2X PROBOIL2X replacement boiler...
- Page 8 Installing new PROBOIL2X boiler: ⚠ WARNING You must not solely use the overall assembly diagram as a guide to installation, we are not liable for any safety or performance issues as a result of not following the step by step installation guide in this guide with due care.
- Page 9 7) Check the end of blue pipe (E) for signs of wear, if needed cut the worn section of the end of the pipe using a sharp Stanley knife or similar. 8) Push the ¼” blue flexible pipe (E) fully and firmly into the ¼” x ¼”...
-
Page 10: Commissioning And Testing
2.1.4 Commissioning and testing You have finished the installation, now please take a few moments to go through the commissioning and testing process, this will ensure the product is working correctly, safely and to your satisfaction. ⚠ WARNING You must not skip this section, we are not liable for any safety or performance issues as a result of not following the step by step installation guide with due care.
Need help?
Do you have a question about the Pronteau PROBOIL2 and is the answer not in the manual?
Questions and answers