Advertisement
Quick Links
Advertisement

Subscribe to Our Youtube Channel
Summary of Contents for Heusinkveld Sim Pedals Ultimate+
- Page 1 Sim Pedals Ultimate+ product manual version 1.0...
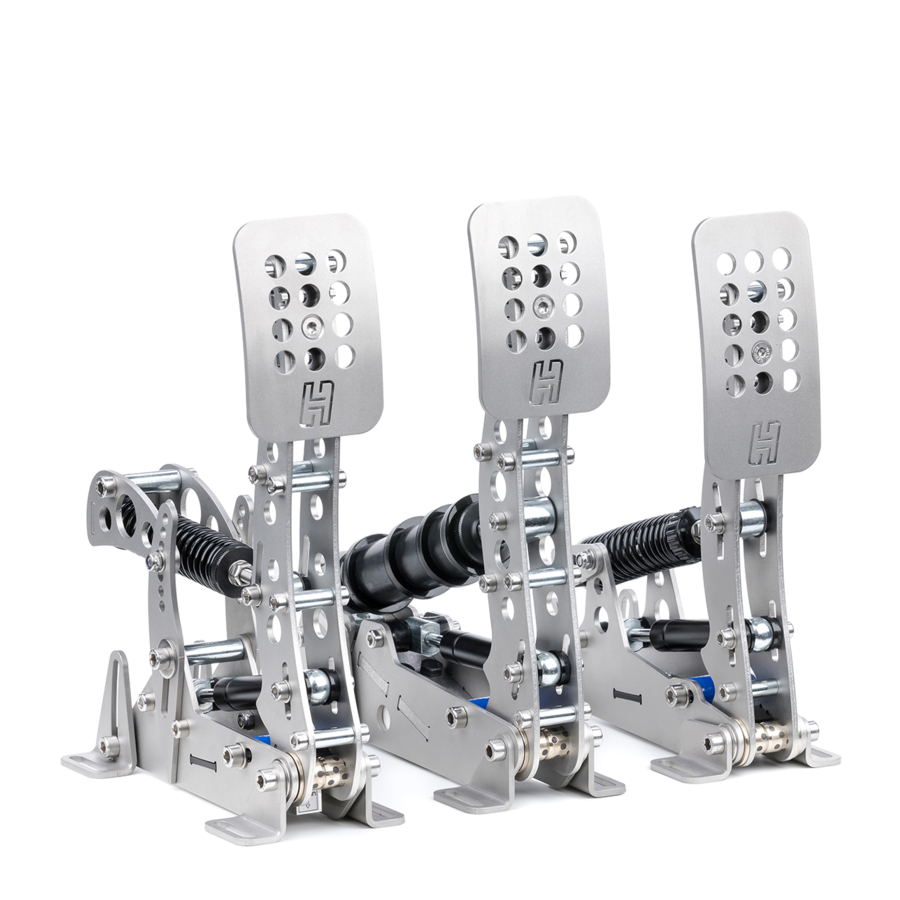
- Page 2 Congratulations on acquiring a set of Heusinkveld Sim Pedals Ultimate+. We hope you will enjoy this top-of-the-line racing simulator product for many years to come.
-
Page 3: Table Of Contents
• Recycling Manual & digital download This is version 1.0 of the manual. The latest version of the manual can be found at Heusinkveld.com/support. Contact If you have any questions which are not covered in this manual or the instruction videos, feel free to send us an email at support@heusinkveld.com... -
Page 4: Initial Setup
Initial setup In this section we will get your Sim Pedals Ultimate+ up and running. Detailed software and mechanical adjustments are explained later in this manual. Mounting the pedals The base of each pedal has 4 mounting slots. The maximum bolt size for these slots is M6 (6 millimeter). - Page 5 Installing the electronics Each pedal needs to be connected to the USB-controller which is included with your pedal set. The controller is the small box with the metal enclosure with the text ‘Sim Pedals Ultimate+ SmartControl’ printed on top. Every pedal has a wire with an RJ-plug at the end. Your Sim Pedals Ultimate+ are pre-calibrated.
-
Page 6: Smartcontrol Adjustments
Download SmartControl The software can be downloaded from our website 1. The mechanical end-stop of the throttle or clutch pedal heusinkveld.com. Click on Support (top bar). Scroll to Sim has been adjusted. Pedals Ultimate+. Click on Download SmartControl. Save the file and run from a folder of your choice. - Page 7 The throttle and clutch deadzone are expressed as a effect of your deadzone setting can be checked in realtime in percentage of total pedal travel. The effect of your deadzone the green vertical signal output bar. setting can be checked in realtime in the green vertical signal output bar.
- Page 8 We will illustrate this functionality with a few use cases: Throttle, brake and clutch mapping A key feature of SmartControl is the ability to set custom signal output maps per pedal. Traditionally race simulator Use case 1: Throttle curve in case of rain pedal output has had a one-on-one sensitivity in relation to Real race car drivers have the option to adjust the throttle the pedal input.
- Page 9 Use case 2: Throttle curve in an underpowered car Use case 3: Clutch curve with optimal bite point setting As opposed to use case 1, sometimes you want your throttle When making a standing start, you want to reach an optimal response to be as aggressive as possible.
- Page 10 Use case 4: Early brake lock compensation Using SmartControl with iRacing Some cars in certain titles are known to lock the wheels well The Sim Pedals Ultimate+ output values per pedal axis before maximum brake input is reached, for example already always range from 0-4095, regardless of your settings in at 70% of pedal input.
- Page 11 Save a profile SmartControl allows you to store an unlimited amount of profiles. In order to save a profile, do the following: • Click File, then click Save Profile. - Select a folder where you want to save your profiles. •...
-
Page 12: Mechanical Adjustments
Mechanical Brake only: • Pedal resistance • Coil spring preload adjustments Each of the adjustments will be explained in detail below. Some (not all) of the steps are illustrated by images. All pedals – pedal angle You have the option to adjust the pedal angle. Next to SmartControl adjustments, there are also plenty of mechanical adjustments that In the default configuration the pedals are slanted backwards... - Page 13 2. Move the pedal up or down. All pedals - pedal plate height adjustment Slightly loosen the 2 bolts in the front feet if the The pedal plate of each pedal can be set in 3 positions in order to pedal is difficult to move.
- Page 14 Throttle & Clutch – pedal travel The pedal travel is limited by the blue end-stop which 3. Tighten the lock nut back against the preload adjustment is located in the pedal base. You can adjust the travel as nut. follows: 4.
- Page 15 Minimum, average and maximum throttle force.
- Page 16 Clutch only – pedal force The procedure to adjust the clutch pedal force differs slightly from the procedure to change throttle pedal force. Instead of one slider you need to adjust two sliders. In the moving front arm and in the rear (static) side arm of the clutch pedal you’ll find two adjustments (sliders) which mainly change the pedal force.
- Page 17 Minimum, average and maximum clutch force. 2. Using a hex key and wrench, remove the bolt and nut which form the hinge of the swing arm. Note the washer which sits between the swing arm and the side arm, this should also be removed for now.
- Page 18 Brake - principle of operation Possible settings with hard rubbers: The Sim Pedals Ultimate+ brake pedal is force based. The • 1x hard 19mm elastomer. This is the hardest setting. harder you press, the higher the signal output to the simulator •...
- Page 19 wrench. Then you turn the black knurled adjustment nut 3. Remove or add rubbers, discs and spacers as desired. towards the pedal arm. Look carefully at the rubber stack schematics to correctly assemble a rubber stack. There must always be a large disc 2.
-
Page 21: Maintenance
Maintenance Your Sim Pedals Ultimate+ have been designed to have a minimum of wear, tear and noise. In order to keep your pedals in good shape for many years, we recommend following these maintenance procedures. Preventive lubrication - throttle & clutch Most pivot points on the Sim Pedals Sprint have self lubricating bearings. - Page 22 Brake lubrication point Clutch lubrication points Throttle lubrication points...
-
Page 23: Safety
The product is suitable for use in a simulator At Heusinkveld we support our products with spare parts for many years only. The product is not suitable for use on after the original production date. - Page 24 Proud supplier of...
Need help?
Do you have a question about the Sim Pedals Ultimate+ and is the answer not in the manual?
Questions and answers