Table of Contents
Advertisement
Quick Links
Change for life
User's Manual
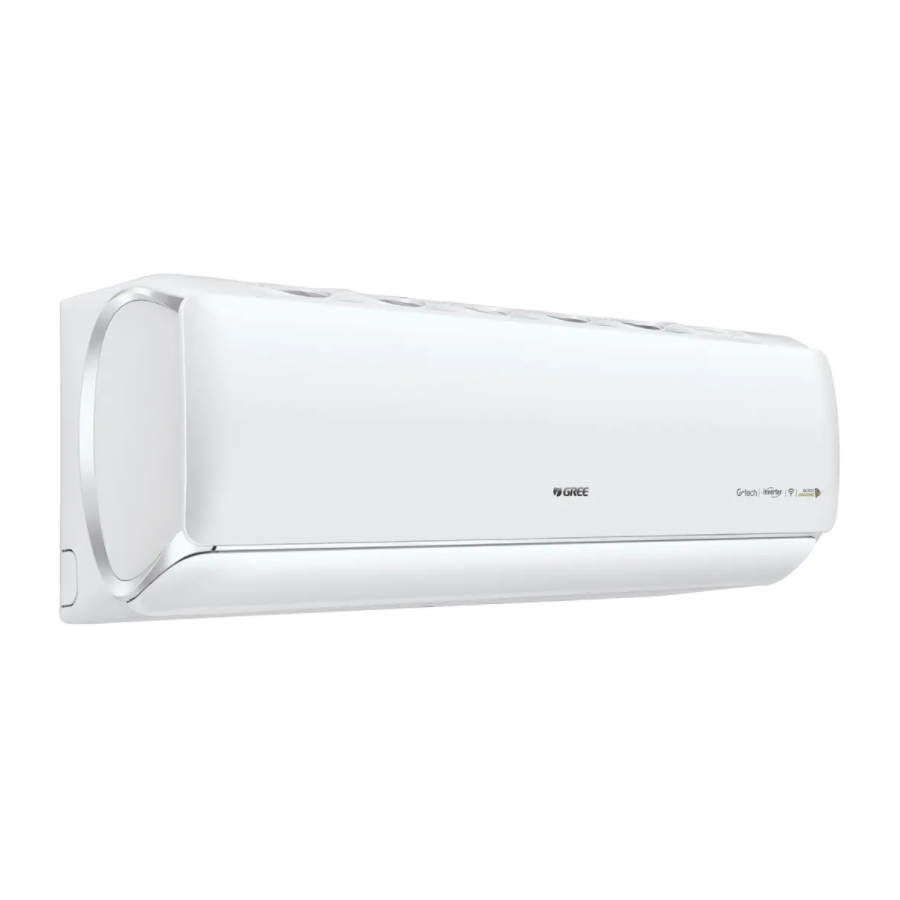
Split Air Conditioner(Cool & Heat)
Model No. : GIST09BXA GIST12BXA
Thank you for choosing our product.
Please read this User's Manual carefully before operation and
retain it for reference.
If you lost the User's Manual, please contact the Tool Box
or visit www.gilman-group.com or send an email to Tool Box for
the electronic version.
Advertisement
Table of Contents

Related Manuals for Gree GIST09BXA


Summary of Contents for Gree GIST09BXA
- Page 1 Change for life User's Manual Split Air Conditioner(Cool & Heat) Model No. : GIST09BXA GIST12BXA Thank you for choosing our product. Please read this User's Manual carefully before operation and retain it for reference. If you lost the User's Manual, please contact the Tool Box or visit www.gilman-group.com or send an email to Tool Box for...
- Page 2 GIST09BXAE/GIST09BXAC GIST12BXAE/GIST12BXAC...
-
Page 3: Table Of Contents
Content Operation Notices Precautions......................1 Safety precautions for installing and relocating the unit ........6 Maintenance Emergency operation ................... 7 Clean and maintenance..................8 Installation Notice Installation dimension diagram................19 Tools for installation ..................... 20 Selection of installation location ................20 Requirements for electric connection .............. - Page 4 Explanation of Symbols Indicates a hazardous situation that, if not avoided, will DANGER result in death or serious injury. Indicates a hazardous situation that, if not avoided, could WARNING result in death or serious injury. Indicates a hazardous situation that, if not avoided, may CAUTION result in minor or moderate injury.
-
Page 5: Precautions
Precautions WARNING Operation and Maintenance This appliance can be used by children aged from 8 years and above and persons with reduced physical, sensory or mental capabilities or lack of experience and knowledge if they have been given supervision or instruction concerning use of the appliance in a safe way and understand the hazards involved. - Page 6 Precautions WARNING Maintenance must be performed by qualified personnel. Otherwise, it may cause personal injury or damage. Do not repair air conditioner by unauthorized personnel. It may cause electric shock or damage. Please contact dealer when you need to repair air conditioner. Do not extend fingers or objects into air inlet or air outlet.
- Page 7 Precautions WARNING Attachment Installation must be performed by qualified personnel. Otherwise, it may cause personal injury or damage. Must fulfill the electric safety regulations requirement when installing the unit. According to the local safety regulations, installed with qualified power supply circuit and circuit break. Do install the circuit break.
- Page 8 Precautions WARNING Do not connect power before finishing installation. If the supply cord is damaged, it must be replaced by the manufacturer, its service agent or qualified personnel in order to avoid a hazard. The temperature of refrigerant circuit will be high, please keep the interconnection cable away from the copper tube.
- Page 9 Precautions WARNING For the air conditioner plug, It should be accessible all the time. For the air conditioner without plug, an circuit break must be installed within in the line. If you need to relocate the air conditioner to another place, please can perform the work by qualified personnel.
-
Page 10: Safety Precautions For Installing And Relocating The Unit
Safety precautions for installing and relocating the unit To ensure safety, please be mindful of the following precautions. Warning When installing or relocating the unit, be sure to keep the refrigerant circuit free from air or substances other than the specified refrigerant. Any presence of air or other foreign substance in the refrigerant circuit will cause system pressure rise or compressor rupture, resulting in injury. -
Page 11: Emergency Operation
Emergency operation If remote controller is lost or damaged, please use aux. button to turn on or turn off the air conditioner. The operation in details is as below: As shown in the fig. Below. :1. Open panel, 2. Press aux. button to turn on or turn off the air conditioner. -
Page 12: Clean And Maintenance
Clean and maintenance Schematic diagram of parts Filter Panel Evaporator Storage groove of screw Swing motor Base Cross buckle Silver screw Bottom case Blade Drainage pipe Guard network Air-outlet frame Screw cover Swing blade Clasp of swing blade Guide louver... - Page 13 Clean and maintenance Notices for clean When the unit has operated for a period of time and the display flashes to display " " ontinuously, it indicates you should clean the air conditioner. When hold “ ” button on the remote controller for 3s to enter into deep cleaning (power must be cut off for cleaning) under off status, the reminding status will disappear after turning on the unit.
- Page 14 Clean and maintenance Filter clean Filter ①Hold the handles at both sides of filter with both hands, and then pull the filter upwards to remove it. Handle ②Use clean water to wash it or dust catcher to clean it. If the filter is very dirty (such as grease), use warm water (45℃) dissolved with neutral detergent to clean it, and then put it at the shady place to dry it.
- Page 15 Clean and maintenance Deep clean (parts clean) Guide louver clean ①Under standby status, press button for 3s, and the display flashes to display . Meanwhile, the guide louver will open automatically. T-ON ②When the guide louver automatically ③Press the clasp at the left side of rotates to the maximum position, the swing blade and pull it to the right side, and then it can separate...
- Page 16 Clean and maintenance Air-outlet frame clean Caution The black screw is the removable screw. Prohibit disassembling the silver screw if necessary (except the silver screw of blade). Prevent the air-outlet frame dropping to avoid injury. ①Open the panel with both hands. ②Use screwdriver to remove 3 black When the panel is opened to the screws on the upper side of the...
- Page 17 Clean and maintenance Bottom case and parts clean 1.Pull out the drainage pipe Press the beige locking spring at both ends of white drainage pipe simulta- neously, and then pull the drainage pipe backwards. Caution: There may be residual water drop in the drainage pipe.
- Page 18 Clean and maintenance ③Remove 4 black screws at both sides used for fixing the bottom case. ④Press the appointed positions at both sides with both thumbs (as shown in below figure), hold the bottom case with other four fingers and then lift it upwards, and then remove the bottom case of the air conditioner.
- Page 19 Clean and maintenance Indoor unit installation Caution Before reinstall the bottom case when it has been cleaned, please check whether the blade has been pushed to the left side. Install bottom case Hold the position with " " under the bottom case, push it upwards parallel along the guide rail of base and then check whether the both ends of bottom case is set into the tail of the guide rail of base for ensuring the installation.
- Page 20 Clean and maintenance Pull blade Hold the blade node to pull it to the right side until to the locking status. Blade node Locking status Unlocking status Tighten silver screw Please make sure the blade is locked and then the silver screws of blade can be tightened clockwise.
- Page 21 Clean and maintenance Install drainage pipe Hold the joint of white drainage pipe with hand, install the drainage pipe to the direction of drainage outlet until you have head a sound. White drainage pipe Install air-outlet frame Insert the clasp at the back side of the air-outlet frame into the groove of the base (as shown in fig.3) until you have heard a sound.
- Page 22 Clean and maintenance Install guide louver Hold the guide louver with the left ②Hold the left side connection rod with ① hand, hold the connection rod with left hand, hold the air louver with the right hand and then install the the right hand and then assemble "cross groove"...
-
Page 23: Installation Dimension Diagram
Installation dimension diagram Distance to the wall At least 30cm At least 30cm Distance to the wall Drainage pipe... -
Page 24: Tools For Installation
Tools for installation 1 Level meter 2 Screw driver 3 Impact drill 4 Drill head 5 Pipe expander 6 Torque wrench 7 Open-end wrench 8 Pipe cutter 9 Leakage detector 10 Vacuum pump 11 Pressure meter 12 Universal meter 13 Inner hexagon spanner 14 Measuring tape Note: ●... -
Page 25: Requirements For Electric Connection
Requirements for electric connection Safety precaution Must follow the electric safety regulations when installing the unit. air switch. Make sure the power supply matches with the requirement of air conditioner. Unstable power supply or incorrect wiring or malfunction. Please install proper power supply cables before using the air conditioner. -
Page 26: Installation Of Indoor Unit
Installation of indoor unit Step one: choosing installation location Step two: install wall-mounting frame Step three: open piping hole... - Page 27 Installation of indoor unit Note: Step four: outlet pipe 3.Selection of drainage outlet and drainage installation and disassembly guide (1)Please determine the position of drainage outlet before installation the drainage pipe. (2)Suggestion for selection of drainage outlet: there are no mandatory requirements for the direction of the drainage pipe.
- Page 28 Installation of indoor unit ②Pull out the rubber stopper of drainage outlet with pliers or other tools. Rubber cork of right Rubber cork of left drainage outlet drainage outlet (3)Install drainage pipe. Hold the head of drainage pipe (20cm away from the drainage pipe outlet) with hand and install it along the direction of drainage outlet until you have head a sound.
- Page 29 Installation of indoor unit Hex nut diameter Tightening torque (N . m) open-end wrench Φ 6 15~20 Φ 9.52 30~40 union nut Φ 12 45~55 pipe Φ 16 60~65 torque wrench Φ 19 70~75 indoor pipe 4. Wrap the indoor pipe and joint of con- nection pipe with insulating pipe, and then wrap it with tape.
- Page 30 Installation of indoor unit 2. Make the power connection wire go cable-cross through the cable-cross hole at the back hole of indoor unit and then pull it out from the front side. power connection wire 3. Remove the wire clip; connect the power connection wire to the wiring terminal with wire clip.
-
Page 32: Installation Of Outdoor Unit
Installation of outdoor unit (select it according to the actual installation situation) 1. Select installation location according to the house structure. 2. Fix the support of outdoor unit on the selected location with expansion screws. Note: installing the outdoor unit. Make sure the support can withstand at least four times of the unit weight. - Page 33 Installation of outdoor unit Step four: connect indoor and outdoor pipes 1. Remove the screw cap of valve and 3. Tighten the union nut with torque aim the pipe joint at the bellmouth of wrench by referring to the sheet pipe.
- Page 34 Installation of outdoor unit 2. Fix the power connection wire and signal control wire with wire clip (only for cooling and heating unit). Note: ● Never cut the power connection wire to prolong or shorten the distance. Step six: neaten the pipes 1.
-
Page 36: Check After Installation
℃... -
Page 37: Parts Name
Parts name power indicator receiver display window temp. indicator HOLD 3S WiFi remote controller WARNING Do not insert your fingers, it will cause personal injury. WARNING Do not touch the fins, it will cause personal injury. WARNING Do not step on the mailbox, it will cause personal injury. -
Page 38: Buttons On Remote Controller
Buttons on remote controller Note: varied for defferent signal button HOLD 3S WiFi... - Page 39 ℃ Note: Only for models with heating function. 、 、 、 、...
-
Page 40: Introduction For Buttons On Remote Controller
Introduction for buttons on remote controller Press this button can select left & right swing angle. Fan blow angl e can be selected circularly as below: no display (stops at current position) Press this button continuously more than 2s, the main unit will swin g back an forth from left to right, and then loosen the button, the u nit BUTTON will stop swinging and present position of guide louver will be kept... - Page 41 Introduction for buttons on remote controller (1)Under Sleep 3 mode, press "Turbo" button for a long time, remote controller enters into user individuation sleep setting status, at this time, the time of remote controller will display "1hour", the setting temperature "88" will display the corresponding temperature of last setting sleep curve and blink (The first entering will display according to the initial curve setting value of original factory);...
- Page 42 Introduction for buttons on remote controller T-ON button "T-ON" button can set the time for timer on. After pressing this button, " " icon disappears and the word "ON" on remote controller blinks. Press "▲" or " " button to adjust TIMER ON setting.
-
Page 43: Function Introduction For Combination Buttons
Function introduction for combination buttons Under cooling mode, press "TEMP" and "CLOCK" buttons simultane- ously to start up or turn off energy-saving function. When energy-saving function is started up, "SE" will be shown on remote controller, and air conditioner will adjust the set temperature automatically according to ex-factory setting to reach to the best energy-saving effect. -
Page 44: Replacement Of Batteries In Remote Controller
NOTICE ③ ① ②... -
Page 45: Malfunction Analysis
Malfunction analysis General phenomenon analysis Please check below items before asking for maintenance. If the malfunction still can’t be eliminated, please contact local dealer or qualified professionals. Phenomenon Check items Solution ● Whether it's interfered severely ● Pull out the plug. Reinsert (such as static electricity, stable the plug after about 3min, and voltage)? - Page 46 Malfunction analysis Set temperature range: 16℃ ℃ Set temperature range in HEAT mode: 8℃ ℃ ● Whether there’s odour source, ● Eliminate the odour source. Odours are such as furniture and cigarette, emitted etc.
- Page 48 Malfunction analysis Error Code Error code Troubleshooting E5,E8 It can be eliminated after restarting the unit. If not, please contact qualified professionals for service. H3,H6 C5,E6 F3,F4 Please contact qualified professionals for service. F0,F1,F2 WARNING...
-
Page 49: Configuration Of Connection Pipe
Configuration of connection pipe 1. Standard length of connection pipe ● 5m, 7.5m, 8m. 2.Min. length of connection pipe is 3m. 3.Max. length of connection pipe. Max. length of connection pipe Unit: m Max. length Max. length Cooling Cooling of connec- of connec- capacity capacity... - Page 50 Configuration of connection pipe Additional refrigerant charging amount for R22, R407C, R410A and R134a Diameter of connection pipe Outdoor unit throttle Liquid pipe(mm) Gas pipe(mm) Cooling only(g/m) Cooling and heating(g/m) Φ6 Φ9.52 or Φ12 Φ6 or Φ9.52 Φ16 or Φ19 Φ12 Φ19 or Φ22.2 Φ16...
- Page 52 Please record the following product information ● Model ● Serial No. ● Name of the franchiser ● Date of purchase The continuous improvement of products , such as function is changed, without prior notice, if there are any questions, please contact customer service ,Sorry for the inconvenience please forgiveness ToolBox Customer Service Centre:...
Need help?
Do you have a question about the GIST09BXA and is the answer not in the manual?
Questions and answers