Table of Contents
Advertisement
Quick Links
Model #5LGZ6526-V4
USE AND CARE GUIDE
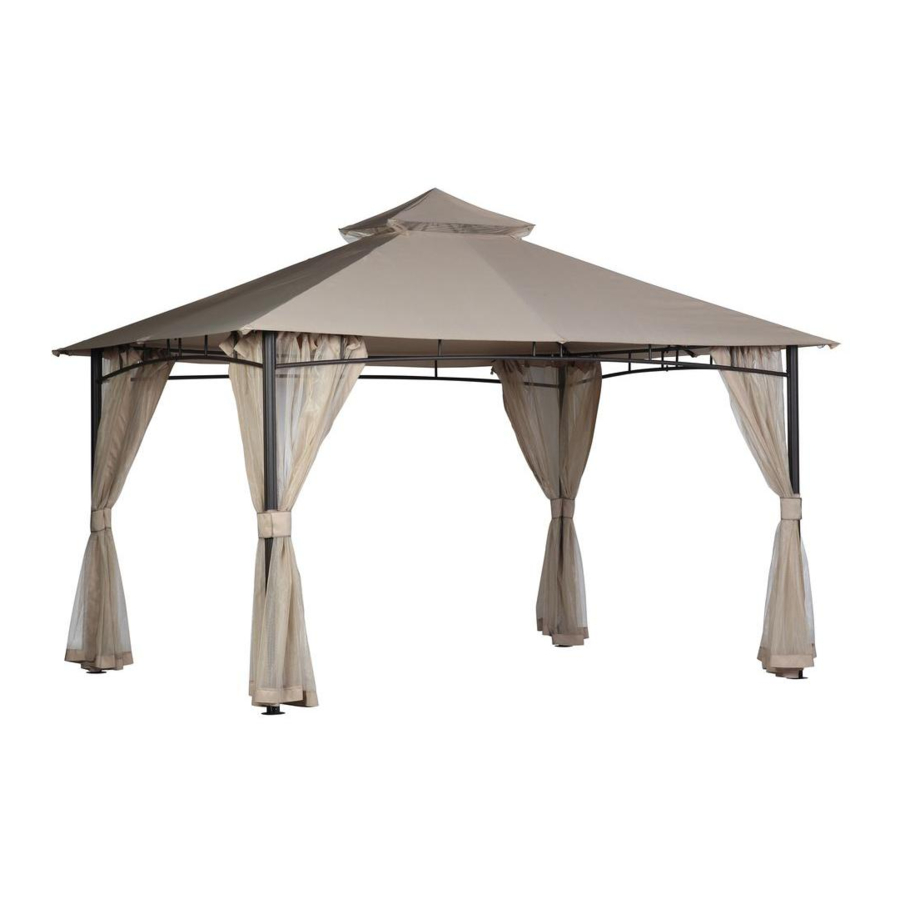
Santa Maria 13ft. x10ft. Roof Style Garden House
Questions, problems, missing parts? Before returning to the store,
call Hampton Bay Customer Service
8.00 a.m. - 6.00 p.m., EST, Monday - Friday
1-855-HD-HAMPTON
HAMPTONBAY.COM
THANK YOU
garden house.
to continually
create quality products designed to enhance your home. Visit us online to see our full line of products available for your home improvement needs.
Thank you for choosing Hampton Bay!
Advertisement
Table of Contents

Related Manuals for HAMPTON BAY 5LGZ6526-V4


Summary of Contents for HAMPTON BAY 5LGZ6526-V4
- Page 1 8.00 a.m. - 6.00 p.m., EST, Monday - Friday 1-855-HD-HAMPTON HAMPTONBAY.COM THANK YOU garden house. to continually create quality products designed to enhance your home. Visit us online to see our full line of products available for your home improvement needs. Thank you for choosing Hampton Bay!
-
Page 2: Table Of Contents
Table of Contents Table of Contents............2 Care Instructions..............2 Pre-Assembly ............3 Safety Information............2 Planning Assembly..............3 Warranty ..............2 Hardware Included..............3 One Year Frame and Fabric Limited Warranty......2 Package Contents ..............4 ..............2 What Is Covered Assembly ..............5 What Is Not Covered .............. -
Page 3: Pre-Assembly
Pre-Assembly PLANNING ASSEMBLY It will take two people about 30 minutes to complete the assembly process. HARDWARE INCLUDED NOTE: Hardware not shown to actual size. Part Description Quantity Part Description Quantity Bolt (M6x16) Ground stake Bolt (M6 x35 ) Guy rope Bolt (M6 x82 ) Anchor Hex wrench... -
Page 4: Package Contents
Pre-Assembly (continued) PACKAGE CONTENTS Part Description Quantity Part Description Quantity Post Long middle roof tube Right long beam Short middle roof tube Left long beam Lower corner roof tube Right short beam Upper corner roof tube Left short beam Post base Right long netting rail Bracket Left long netting rail... -
Page 5: Assembly
Assembly Attaching the post bases □ Attach one post base (N) to each post (A) with one bolt (CC) and one nut (DD) using hex wrench (II) and wrench (JJ). HAMPTONBAY.COM Please contact 1-855-HD-HAMPTON for further assistance. - Page 6 Assembly (continued) Assembling beams and netting rails □ Attach neting rail (F) to beam (B), netting rail (G) to beam (C), netting rail (H) to beam (D), netting rail (I) to beam (E) with bolts (AA), using hex wrench (II). □...
- Page 7 Assembly (continued) Setting up the main frame □ Attach one bracket (O) onto the top of each post (A) with one bolt (AA) using hex wrench (II). □ Please have a free standing ladder ready for ease of assembly. □ Use two bolts (AA) to attach the B side of the assembled long beams to the outside right corner post (A) and two bolts (AA) to attach the C side of the assembled long beams to the outside left corner post (A).
- Page 8 Assembly (continued) Attaching the roof frame □ With a person on the ladder at the center of the main frame, place the roof frame onto the top of the main frame. □ Match corner roof tube (L) to the brackets (O) located at the top of each post (A). Secure them with bolt (BB) and nut (DD) using hex wrench (II) and wrench (JJ).
- Page 9 Assembly (continued) Attaching the main canopy and the vent cover □ Identify the long side and the short side of the main canopy (Q), gently place the main canopy (Q) over roof frame. □ Pull the canopy down to each corner until all corner roof tubes (L) and middle roof tubes(J,K) t well into the pockets on canopy. □...
- Page 10 Assembly (continued) Hanging the nettings □ Find the short and long side of each netting panel (S). □ Attach the long and short sides of each netting panel to the plastic clips (KK) from the inside corners of the main frame. □...
- Page 11 Assembly (continued) Anchoring the garden house □ Adjust the location of each post (A) until all posts (A) are standing comletely upright on level ground. Hammer two ground stakes (FF) through the holes on each post base (N) into the ground. □...
- Page 12 Questions, problems, missing parts? Before returning to the store, call Hampton Bay Customer Service 8.00 a.m. – 6.00 p.m., EST, Monday-Friday 1-855-HD-HAMPTON HAMPTONBAY.COM Retain this manual for future use.