Advertisement
Tools Required: #2Philips or Robertson screwdriver, and a ½ inch wrench.
Hardware:
1-1/2 inch screw...16
1-3/4 inch screw...48
Carriage bolt...2
Washer...2
Hex nut...2
Step 1. Layout Parts
•
Lay out all parts as seen in parts diagram above
Step 2. Build Back Assembly
•
Place top and bottom back brace approximately 18-½ inches apart –
curved side up.
•
Lay back slats in curved section of braces spaced at equal distances
apart. Attach using 1-3/4 inch screws.
•
Attach the end slats first - then the center slat - followed by the
remaining slats.
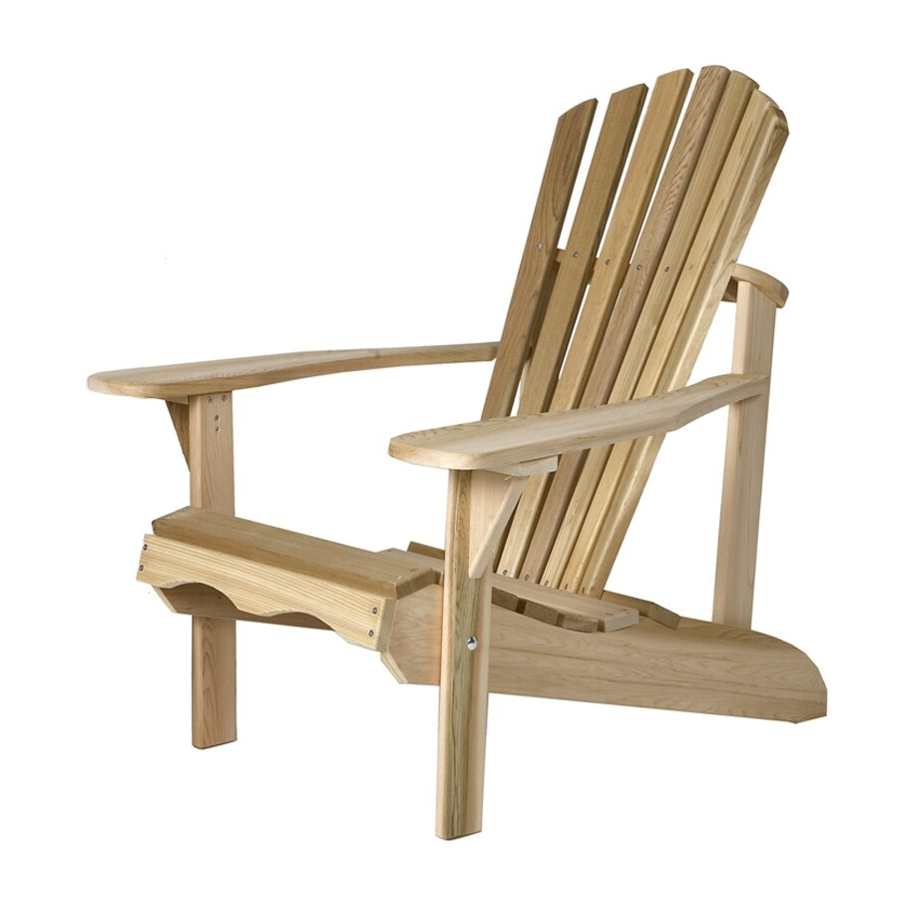
Adirondack Chair Instructions
(AA21U unassembled
kit)
(A) 1 bottom back brace
(B) 7 back slats
(C) 1 top back support
(D) 2 back struts
(E) 1 front scallop slat
(F) 6 seat slats
(G) 2 sides
(H) 2 front legs
(I) 2 support blocks
(J) 2 arm paddles
Advertisement
Table of Contents

Related Manuals for All Things Cedar AA21U

Summary of Contents for All Things Cedar AA21U
- Page 1 Adirondack Chair Instructions (AA21U unassembled kit) Tools Required: #2Philips or Robertson screwdriver, and a ½ inch wrench. Hardware: (A) 1 bottom back brace (B) 7 back slats 1-1/2 inch screw...16 (C) 1 top back support 1-3/4 inch screw…48 (D) 2 back struts...
- Page 2 1-3/4 inch screws. • Attach front of arm paddle through pre-drilled holes in side of triangle brace using 1-3/4 inch screws. • Attach bottom of strut to sides using 1-1/2 inch screws. ♥ ♥ Thank you for choosing All Things Cedar...
Need help?
Do you have a question about the AA21U and is the answer not in the manual?
Questions and answers