
Subscribe to Our Youtube Channel
Related Manuals for Eco GA Series


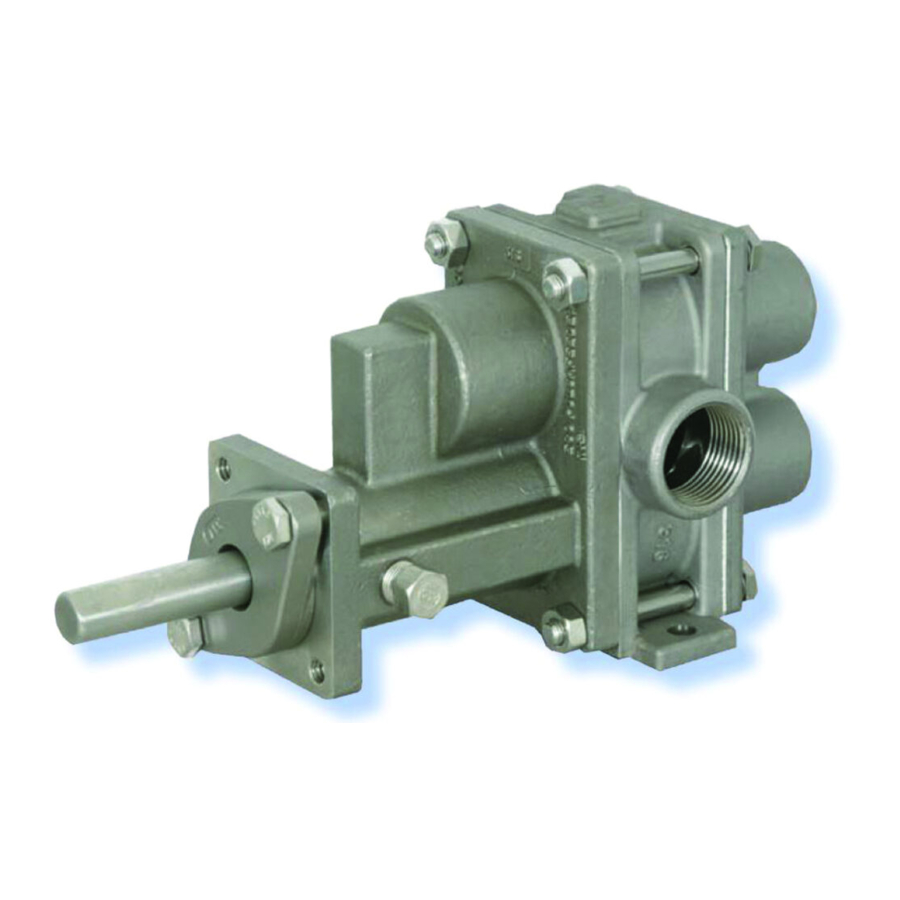
Summary of Contents for Eco GA Series
- Page 1 ® GEARCHEM PUMPS GA/GC SERIES Installation, Operation & Maintenance Manual Bulletin: IOM ECO 3000 REV C...
-
Page 2: Eco ® Factory Service Policy
® FACTORY SERVICE POLICY Should you experience a problem with your ECO pump, first consult the troubleshooting guide in your operation and maintenance manual. If the problem is not covered or cannot be solved, please contact your local Pulsafeeder Sales Representative, or our Technical Services Department for further assistance. - Page 3 CONVENTIONS A WARNING DEFINES A CONDITION THAT COULD CAUSE DAMAGE TO BOTH THE EQUIPMENT AND THE PERSONNEL OPERATING IT. PAY CLOSE ATTENTION TO ANY WARNING. NOTES ARE GENERAL INFORMATION MEANT TO MAKE OPERATING THE EQUIPMENT EASIER. REVISION HISTORY Revision # Implemented By Revision Date Approved By...
-
Page 4: Table Of Contents
TABLE OF CONTENTS ® FACTORY SERVICE POLICY ......................2 TRADEMARKS ............................. 2 INTRODUCTION ........................... 5 EQUIPMENT INSPECTION ........................5 INSTALLATION ............................ 6 MECHANICAL SEALS ......................7 PACKED STUFFING BOXES ....................7 OPERATION ............................7 MAINTENANCE ............................ 8 RECOMMENDED SPARES ....................10 DISASSEMBLY ........................ -
Page 5: Introduction
Pumps may be repaired either in the field or at an authorized Eco Repair Center (contact your Eco distributor for details). Field repairs can be done very quickly using an Eco KOPkit which includes all the parts necessary to cover practically all routine maintenance requirements. -
Page 6: Installation
2. Suction and discharge ports of Eco Gearchem pumps can be determined as follows: A. Looking at the pump drive shaft, the suction port is to the right of the shaft, when the shaft rotates clockwise and the drive shaft is located below the ports for standard configuration on Model G2, G4, G6, GB and GHB. -
Page 7: Mechanical Seals
12. If flexible suction lines are used be sure their selection and installation will prevent wall collapse and thus a starved suction condition. 13. When taking suction from a tank or vessel, avoid entry of sludge, solids, etc. into suction line by placing suction line inlet above maximum expected level of solids. 14. -
Page 8: Maintenance
When changing a pump from one service to another, be sure to check that all wetted pans of the pump (including seals) are compatible with the fluid to be handled and that the motor is sufficiently sized for the application. If in doubt, contact your Eco distributor. 2. Inspect for Wear Whenever gear pumps exhibit reduced flow rates, inability to maintain pressures, noisy or otherwise abnormal operation, first refer to the troubleshooting section. - Page 9 New seal seats shipped from the factory include the O-ring already fitted to the seat. 5. Stuffing Box Design Eco Gearchem pumps with packing use either a plain stuffing box or one equipped with a lantern ring. GH8, GA-12 and GA-16 packed pumps are supplied only in the later configuration.
-
Page 10: Recommended Spares
Always refer to the full model number in any correspondence with your Eco distributor. Drawings and a consolidated parts list for each Gearchem pump are included in this manual. - Page 11 c. When reassembling, fit new seal housing gasket (Item 31). d. Inspect seal head as noted previously. B. Single Internal Mechanical Seal (GH8, GA12, GA16) Reference drawing SD-2613, SD-2775 1. Remove seat retainer bolts (Item 39A) and seat retainer (Item 36) with seat retainer pin, drive end seal seat (Item 55) with seat ring and seat retainer O-ring (Item 37).
-
Page 12: Reassembly
REASSEMBLY A. Pump Internals It is recommended that an Eco KOPkit be used when repairing a pump. The KOPkit comes with gears already assembled to the shafts and significantly reduces the repair time. If a KOPkit is being used proceed to Step 2. - Page 13 Reference Drawing SD-2613, SD-2775 1. Before replacing seat assembly, lubricate seal ring with lightweight machine oil or other lubricant compatible with pumped fluid. Then carefully align slot in seal seat (Item 55) with seat retainer pin. Place protective material over polished seal seat surface and press seal seat into seat retainer (Item 36).
-
Page 14: Bolt-On Thermal Jackets Installation
IT IS RECOMMENDED THAT SEAL BE TESTED AT THIS POINT BY PRESSURIZING SEAL HOUSING WITH SUITABLE FLUID AT 10-15 PS1 ABOVE PUMP DISCHARGE PRESSURE ROTATE SHAFT BY HAND AND OBSERVE FOR ANY LEAKAGE ALONG THE SHAFT IN EITHER DIRECTION. IF LEAKAGE RATE IS SMALL SOMETIMES A RUN IN PERIOD OF 5-20 MINUTES WILL CAUSE EVERYTHING TO SEAT PROPERLY F. -
Page 15: Removal
4. When inside surfaces of jacket halves are clean, the jacket is ready for re-use. If the gear pump is to be repaired and reused, be sure to remove heat transfer cement adhering to its surface before reinstalling the ECO bolt-on jacket. -
Page 16: Troubleshooting
For additional information or to locate the Pulsafeeder Representative in your area, and select “Find a Rep or Distributor”. If you can log onto www.pulsa.com additional assistance is needed, you can call Pulsafeeder at 585-292-8000. 6. TROUBLESHOOTING DIFFICULTY PROBABLE CAUSE REMEDY Pump not primed Prime pump... -
Page 17: Torque Chart
7. TORQUE CHART ** Start with hand tightening and then tighten up to recommended Torque valve. ** Recommended Pump Model Bolt Position Bolt size Torque in-lbs. (Nm). Rear Housing Bolts 10x32 30 (3.4) Gland Nut Bolts 1/4x20 60 (6.8) Rear Housing Bolts 10x32 30 (3.4) Gland Nut Bolts... -
Page 18: Pump Specification Chart
8. PUMP SPECIFICATION CHART... -
Page 19: Exploded View Drawing - G2 & G4 Series
9. EXPLODED VIEW DRAWING – G2 & G4 SERIES... -
Page 20: Exploded View Drawing - G6 & G8 Series
10. EXPLODED VIEW DRAWING – G6 & G8 SERIES... -
Page 21: Exploded View Drawing - Gh8 Series
11. EXPLODED VIEW DRAWING – GH8 SERIES... -
Page 22: Exploded View Drawing - Ga12 & Ga16 Series
12. EXPLODED VIEW DRAWING – GA12 & GA16 SERIES... -
Page 23: Seal Arrangement Drawings
13. SEAL ARRANGEMENT DRAWINGS... -
Page 28: Pump To Motor Assembly Instructions
14. PUMP TO MOTOR ASSEMBLY INSTRUCTIONS Instruction 1. Position pump shaft flat directly over coupling setscrew access 2. Setscrew coupling half, flush to end of motor shaft, assemble spider and other coupling half to motor half (optional, wrap coupling jaws and spider with masking tape) 3. -
Page 29: Gearchem Pump Pressures
15. GEARCHEM PUMP PRESSURES... - Page 31 GEARCHEM PUMPS PRESSURES TO 100 psi SIGNIFICANT MODEL NUMBER SYSTEM AND AVAILABILITY TABLE 1. Maximum differential pressure allowed for plastic/plastic gears is 50 psi. 2. Pumps with metallic drive and idler gears require minimum viscosity of 100 cPs and are limited to 1440 rpm maximum speed for G2-GH8 pumps and 1150 rpm for GA12-16 pumps.
- Page 34 GEARCHEM PUMPS PRESSURES TO 100 psi SIGNIFICANT MODEL NUMBER SYSTEM AND AVAILABILITY TABLE 1. Not applicable 2. Pumps with metallic drive and idler gears require minimum viscosity of 100 cPs and are limited to 1440 rpm maximum speed for G2-GH6 pumps and 1150 rpm for GA12 pumps. 3.
- Page 35 15. PUMP PERFORMANCE CURVES...
- Page 59 Pulsafeeder, Inc. 2883 Brighton Henrietta Town Line Road Rochester NY 14623 +1 (585) 292-8000 www.pulsa.com...
Need help?
Do you have a question about the GA Series and is the answer not in the manual?
Questions and answers