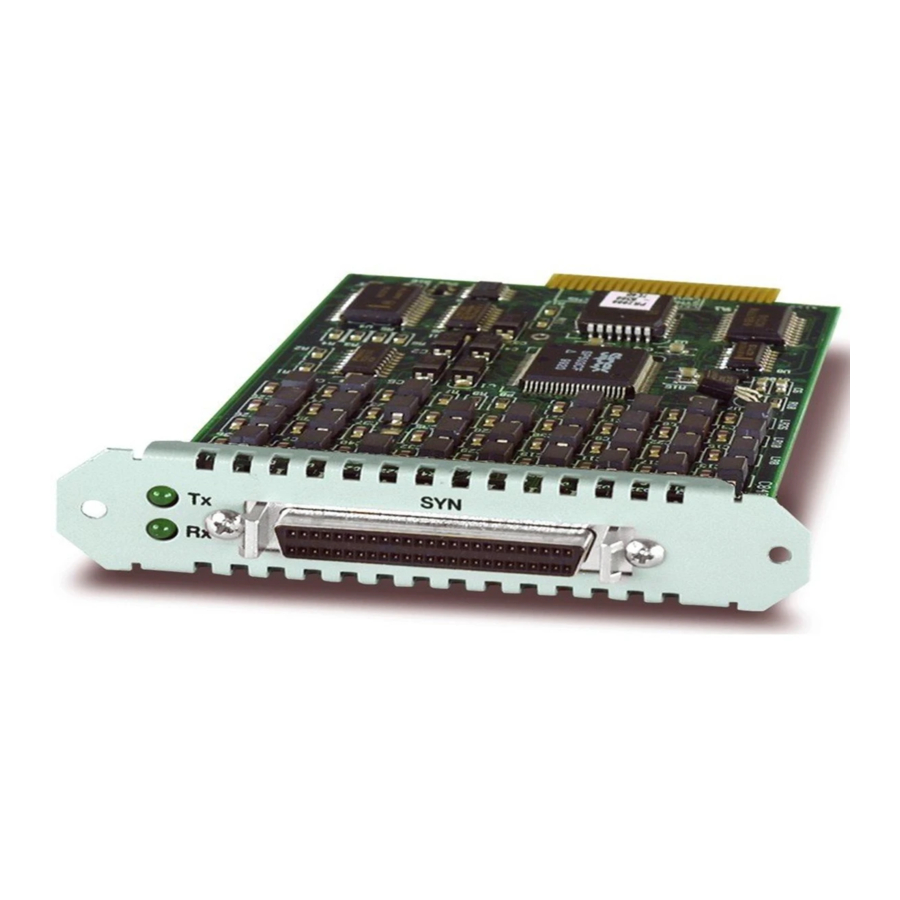
Allied Telesis AT-AR020 PRI E1 Installation And Safety Manual
Port interface card
Hide thumbs
Also See for AT-AR020 PRI E1:
- Hardware reference manual (49 pages) ,
- Installation manual (13 pages) ,
- Quick install manual (10 pages)
Summary of Contents for Allied Telesis AT-AR020 PRI E1
- Page 1 Port Interface Card Installation and Safety Guide AT-AR020 PRI E1/T1 AT-AR021 (S) BRI-S/T AT-AR021 (U) BRI-U AT-AR022 ETH AT-AR023 SYN AT-AR024 ASYN4 AT-AR026 4ETH AT-AR027 VoIP-FXS...
- Page 2 Allied Telesis has been advised of, known, or should have known, the possibility of such damages.
- Page 3 (using the hot swap method), or disconnect all power sources to the switch or router. You can install a maximum of two AT-AR020 PRI E1/T1 into an AR040 NSM. The maximum number you can install in your switch or router is four.
- Page 4 Port Interface Card Installing a PIC This section describes the procedure for installing a PIC. Follow the same procedures, in particular the safety procedures and warnings, to replace or remove a PIC. 1. Read the safety information. For safety information, see the Installation and Safety Guide for your switch or router.
- Page 5 AT-AR026 4ETH PICs have user-configurable links that set features such as auto- negotiation, buffer size, and MAC address aging. Descriptions of the links can be found in the PIC Hardware Reference. Table 1: Functions of jumpers on the AT-AR020 PRI E1/T1 PIC board Jumper Function...
- Page 6 Port Interface Card 9. Slide the PIC into place. PIC bays should be filled in numerical order, starting with the lowest available bay (e.g., bay 0) followed by bays with progressively higher numbers. 10. Secure the PIC by tightening its thumbscrews. 11.
- Page 7 Installation and Safety Guide Downloading VoIP Firmware The following instructions are for downloading the Voice over IP (VoIP) PIC firmware onto your PIC. The instructions assume you have successfully installed the VoIP PIC into your switch or router and made sure all the LEDs show as being on. 1.
- Page 8 Port Interface Card 6. Load the protocol image onto the PIC or PICs. To load the protocol image, use the command: enable voip protocol={h323|sip} [engine={engine}] The boot code loads the protocol onto all PICs unless you specify an individual PIC (engine). The engine name is formed by concatenating a VoIP interface type and an engine instance (for example, fxs2).


Need help?
Do you have a question about the AT-AR020 PRI E1 and is the answer not in the manual?
Questions and answers