
Related Manuals for Inovance Monarch H100 Series


Summary of Contents for Inovance Monarch H100 Series
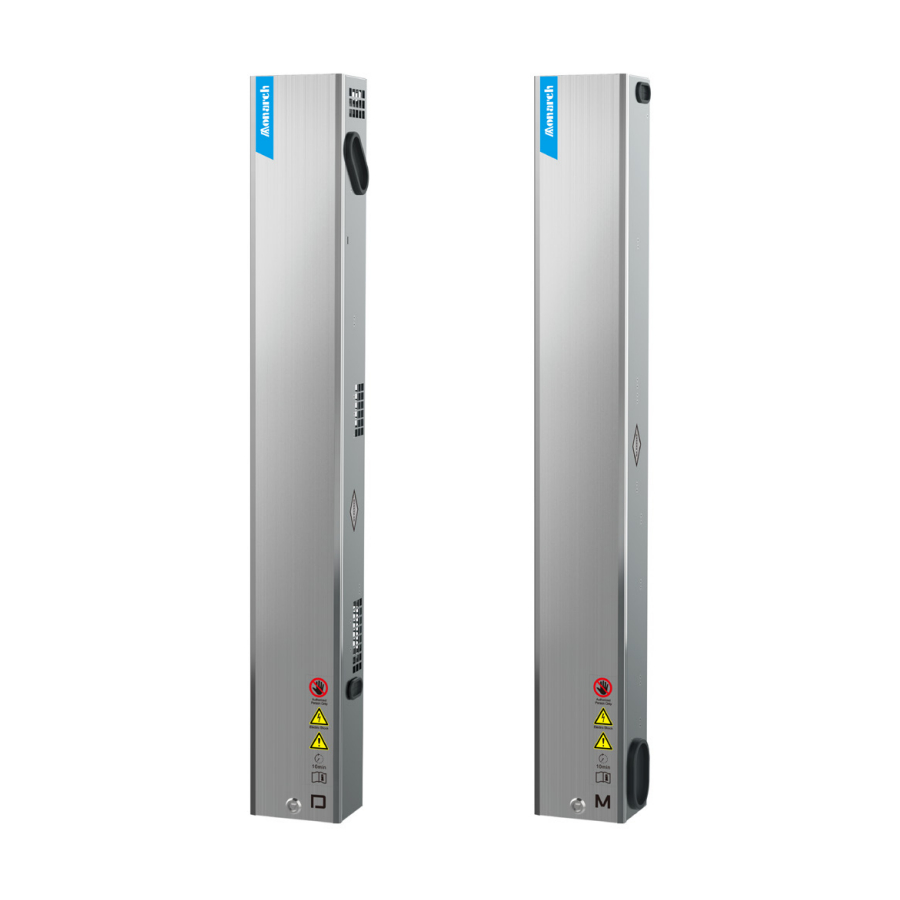
- Page 1 Maintenance Guide H100 Series Jiaolong Control Cabinet User Guide Data code 19011295 A00...
-
Page 3: Preface
◆ If the user guide is damaged or lost, order a replacement from your agent or the customer service center of Inovance. ◆ Contact the customer service center of Inovance if you have any problems during use. - 1 -... -
Page 4: Table Of Contents
Contents Contents Preface ........................... 1 Revision History ........................4 Safety Instructions ........................ 5 1 Inspection and Maintenance ..................10 1.1 Daily Maintenance ....................10 1.1.1 Daily Inspection Items ................... 11 1.1.2 Daily Cleaning Items ..................11 1.2 Periodic Maintenance ....................11 1.2.1 Periodic Inspection Items ................11 1.2.2 Replacement of Quick-Wear Parts .............. - Page 5 Contents 2.4.6 Power Supply Board A ................... 23 2.4.7 Drive Module ....................23 2.4.8 Fan ........................24 2.4.9 Terminal Block ....................24 2.4.10 Transformer ....................25 2.4.11 Contactors ....................26 2.4.12 AC Reactor ....................27 - 3 -...
-
Page 6: Revision History
Revision History Revision History Date Version Change Description November 2020 First release. - 4 -... -
Page 7: Safety Instructions
4) Use this product according to the designated environmental requirements. Damage caused by improper usage is not covered by warranty. 5) Inovance shall take no responsibility for any personal injuries or property damage caused by improper usage. Safety Levels and Definitions... - Page 8 Safety Instructions Safety Instructions Power-on DANGER ◆ Before power-on, make sure that the equipment is installed properly with reliable wiring and the motor can be restarted. ◆ Before power-on, make sure that the power supply meets equipment requirements to prevent equipment damage or even a fire. ◆...
- Page 9 Safety Instructions Maintenance DANGER ◆ Equipment installation, wiring, maintenance, inspection, or parts replacement must be performed by only professionals. ◆ Do not maintain the equipment at power-on. Failure to comply will result in an electric shock. ◆ Before maintenance, cut off all equipment power supplies and wait at least 10 minutes. WARNING ◆...
- Page 10 Safety Instructions Disposal WARNING ◆ Dispose of retired equipment by following local regulations or standards. Failure to comply may result in property damage, personal injuries, or even death. ◆ Recycle retired equipment by following industry waste disposal standards to avoid environmental pollution.
- Page 11 Safety Instructions 6) Disposal The electrolytic capacitors inside the control cabinet and on the PCB may explode when they are burnt. Poisonous gas is generated when the plastic parts are burnt. Treat them as industrial waste. 7) Inspection of peripheral cables Ensure the diameter and voltage resistance of power cables and control power cables meet the requirements.
-
Page 12: Inspection And Maintenance
Inspection and Maintenance 1 Inspection and Maintenance 1.1 Daily Maintenance As an important part of the elevator system, the control cabinet must be inspected and maintained following national laws and regulations and industrial requirements. CAUTION ◆ Never perform wiring at power-on. Failure to comply will result in an electric shock. -
Page 13: Daily Inspection Items
Inspection and Maintenance 1.1.1 Daily Inspection Items Inspection Item □ Whether abnormal noise exists when the motor is running. □ Whether the motor vibrates excessively during running. □ Whether the installation environment of the control cabinet changes. □ Whether the control cabinet overheats. Whether the electrical components inside the control cabinet work □... -
Page 14: Replacement Of Quick-Wear Parts
Inspection and Maintenance 1.2.2 Replacement of Quick-Wear Parts The quick-wear parts in the control cabinet mainly include the fuse, air switch, fan, advance door opening (ADO) board, and PG card. Additional fuse is provided in the control cabinet to prevent damage to the fuse in case of an emergency. The service life of the air switch and contactor are 2 to 3 years and that of the fan is 7 years if they are used at an ambient temperature of 70ºC. -
Page 15: Cabinet Removal
Cabinet Removal 2 Cabinet Removal 2.1 List of Serviceable Parts Table 2-1 List of serviceable parts Cabinet Component Name Model ① Door plate CDB6i2D32 (220V)/ PT2.5 RD-3209512/ PT 2.5 BU-3209523 ② Air switch CDB6i4D32 (380V)/ PT2.5 RD-3209512/ PT 2.5 BU-3209523 Lightning protection ③ MCTC-OPB-N1, MCTC-OPB-N2 board Monitoring... -
Page 16: Tools
Cabinet Removal 2.2 Tools Tool Tool Tool Tool Phillips Torque ① ③ Multimeter ⑤ ⑦ Hex socket screwdriver screwdriver ② Cutting plier ④ Tweezer ⑥ Cable tie 2.3 Removing the Monitoring Cabinet 2.3.1 Door Plate Removal procedure: ❶ Unlock the door lock using the triangle key. ❷... -
Page 17: Air Switch
Cabinet Removal 2.3.2 Air Switch Removal procedure: ❶ Loosen the captive screw on the air switch cover and remove the cover. ❷ Disconnect the switch cable, unlock the switch lock, and then remove the air switch. Figure 2-2 Steps to remove the air switch 2.3.3 Lightning Protection Board Removal procedure: ❶... -
Page 18: Socket And Rcd
Cabinet Removal 2.3.4 Socket and RCD Removal procedure: ❶ Remove the socket cover by unfastening the four M4x8 screws on the cover. ❷ Disconnect the locking cables at two ends of the socket and RCD. ❸ Remove the socket and RCD. M4x8 screws Locking cables Figure 2-4 Steps to remove the socket and RCD... -
Page 19: Fuse
Cabinet Removal 2.3.6 Fuse Removal procedure: ❶ Remove the interface cover by unfastening the two captive screws on the cover. ❷ Remove the fuse cover with your fingers or a tweezer and replace the fuse. Captive screws Fuse holder Figure 2-6 Steps to remove the fuse 2.3.7 Monitoring Board Removal procedure: ❶... -
Page 20: Interface Board
Cabinet Removal 2.3.8 Interface Board Removal procedure: ❶ Remove the monitoring cover by unfastening the four M4x8 screws on the cover. ❷ Disconnect the plug-in terminal and remove the six M4x8 screws on the interface board. ❸ Pull the hard-wired terminal downwards and remove the interface board. M4x8 screws M4x8 screws... -
Page 21: Removing The Drive Cabinet
Cabinet Removal 2.4 Removing the Drive Cabinet 2.4.1 Door Plate Removal procedure: ❶ Unlock the door lock using the triangle key. ❷ Pull the bottom of the door plate outwards. Release the top of the plate from the tab when the angle between the plate and the cabinet is about 30° . ❸... -
Page 22: Protective Cover
Cabinet Removal 2.4.2 Protective Cover Removal procedure: ❶ Unfasten the six M4x8 screws. ❷ Remove the protective cover. M4x8 screws Figure 2-11 Steps to remove the protective cover 2.4.3 Insulation Barrier and PG Card Removal procedure: ❶ Unfasten the two M3x10 screws. ❷ Remove the insulation barrier. ❸... -
Page 23: Mcb
Cabinet Removal M3x10 screws Figure 2-12 Steps to remove the insulation barrier and PG card 2.4.4 MCB Removal procedure: ❶ Remove the two M4x8 screws and two M4 hex head cap screws. ❷ Pull up the MCB. ❸ Remove the insulation sheet on the MCB. ◆... -
Page 24: Power Supply Board B
Cabinet Removal M4x8 screws Insulation sheet M4 hex head cap screws Figure 2-13 Steps to remove the MCB 2.4.5 Power Supply Board B Removal procedure: ❶ Unfasten the three M3x10 screws, pull up the hard-wired terminal, and remove the power supply board B. ❷... -
Page 25: Power Supply Board A
Cabinet Removal 2.4.6 Power Supply Board A Removal procedure: ❶ Pull out the cable terminal on the power supply board A, and unfasten the five M4x8 screws and one M5 hex head cap screw. ❷ Remove the power supply board A. ◆... -
Page 26: Fan
Cabinet Removal 2.4.8 Fan ◆ The fan of the drive cabinet is located on the top of the drive module. NOTE Removal procedure: ❶ Take out the drive module and disconnect the fan cable. ❷ Unfasten the four M4x25 screws and remove the fan. M4×25 Figure 2-17 Steps to remove the fan 2.4.9 Terminal Block... -
Page 27: Transformer
Cabinet Removal 2.4.10 Transformer Removal procedure: ❶ Unfasten the four M4 retaining nuts. ❷ Remove the transformer. M4 nuts Figure 2-19 Steps to remove the transformer - 25 -... -
Page 28: Contactors
Cabinet Removal 2.4.11 Contactors Removal procedure: ❶ Disconnect the contactor cables. ❷ Remove the contactors from guide rails by pushing them to the right. ◆ As shown in the following figure, the contactors from the top to the bottom are the shorting motor stator contactor, brake contactor, and NOTE RUN contactor respectively. -
Page 29: Ac Reactor
Cabinet Removal 2.4.12 AC Reactor Removal procedure: ❶ Unfasten the four M4 retaining nuts. ❷ Remove the AC reactor. ◆ The AC reactor is provided only for 380 V drive cabinet. NOTE M4 nuts Figure 2-21 Steps to remove the AC reactor in 380 V drive cabinet - 27 -... - Page 30 Fax: +86-512-6285 6720 http://www.inovance.com Shenzhen Inovance Technology Co., Ltd. *19011295A00* Add.: Building E, Hongwei Industry Park, Liuxian Road, Baocheng No. 70 Zone, Bao'an District, Shenzhen Tel: +86-755-2979 9595 19011295A00 Fax: +86-755-2961 9897 http://www.inovance.com Copyright © Shenzhen Inovance Technology Co., Ltd.
Need help?
Do you have a question about the Monarch H100 Series and is the answer not in the manual?
Questions and answers