Advertisement
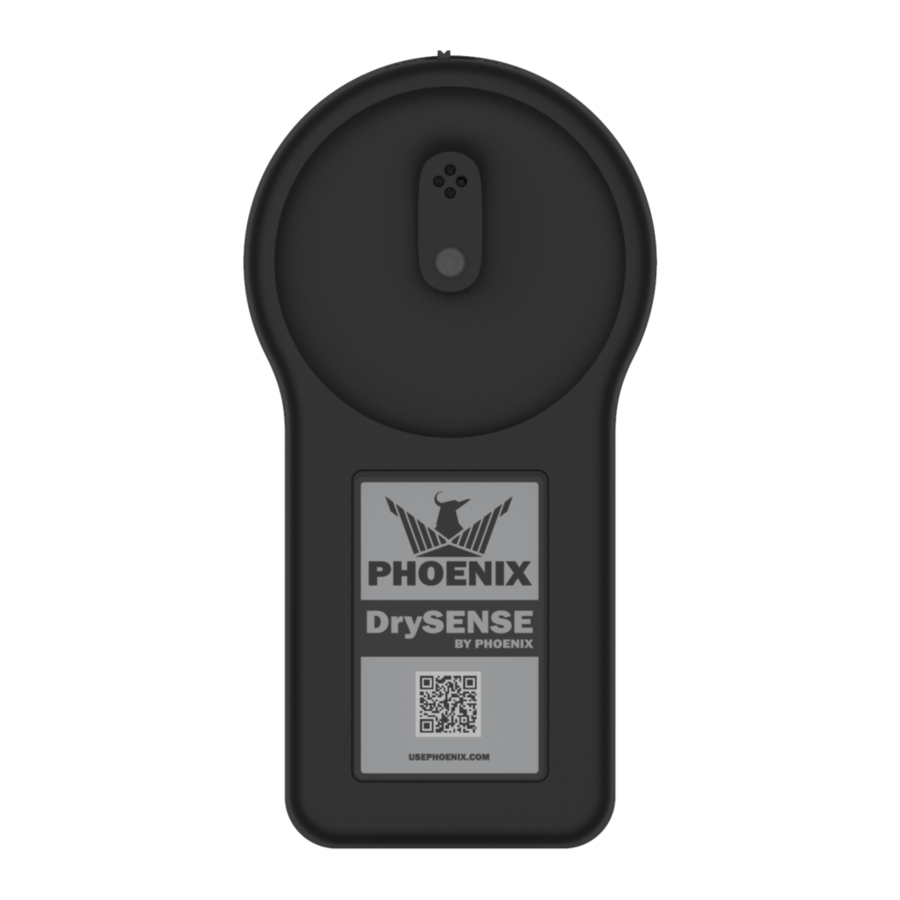
DrySENSE Moisture Reader
SETUP
Thank you for purchasing a Phoenix DrySENSE Bluetooth moisture reader. Please
follow these steps to successfully locate your DrySENSE, add it to a piece of
equipment and add that equipment to your inventory in the DryLINK
a more information on DryLINK and the entire Ecosystem,
visit usephoenix.com/phoenix-drylink-mobile-app/.
Before you start we recommend you inspect the accessories to make sure it is not cracked or broken.
Make sure to keep the hard materials accessory in the case or in another safe place as you will need it.
USEPHOENIX.COM | 800-533-7533
QUICK START GUIDE
The DrySENSE takes two
AA batteries (included).
Remove the battery cover
and insert the batteries.
Turn on the DrySENSE
(the light will flash green).
Mobile App. For
®
Check the pins to make
sure they are screwed in
tightly.
Scan QR code
for more
information on
DryLINK
®
TS-1189 10/20 Rev A
Advertisement
Table of Contents

Related Manuals for Phoenix DrySENSE

Summary of Contents for Phoenix DrySENSE
- Page 1 Thank you for purchasing a Phoenix DrySENSE Bluetooth moisture reader. Please Scan QR code for more follow these steps to successfully locate your DrySENSE, add it to a piece of information on equipment and add that equipment to your inventory in the DryLINK Mobile App.
- Page 2 DrySENSE Moisture Reader QUICK START GUIDE The DrySENSE can be permanently attached to the outlet of a dehumidifier or used as a standalone thermo-hygrometer to automate the readings for an affected area, unaffected area, or HVAC. If you choose to mount the DrySENSE on a dehumidifier, please see our mounting instructions before continuing.
- Page 3 DrySENSE Moisture Reader QUICK START GUIDE • Adding DrySENSE to moisture point. In the “Visit” select the After creating a job in MOISTURE READINGS DryLINK select that job tab. and in the “DRYING DATA” tab click “+” to create a new visit.
- Page 4 DrySENSE Moisture Reader QUICK START GUIDE Select “Location” and After clicking “SAVE & “Material” and click FINISH”, you will see “SAVE & FINISH”. the following message, click “OK”. Click “+ ADD MOISTURE POINT” to add another moisture point. Click “DONE” to complete.
- Page 5 QUICK START GUIDE The DrySENSE can also provide temperature and RH readings independently or while providing moisture content readings. Follow the steps below to use the DrySENSE to provide air readings to the DryLINK app. Within a job, navigate By clicking “COLLECT to the ”DRYING DATA”...
- Page 6 DrySENSE Moisture Reader QUICK START GUIDE Your first reading will show up in the “Drying Log Entry”. Future daily readings for this job will not be automatically entered. USEPHOENIX.COM | 800-533-7533...
- Page 7 (Not meant for concrete. If you have concrete, use noninvasive meter or relative humidity probe taped to surface.) The DrySENSE should be stored in a water resistant container that will also protect the DrySENSE against being dropped. Using the DrySENSE with the DryPHONE allows you to receive alerts when the moisture point is reached, or the chamber or the job is dry.
Need help?
Do you have a question about the DrySENSE and is the answer not in the manual?
Questions and answers