Table of Contents
Advertisement
Quick Links
Advertisement
Table of Contents

Related Manuals for CLF Lighting POSEIDON HYBRID

Summary of Contents for CLF Lighting POSEIDON HYBRID
- Page 1 POSEIDON hybrid manual hybrid WWW.CLF-LIGHTING.COM V2.0 APRIL 2021...
-
Page 2: Table Of Contents
table of CONTENTS Dimensions Safety Instruction Fixture overview Introduction AC Power Power voltage Power cables Relaying power to other devices Data link Tips for reliable data transmission Physical installation Fastening the fixture to a flat surface Outdoor IP-rated fixtures Condensation/moisture inside housing Fixtures temperature specification Setup Control panel and menu navigation... -
Page 3: Dimensions
Dimensions in millimeters hybrid WWW.CLF-LIGHTING.COM... -
Page 4: Safety Instruction
Safety Instruction WARNING! Read the safety precautions in this section before installing, powering, operating or servicing this product. The following symbols are used to identify important safety information on the product and in this manual: DANGER! DANGER! WARNING! WARNING! WARNING! WARNING! Safety hazard. - Page 5 PROTECTION FROM BURNS AND FIRE • The exterior of the fixture becomes hot during use. Avoid contact by persons and materials. Allow the fixture to cool for at least 5 minutes before handling. • Keep all combustible materials (e.g. fabric, wood, paper) at least 1 metres away from the fixture. •...
-
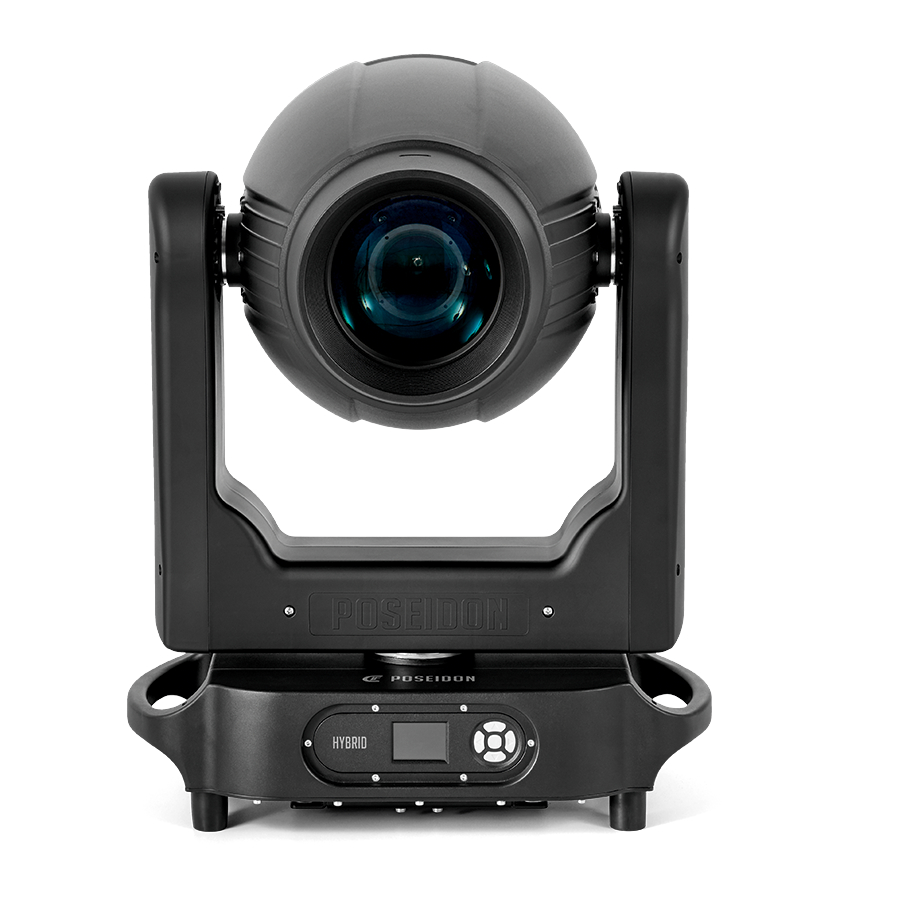
Page 6: Fixture Overview
Fixture overview WWW.CLF-LIGHTING.COM... -
Page 7: Introduction
Introduction powerful outdoor HYBRID ■ SMOOTH CMY COLOR MIXING ■ FIXED COLOR WHEEL ■ 2 GOBO WHEELS ■ 3 PRISMS (LINEAR, 4-FACET & 8-FACET) ■ FROST ■ 2° – 45° ZOOM WITH AUTOFOCUS ■ ANIMATION EFFECT Using for the first time Warning! Read “Safety Information”... -
Page 8: Power Cables
Power cables Power input and throughput cables must be rated 16A minimum, have three conductors 1.5 mm² (16 AWG) minimum conductor size and an outer cable diameter of 5 - 15 mm. Cables must be hard usage type (SJT or equivalent) and heat- resistant to 90°C minimum. In the EU the cable must be HAR approved or equivalent. -
Page 9: Physical Installation
Physical installation Warning! The fixture must be either fastened to a flat surface such as a stage or wall, or clamped to a truss or similar structure in any orientation using a rigging clamp. Warning! Always attach an approved safety cable to one of the safety cable attachment points on the base. Do not illuminate surfaces within 6 meters of the fixture. -
Page 10: Outdoor Ip-Rated Fixtures
Outdoor IP-rated fixtures CLF products are applied to official classified IP norm levels. For this product the IP rate is IP65 when using the covers for the chassis parts. IP65 means according classified norm: shielded against dust and pressurized water from any side. Typical use for outdoor rated stage events with normal weather acceptance. -
Page 11: Setup
Setup Warning! Read “Safety Information” before installing, powering, operating the fixture. Control panel and menu navigation The onboard control panel and backlit graphic display are used to adjust the DMX address, fixture settings (personality), service utilities. See “Onboard control menus” for a complete list of menus and commands. Using the control buttons: •... -
Page 12: Onboard Control Menus
Onboard control menus Main menu Menu level 1 Menu level 2 Menu level 3 Menu level 4 001 - 512 Wired DMX signal mode Settings Wireless Don’t use two sources at the same time Return (ESC) Checksum error Total Hours: ****H Power hours Rst Hours: ****H Total Hours: ****H... - Page 13 1. Pan*** 2. Pan Fine *** 3. Tilt *** 4. Tilt Fine *** 5. P/T Speed *** 6. Functions *** 7. Cyan*** 8. Magenta*** 9. Yellow *** 10. ColorWheel *** 11. NC *** 12. Effect *** 13. Effect Rot *** 14.
- Page 14 Main menu Menu level 1 Menu level 2 Menu level 3 Menu level 4 Auto lamp on Display lock Leak light protect Wireless on/off Idle Wireless settings Unlink transmitter Wireless off Not found sender Wireless options No DMX receiving Wireless status Connected to sender No DMX receiving Personality...
- Page 15 12. Effect *** 13. Effect Rot *** 14. Static Gob*** 15. Rot Gobo*** 16. Gobo Rot *** 17. Prism1 *** 18. Prism1 Rot*** 19. NC *** 20. NC *** 21. PrismMacro *** 22. Macro Rot *** Channel control 23. Frost *** 24.
- Page 16 16. Gobo Rot *** 17. Prism 1 *** 18.Prism 1 Rot *** 19. NC 20. NC 21. PrismMacro 22. Macro Rot 23. Frost Scene Edit 24. Zoom 25. Zoom Fine 26. Focus 27. Focus Fine 28. Focus 2 29. Autofocus 30.
- Page 17 Program 1 Program run mode Program Captured DMX Run Program Stop Program Manual control Program editor Run on power on Static Scene: *** Saved Scene from DMX Capture DMX Saved DMX Data Return (ESC) Return (ESC) Reset all Pan/Tilt reset Gobo reset Color reset System reset...
- Page 18 Effect 000-255 Prism 1 000-255 NC 000-255 Frost 000-255 NC 000-255 Calibration Focus 000-255 Sta gobo Focus 000-255 Sta gobo Zoom 000-255 Rot gobo Focus 000-255 Rot gobo Zoom 000-255 Effect Focus 000-255 Effect Zoom 000-255 Service Return (ESC) Lamp adjust mode Load default Password: 1111 Total power Hr...
-
Page 19: Dmx Protocol
DMX protocol Channel Function Value Setting Remark 0-255 0-100% Pan Fine 0-255 0-100% Tilt 0-255 0-100% Tilt Fine 0-255 0-100% Standard mode (0=Default) Movement Speed/Time Max. Speed Mode 2-255 Speed from max to min Function 0-130 No function 130-139 Lamp on 140-149 Pan/tilt reset 150-159... - Page 20 Channel Function Value Setting Remark Color wheel 56-59 Lavender + Pink 60-63 Pink 64-68 Pink + Yellow 69-72 Yellow 73-76 Yellow + Magenta 77-81 Magenta 82-85 Magenta + Cyan 86-89 Cyan 90-93 Cyan + CTO 260 94-98 CTO 260 / CTO2 99-102 CTO 260 + CTO 190 / CTO2 + CTO1 103-106...
- Page 21 Channel Function Value Setting Remark Static Gobo Wheel 64-69 Gobo 7 (flower) 70-75 Gobo 8 (dots) 76-81 Gobo 9 (break up) 82-87 Gobo 10 (tricone) Shaking gobo from slow to fast 88-95 Beam reducer 1 96-103 Beam reducer 2 104-111 Beam reducer 3 112-119 Beam reducer 4...
- Page 22 Channel Function Value Setting Remark Rotating gobo wheel Shaking gobo from slow to fast 113-124 Gobo 1 (ovals) 125-136 Gobo 2 (spiderweb) 137-148 Gobo 3 (twister) 149-160 Gobo 4 (bar) 161-172 Gobo 5 (stars) 173-184 Gobo 6 (glass breakup) 185-196 Gobo 7 (square) 197-220 Gobo 8 (cones)
- Page 23 Channel Function Value Setting Remark Pattern selection 4-14 Prism macro index 1 15-25 Prism macro index 2 26-36 Prism macro index 3 37-47 Prism macro index 4 48-58 Prism macro index 5 59-69 Prism macro index 6 70-80 Prism macro index 7 Rotate - set rotation on channel 22 81-91 Prism macro rotation 1...
- Page 24 Channel Function Value Setting Remark Auto Focus Selection 0-15 Auto focus off 16-55 10m distance 56-95 15m distance 96-135 20m distance 136-175 30m distance 176-215 40m distance 216-255 50m distance Shutter 0-31 Shutter closed 32-63 Shutter open (32=default) 64-95 Strobe from slow to fast 96-127 Shutter open Opening pulse in sequences from slow...
-
Page 25: Gobo Overview
gobo overview WWW.CLF-LIGHTING.COM... -
Page 26: Photometrics
photometrics WWW.CLF-LIGHTING.COM... -
Page 27: Circuit Connection Diagram
circuit connection diagram WWW.CLF-LIGHTING.COM... -
Page 28: Specifications
Specifications Power Input voltage 100-240VAC, 50/60HZ Standby power Total power consumption 650W Typical current 2.83A Cos φ Power plug type Seetronic Powercon TRUE 1 Source Lamp Ushio 400W LL (CLF Poseidon Lamp Kit) Lamp hours 6000 hours Color temperature 7300K Optical Zoom range 2°... - Page 29 Control Control protocol USITT DMX512/1990 DMX Channels WDMX DMX input 5-pin sACN Hardware Interface LCD Display Software upload DMX, via upload tool Installation IP rating IP65 Orientation Housing Safety attachment point Bottom Position lock Tilt lock Physical Net product weight 35Kg Dimensions 488 x 312 x 747mm (l x w x h)
- Page 30 HYBRID CLFLIGHTING WWW.CLF-LIGHTING.COM...
Need help?
Do you have a question about the POSEIDON HYBRID and is the answer not in the manual?
Questions and answers