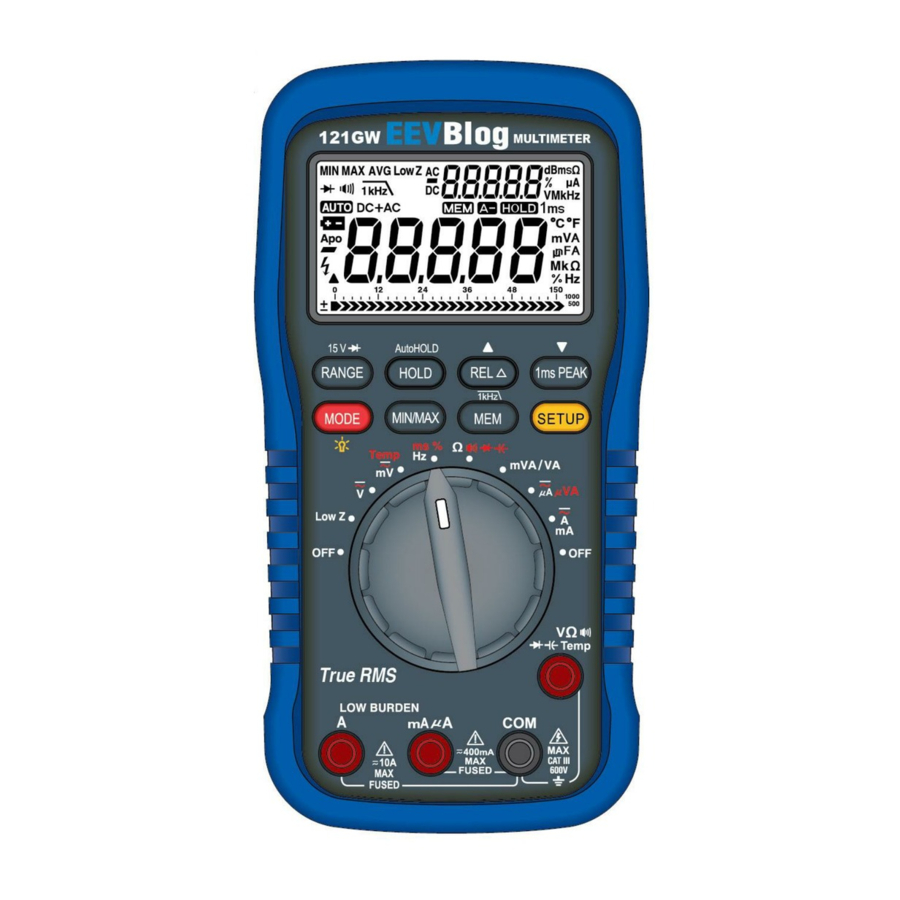
Summary of Contents for EEVBlog 121GW
- Page 1 How to Replace the Rotary Switch 1) Remove the Rubber Boot from the Unit. 2) Remove 2 screws from the Battery Cover. Screw M/S 3*8 3) Open the Battery Cover. 4) Remove 4 screws from the Bottom Housing. Screw T/S 3 * 12...
- Page 2 5) Open the Bottom Housing and Remove the Fuse (11A). 6) Remove 2 screws from the PCB. Screw T/S 2.6 * 6 7) Remove the PCB from the Top Housing and Remove the E-Ring from the Metal axis of the Rotary Switch.
- Page 3 9) Insert the New Rotary Switch to the Top Housing and Assemble the E-Ring. Switch must be “OFF” position. Very Important !! 10) Insert the Shim to the metal axis. Round Recess on the Shim must be facing upward. Round Recess 11) Assemble the PCB and Top Housing.
- Page 4 And then, Remove the SD Card from the unit. SD Card 14) Download the Updated bin file “EEVBlog.bin(V-1.14)” to the SD card (by using an SD Card reader). 15) Insert the SD card to the unit, and download the Updated Software to the Unit.
- Page 5 16-3) When the Downloading is completed, the Meter will display Software Version number. 17) Ressemble in reverse order of disassembly step 1 ~ 3. 18) Verify if the Meter displays “OFL” in the Diode mode to check the function of New Rotary Switch.


Need help?
Do you have a question about the 121GW and is the answer not in the manual?
Questions and answers