Table of Contents
Advertisement
Quick Links
Advertisement
Table of Contents

Related Manuals for Creek Audio VOYAGE i20


Summary of Contents for Creek Audio VOYAGE i20
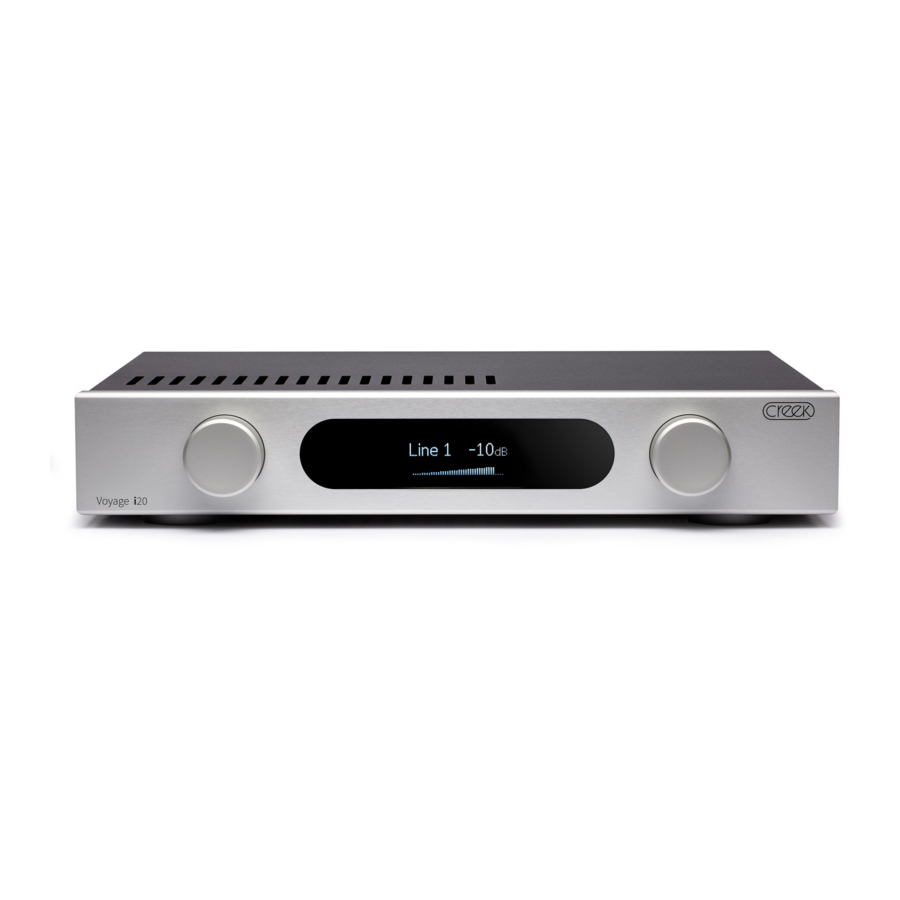
- Page 1 VOYAGE i20 Instruction Manual Integrated Amplifier V1.1 WWW.CREEKAUDIO.COM...
-
Page 2: Mains Connection
The User Manual may refer to the Voyage i20 as the “amp. amplifier or i20 “. Please check www.creekaudio.com for the latest versions of this man- ual. Go to the Voyage i20 product page and click on the tab marked Instructions. -
Page 3: Quick Setup
QUICK SET-UP For experienced hi-fi users, the Voyage i20 is an extremely easy and intuitive integrated amplifier to use. Please read the following instructions to get set-up and running quickly: Place the amplifier on a stable flat surface with easy access to the terminals at the rear and controls at the front. Avoid blocking the ventilation slots in the top and bottom of the case. -
Page 4: Powering The Amplifier
ADVANCED SET-UP PLACEMENT Place the amplifier on a stable flat surface or on top of a dedicated hi-fi equipment rack or table, with access to a good mains supply. Always place the amplifier on the top of other equipment or, better still, on a separate shelf to allow for this. Do not place it at the bottom of a stack of equipment, as it may get too hot in use and switch-off, with an over-temperature message on the display. -
Page 5: Display Settings
NOTE If the volume control is set between -9dB to 0dB (which will be loud) and then muted, the level will be automatically reduced to -10dB when un-muted. All control settings are memorised after the power is turned off. The maximum attenuation from the i20 volume control is -80dB. If the volume knob is turned one click more the output will be completely mut- It is important to note that the power output of the amplifier is the product of both the vol-ume setting AND the input signal level from the source equipment. -
Page 6: Simultaneous Use
Press Menu control knob and select DSD Filter. Select Normal or Wide. Wait a few seconds to confirm selection. Pressing yellow filter button does not control DSD filter. Display Info: Press Menu control knob to select Display Info. Mod: Voyage i20 Software: v1.xx Heatsink: Temperature of the heatsink in Centigrade. -
Page 7: Analogue Input Connections
Line level input via XLR plugs. Balanced audio* Right and Left channel is printed above each of the XLR sockets. Sequel mk4 This optional Moving Magnet (MM) Phono pre-amplifier plugs into the pre-amplifier section of the Voyage i20, replacing a Link PCB. -
Page 8: Digital Input Connections
Screw the 11cm antenna provided into the brass coloured socket on the rear panel, bend and stand it vertically. Select the BlueT. input on the amplifier. Go to Settings on your phone, tablet, or computer and when Creek Audio BT appears in the listing, select it, and Return to your music application. - Page 9 If your source produces a low signal level it will require less attenuation to make the amplifier sound loud enough. So, 0dB may not always be enough for all circumstances. Therefore, the Voyage i20 has been designed with helpful pre-amp gain options.
- Page 10 Settings page. An ASIO driver for >24-bit 192kHz high-resolution replay is not required if running Windows 10 OS. For that reason, using older OS than Win 10 is not recommended. Alternatively, using a streaming or network audio device with USB output, connect as above and if possible, control track selection from a re- mote-control app on a phone or tablet.
-
Page 11: Loudspeaker Connection
Phono on the display when Line 1 input is selected. Creek Audio also produces a stand-alone OBH-8mk2 Phono pre-amplifier, which can be connect-ed to any analogue Line input. The screw terminal situated between Input 1 and the loudspeaker terminals is a chassis ground post to ground your turntable’s tonearm. It is to eliminate potential hum and buzzing noises. - Page 12 It is important not to short-circuit the loudspeaker cables together when the amplifier is powered. The short circuit (over-current) protection will prevent damage but, it is better to be avoided if possible. Ensure there are no strands of wire bridg¬ing the terminals when connecting the loudspeakers and make all connections with the amplifier turned-off or in Standby mode.
-
Page 13: Protection Mechanisms
is proportional to the headphone’s load impedance. Low impedance headphones will be louder than high impedance types for a given volume setting. Use the volume control carefully to set your preferred level and remember that the same rule applies to headphones as speakers. Warning: Listening for a prolonged period at high sound pressure levels can cause permanent hearing damage. -
Page 14: Over-Current
OVER-CURRENT If you connect the i20 to a loudspeaker load that is too harsh for the amplifier to drive at high levels, or you accidentally short-circuit the out- put terminals, or speaker cables, the i20 will immediately protect itself by discon¬necting the output through a relay in each channel. To avoid this happening, do not connect speaker cables with the amplifier powered and amplifying a signal. -
Page 15: Radio Interference
FIRMWARE Like most modern electronic equipment, digital microcontrollers are used to manage almost every function. The programming of this microcon- troller may need to be upgraded over time. To view the revision number, press the left-hand control knob briefly. Rotate the left-hand knob to select “Display Info”. -
Page 16: Technical Specifications
TECHNICAL SPECIFICATIONS Power output @ 1% THD 120 Watts into 8 Ohms, both channels Power output @ 1% THD 240 Watts into 4 Ohms, both channels Power output @ 1% THD 480 Watts into 2 Ohms, one channel Power output tolerance Voltage stabilisation enables repeatable power output regardless of mains voltage or load. - Page 17 DAC max performance PCM 768kHz, 32-bit, DSD 22.4MHz IR BUS IN External IR sensor extender IR BUS OUT Daisy chain link to another Voyage device Loudspeaker Outputs 4mm binding posts with rear and side entry, plus spade lug Speaker output impedance <0.02 Ohms 20Hz to 20 kHz (Damping factor >400) Headphone Output socket 6.3mm stereo jack socket...
-
Page 18: After Sales Service
If within two years of date of purchase, your i20 proves to be defective for any reason other than accident, misuse, neglect, unauthorised mod- ification, or fair wear and tear, Creek Audio. will, at its discretion, replace the faulty parts without charge for labour or return carriage within the United Kingdom.
Need help?
Do you have a question about the VOYAGE i20 and is the answer not in the manual?
Questions and answers