Table of Contents
Advertisement
Quick Links
Advertisement
Table of Contents

Related Manuals for Trinity SILVER REFERENCE

Summary of Contents for Trinity SILVER REFERENCE
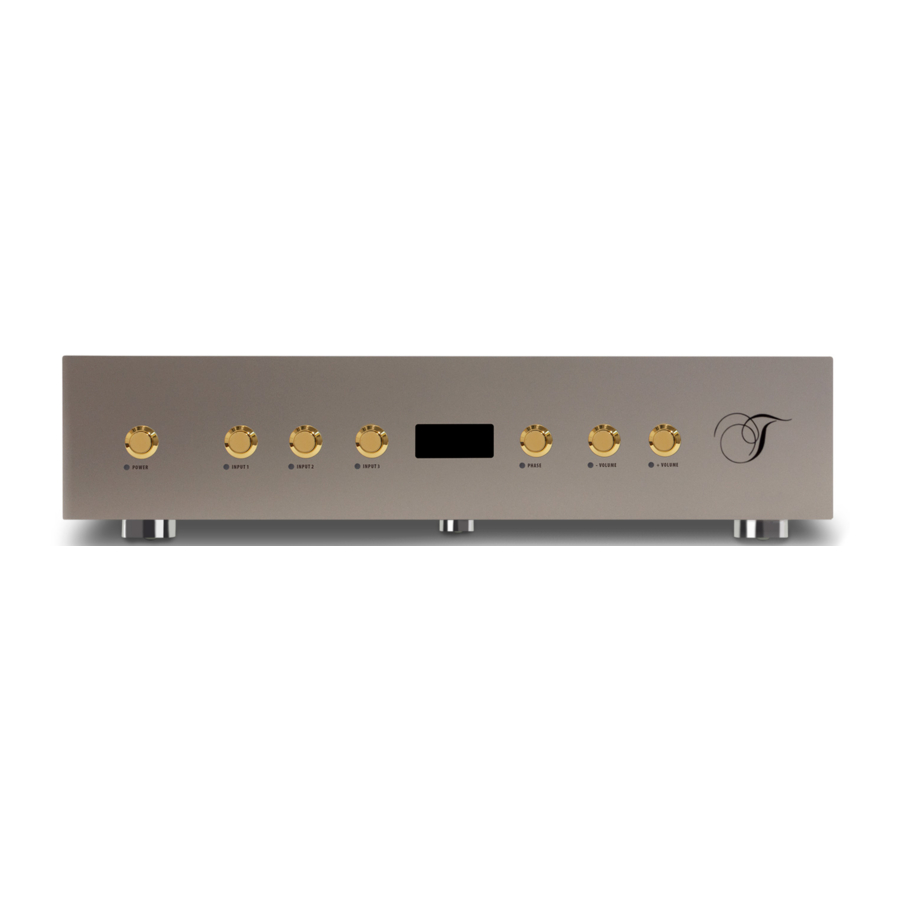
- Page 1 SILVER REFERENCE LINE PHONO PREAMP MANUAL...
- Page 2 THANK YOU for purchasing a product from TRINITY Electronic Design. The TRINITY PHONO sets new standards so that discerning music aficionados can finally enjoy their most beautiful recordings as if it were the true to life original. The PHONO PREAMP supports RIAA, FFRR, COLUMBIA and EMI equalization.
-
Page 4: Table Of Contents
CONTENTS Safety Instructions ....................5 Scope of Supply ............................6 Transportation and Cleaning ........................6 Selecting the Power Voltage ........................7 Connecting and Starting ..........................7 Wiring Up..............................8 Technical descriptions ..........................9 THE FINAL MEASUREMENTS.......................20 Warranty..............................27 Support.................................28... -
Page 5: Safety Instructions
SAFETY INSTRUCTIONS 1. Please read this operating manual carefully and observe all the instructions affixed to the appliance or written in this manual. 2. Install this product on a stable surface and make sure that nobody can trip over the cables. 3. -
Page 6: Scope Of Supply
• TRINITY PHONO PREAMP • TRINITY PHONO Load connectors (4pcs.) • TRINITY PHONO Tone arm cable (optional) • Dimension 400mm x 300mm x 96mm plus 15mm feet, weight 32kg • 1 x Flight Case, weight: 35kg, dimension: 65cm, 55cm, 30cm... -
Page 7: Selecting The Power Voltage
SELECTING THE POWER VOLTAGE The implemented wide-range switched mode power supply modules allow an operation from 100Vac to 240Vac. The two fuses on the primary side are placed inside of the power entry module and filter. CONNECTING AND STARTING To install the PHONO PREAMP, select a stable, level surface directly next to the turn table so that the connecting cable to the tone arm is as short as possible. -
Page 8: Wiring Up
WIRING UP 1. Disconnect the PHONO PREAMP from the power source. Never disconnect any wires unless the device is switched off. 2. Connect the PHONO PREAMP to the tone arm. 3. Connect the PHONO PREAMP to the LINE PREAMP. 4. Connect the PHONO Load Connectors to the load connector XLR inputs. 5. - Page 9 THE LOW NOISE INPUT STAGE Even a low noise amplifier contains different noise sources and all resistive sources create thermal noise depending on the temperature. As Mr. James Bryant from Analog Devices mentioned: “So anywhere at all that there is resistance in a circuit, whether it is carrying current or not, there is a noise generator with an output voltage noise spectral density of 4kTBR We can reduce the noise by reducing the resistance R (this may increase current and/or power consumption), but reducing...
- Page 10 The B stands for band width and will be discussed later. When a source like a MC pickup with it matching resistor is connected to a phono preamplifier`s input the output noise includes contributions from both the amplifier and the source resistance. There exists an optimum source resistance for any given amplifier, which will provide the lowest noise factor, or in other words the highest signal-to-noise ratio for any specific input signal.
- Page 11 Often step-up transformers are used to match low source resistances with the optimum source resistance of the active electronic. For the noise consideration this is a pretty good solution, but all transformers are limited in the band width, since they cannot transfer DC voltage. Depending on the construction and the transfer ratio of the transformer the lower cut-off frequency can be in the range of 20Hz.
- Page 12 This deviation is reached with a 20Hz high pass at 250Hz. From there on the system is time coherent for the ears. A few millisecond group delay variation is therefore not time coherent and the reason why the DC servo in the TRINITY PHONO PREAMP starts at 0.5Hz.
- Page 13 Caused by the frequency response of the RIAA equalization the worst case frequency is the lower audio band at 20Hz. Even at this extreme low level of 16µV at 20Hz the noise level of the TRINITY PHONO is below 80dB! And the linearity is ideal, since no harmonics are measurable.
- Page 15 THE GAIN Each of the 24 gain stages has a fixed gain of 40dB. Caused by the double balanced architecture the overall gain is 6dB higher for each gain block consisting of 12 gain stages. The complete gain without equalizer is therefore 92dB. Depending on the different attenuation caused by the equalizing network the gain related to 1kHz is between 72dB for the RIAA und roughly 78dB for the other equalizer settings.
- Page 16 Inverse RIAA Frequencies 50.05Hz 500.5Hz 2122Hz Time Constants 3179.9us 317.99us 75.002us ∗ Laplace Operator (1+3180µs) (1+75µs) (1+318µs) Frequency / Hertz...
- Page 17 Inverse FRRR Frequencies 100 Hz 500Hz 3000Hz Time Constants 1591.5us 318us 53us ∗ Laplace Operator 1591.5 µs) (1+53µs) 318µs) Frequency / Hertz...
- Page 18 Inverse COLUMBIA Frequencies 100Hz 500Hz 1590Hz Time Constants 1591.5us 318us 100us ∗ Laplace Operator (1+1591.5µs) (1+100µs) (1+318µs) Frequency / Hertz...
- Page 19 Inverse EMI Frequencies 70Hz 500Hz 2500Hz Time Constants 2273.6us 318us 63.6us ∗ Laplace Operator 2273.6 µs) (1+ 63.6 µs) (1+318µs) Frequency / Hertz...
-
Page 20: The Final Measurements
THE FINAL MEASUREMENTS All TRINITY devices are shipped with a complete measurement protocol and not with some “typical” value published on the web page or in the data sheet. What you see (in the measurement results) is what you get. -
Page 21: Warranty
WARRANTY The warranty period of the Trinity PHONO is 2 years. • Within the warranty period, any material and production defects will be rectified according to the following conditions: • The warranty period begins with the purchase of the product and only applies to first buyers. -
Page 22: Support
SUPPORT If you have any questions relating to installation, operation or options, we will be pleased to answer them. TRINITY Electronic Design GmbH Johann Wieser Ring 11 8609 Aschheim, Germany Tel. +49 (0) 89 – 20186577 E-mail. db@trinity-ed.de Internet: http://www.trinity-ed.de...
Need help?
Do you have a question about the SILVER REFERENCE and is the answer not in the manual?
Questions and answers