Advertisement
Quick Links
INSTALLATION INSTRUCTION
Thank you for selecting and buying V-TAC product. V-TAC will serve you the
best. Please read these instructions carefully before starting the installation
and keep this manual handy for future reference. If you have any another
query, please contact our dealer or local vendor from whom you have
purchased the product.
They are trained and ready to serve you at the best.The warranty is valid
for 2 years from the date of purchase. The warranty does not apply to
damage caused by incorrect installation or abnormal wear and tear. The
company gives no warranty against damage to any surface due to incorrect
removal and installation of the product. This product is warranted for manu -
facturing defects only.
APP INSTALLATION
1) Please go to Apple store or Google market to Search
and Download it
2) Scan the QR Code Below:
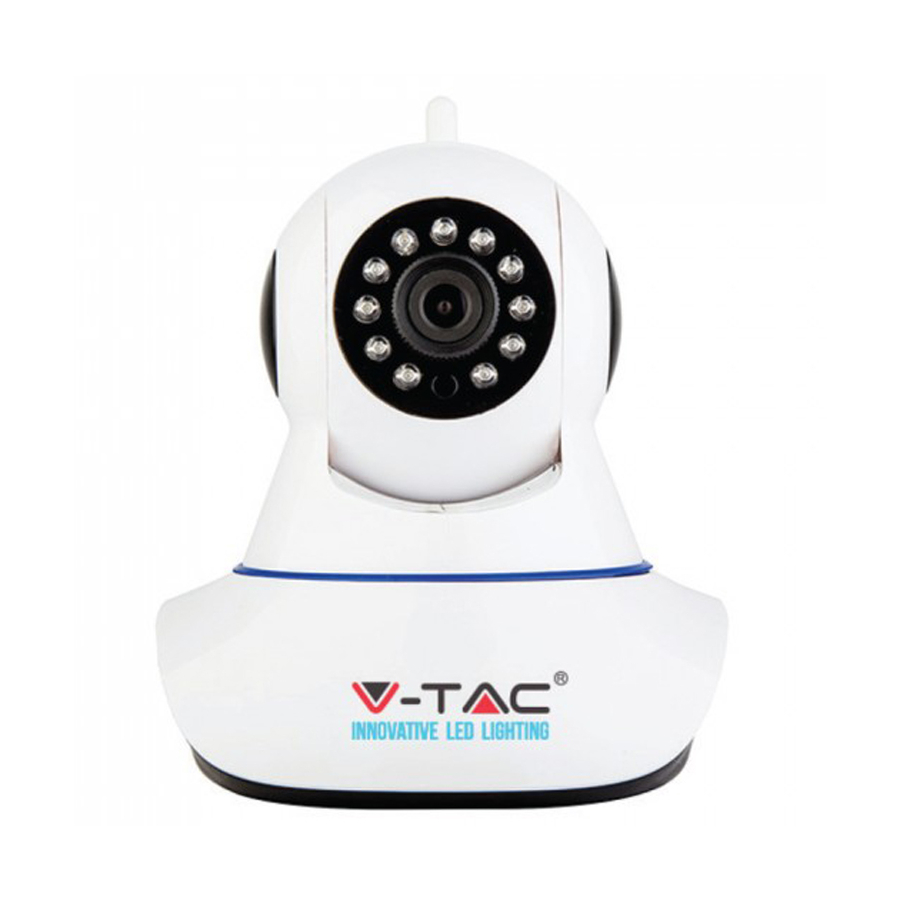
WIFI PTZ CAMERA
INTRODUCTION & WARRANTY
WEEE Number: 80133970
2
WARRANTY
Android
*
iOS
Advertisement

Related Manuals for V-TAC 8464


Summary of Contents for V-TAC 8464
- Page 1 INTRODUCTION & WARRANTY WARRANTY Thank you for selecting and buying V-TAC product. V-TAC will serve you the best. Please read these instructions carefully before starting the installation and keep this manual handy for future reference. If you have any another query, please contact our dealer or local vendor from whom you have purchased the product.
-
Page 2: Add Devices
2.ACCOUNT REGISTER 1)Open” Yoosee” App and Click “Quick Register” 2)Select “phone number or Email Register” ( For Example: Mobile Number Register, Input phone Number and Click “ NEXT”, and then Wait for SMS Verification Code, Please Click “OK” to finish Register After Inputting Verification Code, Finally Login your account. - Page 3 3. Power on the camera, then can hear the prompt :pls consider Wi-Fi with AP connection ,waiting for configuration ”, if no connected ,pls reset the camera via reset button on the back of the camera, and the camera said “reset to default setting ”, then loose the reset button.(remarks: some cameras don’t have the audio,pls check your purchased camera with audio or not) 4.
- Page 4 3. After the configuration succeed, it will skip to the connection succeed interface automatically, name the device clicks “confirm”, and then connection succeed SMART LINK: 1. Click “+”, select “add new device 2. Select Smart link 3. The App will Pop-up WiFi interface which the camera needs to connect, and then Input WiFi password 4.
- Page 5 DEVICE PREVIEW: Scan the QR code to add the device which shared by friends Add a device Defense /disarming Playback Setting share Local Added Device Recording Alarm Message App related Setting ” in Device list to Preview the live video ( as the picture,Take the panoramic camera as an example) Click the “...
- Page 6 AP MODE (ANDROID): 1. Open APP,find the camera's GW_AP***** on the device list ,click “setting”,then click “skip,shift to AP mode” (Remarks:if there is no Corresponding hotspot devices,pls check the GPS of the phone have turned on or not,the APP location permission is selected allow or not. Android phone needs to turn on GPS location, the reason: APP has the function to find a nearby device,if turn off,some models of the camera can't find the device hotspots;...
- Page 7 PC CMS OPERATION GUIDE 1. Download the CMS for PC Input the http://yoosee.co on IE browser, and click CMS to download and install in the computer. CMS Also Available PC Client For Windows ANDROID Log in the CMS on PC 1, Open the CMS, three mode to login: admin login, click “ok “and log in the CMS cell phone login, input mobile phone register on the CMS and password, click “ok”...
- Page 8 Remark: RTSP password changed on RTSP setting: yoosee APP device setting —security setting—RTSP setting 3, Add shared device, click the share logo on all device of yoosee APP, copy the link, and share the link by WhatsApp, skype, Facebook, twitter to PC, then on PC ,copy the link and paste it to the link column on add shared device, then click ok 4.
- Page 9 5. CMS PREVIEW Open the CMS, right click the device list , select all connect (then can view all video of the device list) as picture 1,if you want to open one of the videos, then drag the device to the preview window picture 1 picture 2 6.
- Page 10 ,enter the playback menu,select recording file type ,click the drop-down list. to select the one which you want to play In case of any query/issue with the product please reach out to us at support@vtacexports.com V-TAC EUROPE LTD, Bulgaria, Plovdiv 4000, bul.L.Karavelow 9B...
Need help?
Do you have a question about the 8464 and is the answer not in the manual?
Questions and answers