Advertisement
Quick Links
Advertisement

Subscribe to Our Youtube Channel
Related Manuals for Cloud9 CloudHub


Summary of Contents for Cloud9 CloudHub
- Page 1 Welcome to your NEW Cloud9 CloudHub Let’s set up your new hardware.
- Page 2 CLOUDHUB OVERVIEW..............................4 POWER SUPPLY INSTALLATION..........................6 CLOUD9 HANDSET INSTALLATION...........................8 CLOUD9 MICROPHONE INSTALLATION........................10 CONNECTING CLOUDHUB TO A PC OR LAPTOP....................12...
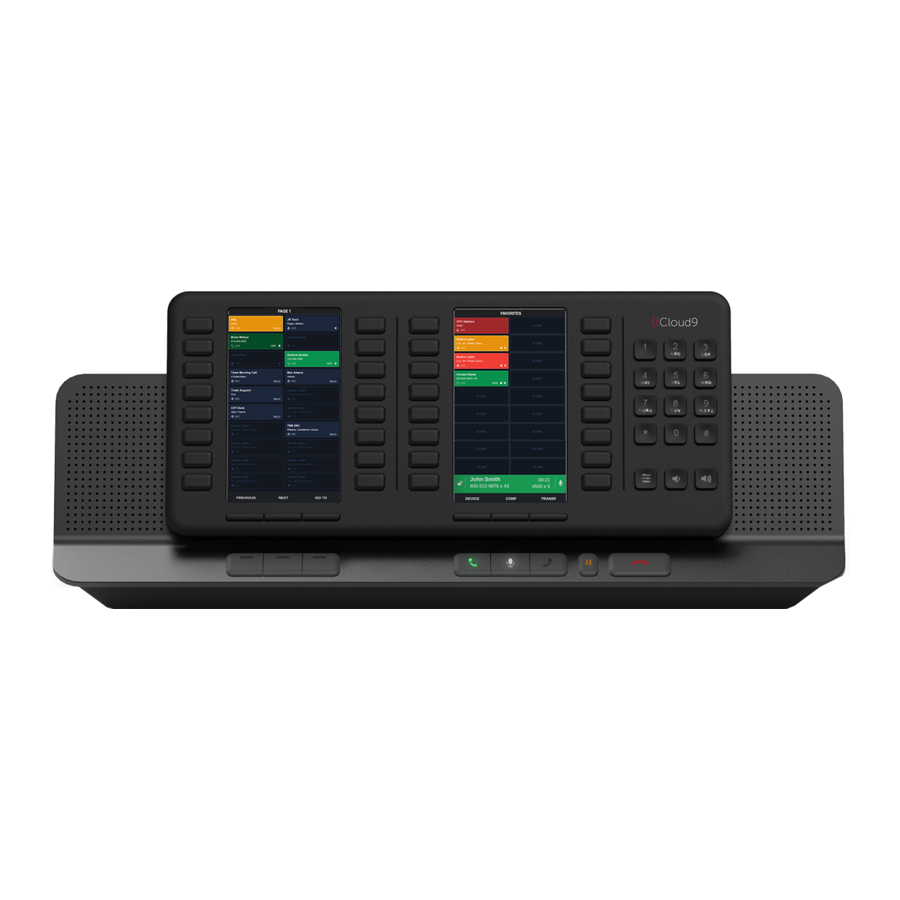
- Page 3 CLOUDHUB OVERVIEW Your Cloud9 CloudHub is supplied with: CloudHub Front View CloudHub Rear View CloudHub Underside View 1 X AC Power Supply 1 X Power Cord 1 X USB-C to USB-A 2M Cable (This is for connecting your CloudHub to your...
-
Page 4: Power Supply Installation
AC Power Supply for your Cloud9 CloudHub (see Diagram A) (see Diagram C) (see Diagram B) and connect your Power Cord to the mains power socket. into the Cloud9 CloudHub Power Supply Input. Diagram A Diagram B Diagram C... - Page 5 1. Install the Cloud9 Handset(s) RJ11 Connector into the RJ11 socket located on the Cloud9 (see Diagram B) CloudHub underside and run the cable through the cable channel to ensure the cable(s) are kept tidy and secure (highlighted by the blue arrow in Diagram A).
- Page 6 Underside and the Microphone input plugging into the input jack (highlighted by the blue arrow in Diagram A). 2. Place the Cloud9 CloudHub Microphone bracket over the two captive nuts highlighted by the red box, with the gooseneck routed through the channel upwards (see Diagram B).
- Page 7 Diagram D – Laptop Example Diagram E – PC Example 3. Upon successful installation of your Cloud9 CloudHub, and once you have launched and logged into C9 Upon successful installation of your Cloud9 and once you have launched and logged into C9 Trader, you will be ready to use your new Cloud9 CloudHub.
- Page 8 Enjoy your new Cloud9 CloudHub. ©Cloud9 Technologies 2020 All rights reserved. 15 15...
- Page 9 Access video tutorials, product guides and more at C9tec.com...
Need help?
Do you have a question about the CloudHub and is the answer not in the manual?
Questions and answers