Table of Contents
Advertisement
Available languages
Available languages
Quick Links
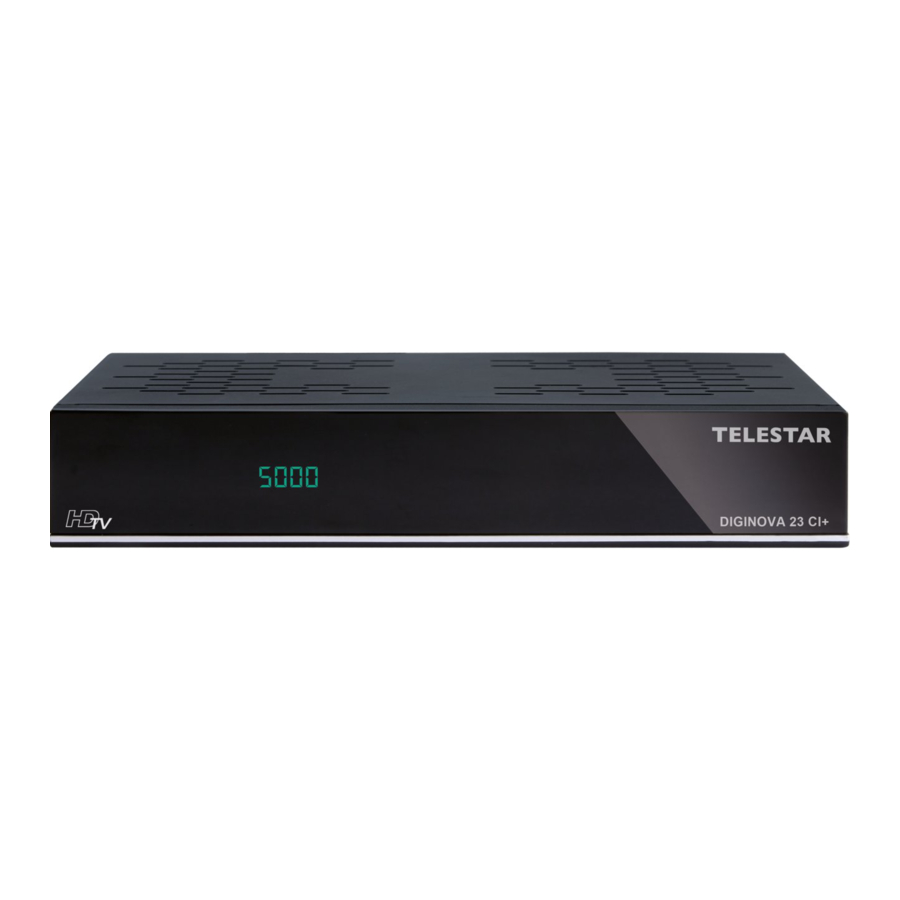
TELESTAR DIGINOVA 23 CI +
Combo HD Receiver
QUICK INSTALLATION GUIDE
Pursuant to art. 13 of the legislative decree of 25 July 2005, no. 15 "Implementation of Directives 2002/95/EC,
2002/96/EC and 2003/108/EC, concerning the reduction of the use of hazardous substances in electrical and
electronic equipment, as well as the disposal of waste".
This symbol on the product indicates that the product must be disposed of separately from other household waste at
the end of its useful life.
Therefore, it should be handed over to the applicable collection point for the recycling of electrical and electronic
equipment or returned to the dealer at the time of purchasing a replacement device on a 1:1 basis. By ensuring that
this equipment is disposed, decommissioned or recycled correctly, you will help prevent any potential negative impact
on the environment and human health, which could otherwise be caused by inappropriate handling of this product,
and help to conserve natural resources.
Information for users pursuant to the Legislative Decree of 20 November 2008, no. 188 "Implementation of
Directive 2008/103/EC concerning batteries, accumulators and disposal of related waste".
Batteries are required for the remote control. Do not mix different types of batteries and do not use old and new
batteries at the same time. Do not use rechargeable batteries. To avoid the potential risk of explosion, observe the
polarities indicated inside the battery compartment. Replace only with the type specified in the battery compartment.
Do not throw batteries onto naked flame and do not recharge. If the remote control is not going to be used for a long
time, remove the batteries. Respect the environment and the law. Batteries must be disposed of separately from
other household waste.
The illegal disposal of the product by the user will lead to the administrative sanctions referred to in Legislative
Decree no. 22/1997 (article 50 and following of Legislative Decree no. 22/1997) being applied.
QSG_DIGINOVA23CI+_04_18.indd 1
The CE symbol ensures the product complies with European directives on safety,
electromagnetic compatibility and signage. The related certificate of conformity can be
requested from: Mediasat Srl, Via Enrico Fermi 34 I-39100 Bolzano (BZ), Italy.
EN
02.05.18 10:19
Advertisement
Table of Contents

Subscribe to Our Youtube Channel
Summary of Contents for Telestar DIGINOVA 23 CI +
- Page 1 TELESTAR DIGINOVA 23 CI + Combo HD Receiver QUICK INSTALLATION GUIDE The CE symbol ensures the product complies with European directives on safety, electromagnetic compatibility and signage. The related certificate of conformity can be requested from: Mediasat Srl, Via Enrico Fermi 34 I-39100 Bolzano (BZ), Italy.
- Page 2 The manufacturer guarantees that this product will be free from defects in construction or materials under normal use for a period of twenty-four months, without prejudice to compliance with the instructions for use • and maintenance. The warranty starts from the date the product is purchased from the retailer. Warranty conditions •...
- Page 3 General Use • By reading this manual you will find that the use of this product is based on simple functions displayed via various on-screen menus. • These menus allow the user to benefit from the product's full range of features and will guide them through installation, set up, viewing and various other functions.
- Page 4 DIRECT SUNLIGHT Do not expose the receiver to direct sunlight. Do not place it near radiators or other heat sources. LIQUIDS The product must not be exposed to liquids of any kind. In addition, do not place objects filled with liquids on or near the product.
-
Page 5: Installation
Installation Connect the receiver as shown in the diagram below: Antenna input Satellite input Ethernet port External 12V DC/2A power supply socket Optical digital audio output for connection to an external amplifier/AV receiver A/V output for connecting to TV from the receiver HDMI output for connecting to TV from the receiver USB 2.0 port for connection to an external HDD for PVR functionality QSG_DIGINOVA23CI+_04_18.indd 5... -
Page 6: Remote Control
Remote control Mute Mute On/Off (standby) On/off (standby) Numeric keypad Numeric keypad > > Options Options > Play/Stop Pause Play/Stop Pause Fast forward Rewind rewind Fast Forward > Channel Selection/ Channel selection/ data entry data entry > Volume adjustment/ Volume adjustment/data entry Volume adjustment/Data Volume adjustment/data entry data entry... - Page 7 Installation After connecting the receiver and turning on the TV, turn on the receiver by pressing the red POWER button on the remote control. On first use, the menu will be automatically displayed. Installation Select the desired language from the first screen. >...
-
Page 8: Channel List
Channel list > Press the OK button to access the channel list. > Select the desired channel using the arrow keys > Confirm the selection by pressing the OK button. > The channels can be browsed more rapidly using the << / >> buttons Electronic Programme Guide (EPG) >... - Page 9 TELESTAR DIGINOVA 23 CI + Combo Récepteur HD GUIDE D'INSTALLATION RAPIDE Le symbole CE garantit que le produit est conforme aux directives européennes en matière de sécurité, de compatibilité électromagnétique et de signalisation. Le certificat de conformité correspondant peut être demandé auprès de : Mediasat Srl, Via Enrico Fermi 34 I-39100 Bolzano (BZ), Italie.
- Page 10 Le fabricant garantit que ce produit sera exempt de défauts de construction ou de matériaux dans des conditions normales d'utilisation pendant une période de vingt-quatre mois, sans préjudice du respect des instructions d'utilisation et de maintenance. La garantie commence à partir de la date d'achat du produit chez le détaillant.
- Page 11 Usage général • En lisant ce manuel, vous constaterez que l'utilisation de ce produit est basée sur des fonctions simples affichées à l'écran via différents menus. • Ces menus permettent à l'utilisateur de bénéficier de toute la gamme de fonctionnalités du produit et le guideront dans l'installation, la configuration, la visualisation et diverses autres fonctions.
- Page 12 LUMIÈRE DIRECTE Ne pas exposer le récepteur à la lumière directe du soleil. Ne pas placer à proximité de radiateurs ou d'autres sources de chaleur. LIQUIDES Le produit ne doit pas être exposé à des liquides de toute sorte. De plus, ne pas placer d'objets remplis de liquide sur ou à...
- Page 13 Installation Connecter le récepteur comme indiqué dans le diagramme ci-dessous : Entrée d'antenne Entrée satellite Port Ethernet Prise d'alimentation externe 12V DC/2A Sortie audio numérique optique pour la connexion à un amplificateur externe / récepteur AV Sortie A/V pour la connexion au téléviseur à partir du récepteur Sortie HDMI pour la connexion au téléviseur à...
- Page 14 Télécommande Muet On / off (veille) Muet On/Off Clavier numérique Clavier numerique > Options > Options Lecture / Arrêt Pause > Lecture / Arret Pause Avance rapide Rembobinage Rembobinage Avance rapide Sélection de chaîne / Sélection de chaine/ saisie des données saisie des données Réglage du volume / saisie des données >...
- Page 15 Installation Après avoir connecté le récepteur et allumé le téléviseur, allumer le récepteur en appuyant sur le bouton rouge POWER de la télécommande. Lors de la première utilisation, le menu sera automatiquement affiché. Installation Sélectionner la langue souhaitée sur le premier écran. >...
-
Page 16: Liste Des Chaînes
Liste des chaînes > Appuyer sur le bouton OK pour accéder à la liste des chaînes. > Sélectionner la chaîne souhaitée en utilisant les touches fléchées. > Confirmer la sélection en appuyant sur le bouton OK. > Les chaînes peuvent être parcourues plus rapidement en utilisant les boutons <<... - Page 17 TELESTAR DIGINOVA 23 CI+ Ricevitore Combo HD GUIDA RAPIDA PER L`INSTALLAZIONE Il simbolo CE presente sull’apparecchio garantisce la conformitá del prodotto Direttive Europee sulla sicurezza, compatibilità elettromagnetica e la segnaletica. Il relativo certificato di conformità può essere richiesto a: Mediasat Srl, Via Enrico Fermi 34 I-39100 Bolzano (BZ).
-
Page 18: Garanzia
Garanzia Il costruttore garantisce che questo prodotto sarà privo di difetti di costruzione o materiale in condizioni di uso normale per un periodo di ventiquattro mesi, fatta salva l’osservanza delle istruzioni di utilizzo e • manutenzione. La garanzia decorre dalla data di acquisto dell’apparecchio presso il rivenditore. Condizioni di garanzia •... -
Page 19: Avvisi Di Sicurezza
Avvisi di sicurezza Uso generale • Leggendo questo manuale Vi accorgerete che l’uso giornaliero di questo prodotto é basato su funzioni semplici visualizzate in vari menu sullo schermo. • Questi menu Vi permettono un uso ottimale del prodotto e Vi guidano durante l’installazione, l’editazione dei programmi, la visione e molte altre funzioni. - Page 20 Avvisi di sicurezza LUCE SOLARE DIRETTA Non esporre il ricevitore alla luce solare diretta. Non posizionarlo in prossimità di termosifoni o altre fonti di calore. LIQUIDI Il prodotto non deve essere esposto a liquidi di alcun tipo. Evitare inoltre di appoggiare oggetti riempiti di liquidi sopra o vicino al prodotto.
-
Page 21: Installazione
Installazione Installazione Collegare il ricevitore come mostrato nello schema sottostante: a. Ingresso antenna b. Ingresso parabola satellitare Presa Ethernet d. Presa alimentatore esterno 12V DC / 2A e. Uscita audio digitale ottica per il collegamento ad un amplificatore esterno Uscita A/V per il collegamento della TV con il ricevitore g. - Page 22 Telecomando Telecomando Silenzioso (Mute) On/off (standby) Silenzioso On/Off Tasti numerici Tasti numerici Opzioni Opzioni Play / Stop Pausa Play/Stop Pausa Avanzamento veloce in avanti Avanzamento veloce indietro Selezione canali / Avanzamento veloce in avanti Avanzamento veloce indietro inserimento dati Selezione canali/ inserimento dati Regolazione volume / inserimento dati Regolazione volume / inserimento dati...
-
Page 23: Prima Installazione
Prima installazione Prima installazione Dopo aver collegato il ricevitore e dopo aver acceso la TV accendere il ricevitore premendo il tasto rosso POWER sul telecomando. Al primo utilizzo verrà automaticamente indicato il menù. Prima installazione Nella prima schermata selezionare la lingua desiderata del ricevitore. -
Page 24: Lista Canali
Lista canali Lista canali > Premere il tasto OK per entrare nella lista canali. > Selezionare il canale desiderato con i tasti freccia > Confermare la scelta premendo il tasto OK. > Con i tasti << / >> potrà navigare più velocemente nella lista canali Guida elettronica programmi (EPG) >... - Page 25 TELESTAR DIGINOVA 23 CI + Combo HD-ontvanger SNELLE INSTALLATIEGIDS Het CE-symbool bevestigt dat het product voldoet aan de Europese richtlijnen inzake veiligheid, elektromagnetische compatibiliteit en markeringen. Het bijbehorende certificaat van overeenstemming kan worden aangevraagd bij: Mediasat Srl, Via Enrico Fermi 34 I- 39100 Bolzano (BZ), Italië.
-
Page 26: Garantie
Garantie De fabrikant garandeert dat dit product gedurende een periode van vierentwintig maanden vrij is van materiaal- en productiefouten bij normaal gebruik, onverminderd de naleving van de instructies voor gebruik • en onderhoud. De garantie gaat in vanaf de datum waarop het product bij de verkoper wordt gekocht. Garantievoorwaarden •... - Page 27 Veiligheidsinformatie Algemeen gebruik • In deze handleiding leest u dat het gebruik van dit product gebaseerd is op eenvoudige functies die via verschillende schermmenu's worden weergegeven. • Met deze menu's kan de gebruiker profiteren van het volledige scala aan functies van het product en wordt de gebruiker begeleid bij de installatie, het instellen, de weergave en verschillende andere functies.
- Page 28 Veiligheidsinformatie DIRECT ZONLICHT Stel het apparaat niet bloot aan direct zonlicht. Plaats het apparaat niet in de buurt van radiatoren of andere warmtebronnen. VLOEISTOFFEN Het product mag niet worden blootgesteld aan vloeistoffen van welke aard dan ook. Plaats bovendien geen voorwerpen die met vloeistof gevuld zijn op of in de buurt van het product.
- Page 29 Installatie ronnen. Installatie Sluit de ontvanger aan zoals in het onderstaande schema weergegeven: Antenne-ingang Satellietingang Ethernet-poort Externe voedingsaansluiting 12 V DC/2A Optische digitale audio-uitgang voor het aansluiten op een externe versterker/AV-ontvanger A/V-uitgang voor het aansluiten van de ontvanger op een tv HDMI-uitgang voor het aansluiten van de ontvanger op een tv USB 2.0-poort voor het aansluiten van een externe HDD voor PVR-functionaliteit QSG_DIGINOVA23CI+_04_18.indd 29...
- Page 30 Afstandsbediening Afstandsbediening Dempen Aan/uit (stand-by) Dempen Aan/uit (standby) Numeriek Numeriek toetsenbord toetsenbord > > Opties Opties Pauze Afspelen/stoppen > Afspelen/stoppen Pauze Vooruitspoelen Terugspoelen Terugspoelen Vooruitspoelen Kanaalselectie/geg > Kanaalselectie/geg even- evensinvoer sinvoer Volumeregeling/gegevensinvoer > Volumeregeling/gegevensin-voer Volumeregeling/gegevensinvoer Volumeregeling/gegevensin- voer Kanaalselectie/gegevensinvoer > Het menu verlaten Kanaalselectie-/gegevensinvoer Het meu verlaten Elektronische programmagids (EPG)
- Page 31 Installatie Installatie Nadat u de ontvanger hebt aangesloten en de tv hebt ingeschakeld, schakelt u de ontvanger in door op de rode aan/uitknop op de afstandsbediening te drukken. Bij het eerste gebruik wordt het menu automatisch weergegeven. Installatie Selecteer de gewenste taal in het eerste scherm. >...
-
Page 32: Elektronische Programmagids (Epg)
Lijst met kanalen > Druk op de OK-knop om de lijst met kanalen te openen. > Selecteer het gewenste kanaal met de pijltoetsen. > Bevestig de selectie door op de OK-knop te drukken. > U kunt sneller door de kanalen bladeren met behulp van de toetsen <<...
Need help?
Do you have a question about the DIGINOVA 23 CI + and is the answer not in the manual?
Questions and answers