Table of Contents
Advertisement
Quick Links
Advertisement
Table of Contents

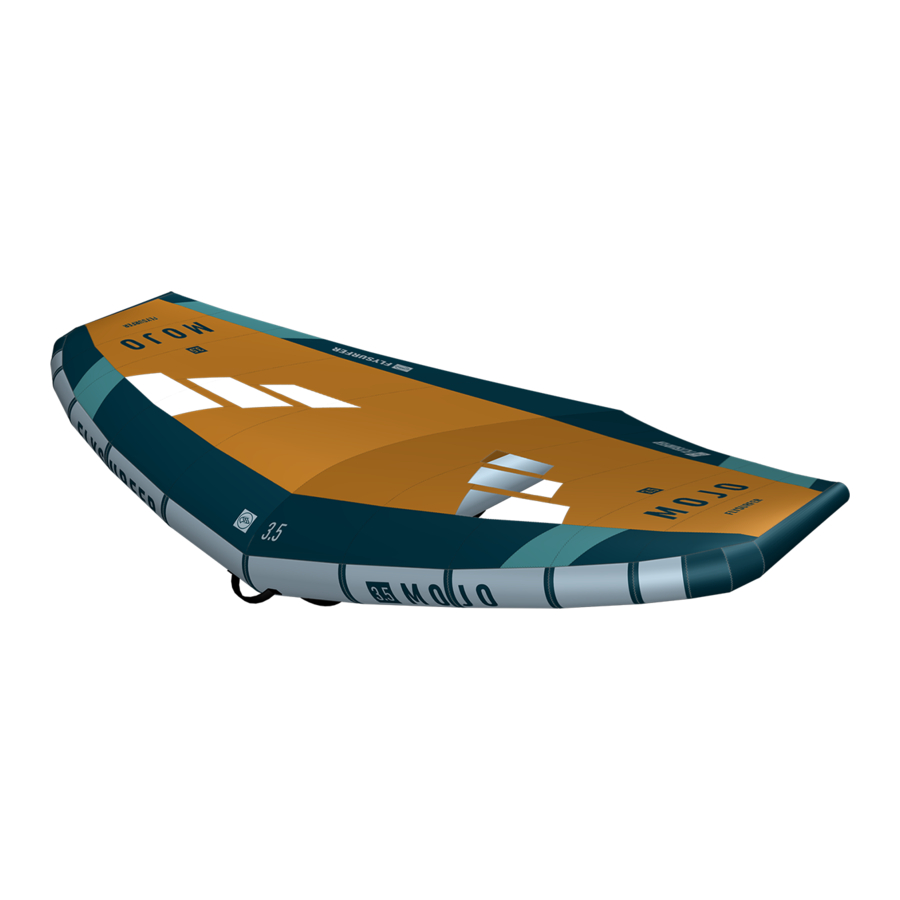
Summary of Contents for FLYSURFER MOJO
- Page 1 USER MANUAL MOJO...
- Page 2 MOJO User Manual ENGLISH 04-2021 Änderungen vorbehalten / data subject to change © FLYSURFER Kiteboarding 2021, www.flysurfer.com...
-
Page 3: Table Of Contents
CONTENT Release of Liability ........................4 02 Safety Notes ..........................5 02.01 Do not fly with a wing ..............................5 02.02 Protective measures ..............................5 03 Overview of the wing ......................6 03.01 Description & rider requirements ..........................7 03.02 Features ....................................7 04 Handling ...........................8 04.01 Attaching the arm leash ..............................8 04.02 Inflating the wing ................................8 04.03 Secure ....................................9 04.04 Carry ....................................9... -
Page 4: Release Of Liability
FLYSURFER Product and any of its components. To release Skywalk GmbH & Co. KG and all related parties from any and all liability for any loss, damage, injury or expense that you or any users of your FLYSURFER product may suffer, or that your next of kin may suffer, as a result of the use of the FLYSURFER product, due to any cause whatsoever, including negligence or breach of contract on the part of Skywalk GmbH &... -
Page 5: Safety Notes
Every user should have completed a qualified briefing on this product at a FLYSURFER kite school or a FLYSURFER dealer. 02. The user bears sole responsibility for himself and others when using this product. He must check all parts for condition and function before each use. -
Page 6: Overview Of The Wing
05. We recommend using a board leash to the ankle. 06. To enable riding with a harness, a rope can be tied to the attachment points between the handles. Warning: The leash can wind around limbs! Any inseparable connection to the wing or the board can be life-threatening and lead to serious injury or death! 03 OvERviEW Of THE WiNg... -
Page 7: Description & Rider Requirements
The MOJO gives you a safe access into the world of wind-powered sports. The versatile wing requires previous knowledge of wind and weather, as well as an average level of physical fitness. The MOJO is designed for quick learning success, a durable sports equipment for fun on land, water and snow. -
Page 8: Handling
04 HANDLiNg Put the loop of the leash over the arm cuff. Pull the leash tight. The wing has not been developed for use below -5 ° C or 23 ° F. Always secure the wing! A wing that flies away can pose a great danger to anyone downwind. -
Page 9: Secure
04.04 Carry The wing has two free flow valves. Inflate the wing until the strut and leading edge are full. Note the PSI guidelines next to the valve! Close the valve caps before going on the water. Hold the wing by the handle at the front of the leading edge so it can blow in the wind. -
Page 10: Pack Up
The handle closest to the trailing edge is used to regulate the Before folding the wing, push most of the air out of the blad- force produced, depending on the angle or hand position. der. Place both wingtips on top of each other. To reduce the pack size, a third of the strut can be folded to- Use the extra handles to save energy on the half wind course or when crossing the wind. -
Page 11: Wing Care
05 WiNg CARE 06 REPAiR FLYSURFER wings are durable and UV and saltwater resistant. Before starting the repair, we recommend that you go to a place With proper care, your wing may last even longer. Eventual color that is protected from sand, water and wind and has a clean changes of the cloth can be caused by environmental causes, surface. -
Page 12: Bladder Replacement Or Repair
06.03 bladder replacement or repair Open the zipper in the middle of the wing and pull the blad- der out of the tube via this exit. The previously attached lines Bladder replacement or repair is a complex process and should now run through the chamber of the leading edge. -
Page 13: Handle Repair
Use the special tool (key) to unscrew the valve from the body Use the special tool (key) to screw the valves back into the of the strut. Separate the hook-and-loop fastener from the valve leading edge and strut. connection and press the valve into the tube. Open the end of the strut and pull the bladder out through this opening. - Page 14 FLYSURFER Kiteboarding Brand of Skywalk GmbH & Co. KG Windeckstr. 4 83250 Marquartstein, GERMANY WEBSITE: www.flysurfer.com EMAIL: info@flysurfer.com PHONE: +49 (0) 86 41 69 48 30...

Need help?
Do you have a question about the MOJO and is the answer not in the manual?
Questions and answers