Advertisement
Available languages
Available languages
Quick Links
Advertisement

Subscribe to Our Youtube Channel
Related Manuals for R-Go Caparo D2

Summary of Contents for R-Go Caparo D2
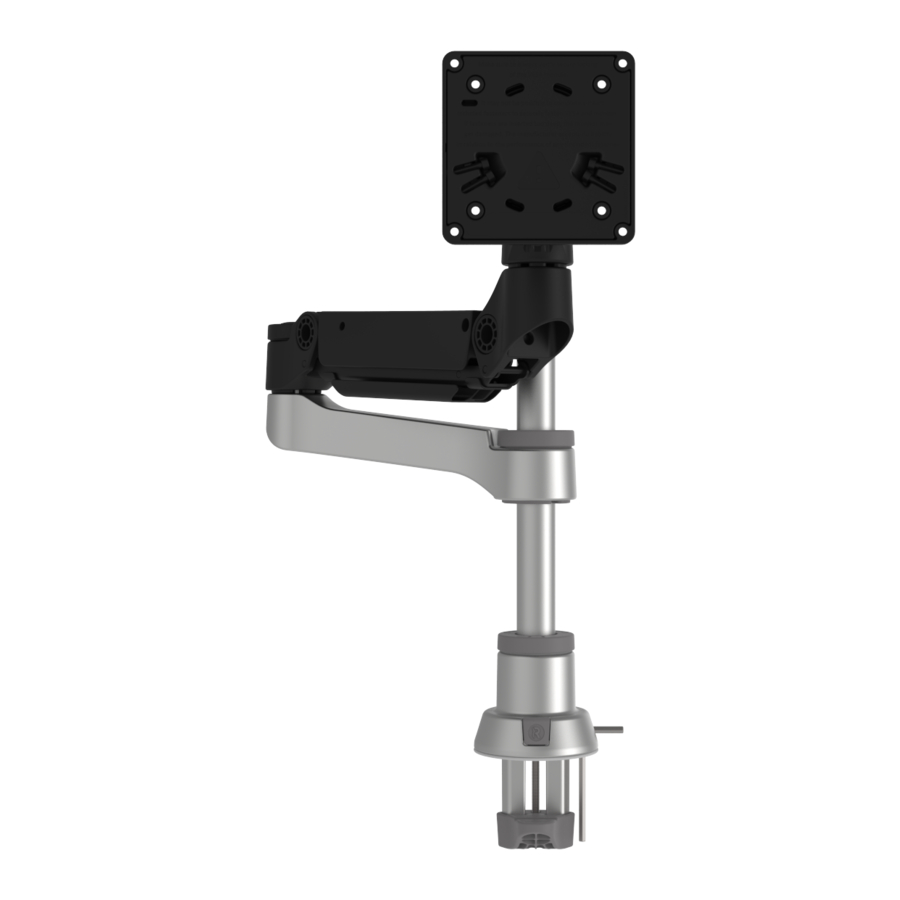
- Page 1 R-Go Caparo D2 (Twin) R-Go Zepher C2 (Twin) Monitorarms Manual...
- Page 2 Contents Ergonomic tips What’s in the box? Setup Single Monitor Arm Smart Stop Setup Dual Monitor Arm Deutsch Français Nederlands...
- Page 3 Ergonomic tips Did you know that a wrong set-up of your monitor effects on your working posture? You can easily get physical complaints, such as neckpain. Here some tips to create a healthy computer set-up: • Place the top of your screen at eye level. You will automatically sit up straight.
- Page 4 What’s in the box? R-Go Caparo 4 D2 Single Monitor Arm R-Go Caparo D2 (Twin) R-Go Zepher C2 (Twin) Monitorarms Manual...
- Page 5 R-Go Zepher C2 Single Monitor Arm R-Go Caparo D2 (Twin) R-Go Zepher C2 (Twin) Monitorarms Manual...
- Page 6 R-Go Caparo 4 D2 Dual Monitor Arm R-Go Caparo D2 (Twin) R-Go Zepher C2 (Twin) Monitorarms Manual...
- Page 7 R-Go Zepher 4 C2 Dual Monitor Arm R-Go Caparo D2 (Twin) R-Go Zepher C2 (Twin) Monitorarms Manual...
- Page 8 Setup Single Monitor Arm Step 1 Slide the base onto the desktop. Tighten the screw with the hex key...
- Page 9 Step 2a Insert the pole into the base until you hear it make contact with the table. Step 2b Keep the pole pressed down while tightening the ring...
- Page 10 Smart Stop Create your own setup Smart Stop : At the bottom of the ring there is a small arrow. This arrow indicates where the Smart Stop is, i.e. where the arm stops rotating. It is important to have the arrow on the correct side (left or right), so that the arm stops rotating and for example does not bump into an acoustic screen (see p.
- Page 12 Step 3a Choose which Smart Stop setup you want (setup , see page 10-11). Underside 1 | 4 of forearm 2 | 3 Step 3b Place the forearm the pole . Make sure the arrow points in the direction of the number of your chosen setup.
- Page 13 3 | 4 1 | 2 Underside of upper arm Step 4a Place the upper arm on the forearm . While doing so, make sure that the arrow point in the direction of the number of your chosen setup. See numbers on the base ( 1 | 2 3 | 4...
- Page 14 Underside of head Step 5a Place the head on the upper arm . Make sure that the arrow points in the direction of the arrow on the upper arm. Step 5b Press the head down while tightening the ring...
- Page 15 Step 6a Attach the VESA plate to the monitor using the enclosed hexagonal screws (see VESA plate). Use the enclosed hex key to do this. Click the VESA plate onto the head...
- Page 16 Step 6c (Only for R-Go Caparo 4 D2) Depending on the weight of your monitor, you can increase or decrease the resistance of the gas spring arm (upper arm ) by tightening the hexagonal screws.
- Page 17 Step 6d (Only for R-Go Zepher 4 C2) Set the arm at the correct height by sliding the lower arm on the pole. Then tighten the ring on the lower arm.
- Page 18 Setup Dual Monitor Arm Install the first arm following step 1-6 and follow step 3-6 to install the extra arm.
- Page 19 Deutsch R-Go Caparo D2 (Zwilling) R-Go Zepher C2 (Zwilling) Monitorarme Handbuch Inhalt Ergonomische Tipps Was ist in der Box? Einrichten Einzelner Monitorarm Smart Stop Setup Doppelter Monitorarm Deutsch Français Nederlands Wir empfehlen, unser Video ‘’So richten Sie Ihren Monitorarm ein’’...
- Page 20 (zusätzliche) Bildschirm sollte direkt daneben, auf gleicher Höhe, platziert und leicht zu Ihnen gezogen werden. Diese Einstellung stellt sicher, dass Sie die meiste Zeit aufrecht sitzen werden. Was ist in der Packung? R-Go Caparo D2 R-Go Zepher C2 Aufstellen Einzelner Monitorarm...
- Page 21 (Einstellung oder , siehe Seite 10-11). Schritt 3b Setzen Sie den Unterarm auf die Stange . Achten Sie darauf, dass der Pfeil in die Richtung der Nummer Ihres gewählten Setups zeigt. Siehe Nummern auf der Basis ( oder 1 | 4 2 | 3 Unterseite des Unterarms Schritt 4a...
- Page 22 3 Schrauben. Die Schrauben können mit dem beiliegenden Inbusschlüssel angezogen werden, so dass Sie den Widerstand erhöhen und den Monitor gerade ausrichten können. Schritt 6c (nur für R-Go Caparo 4 D2) Je nach Gewicht des Monitors können Sie den Widerstand des Gasfederarms (oberer Arm ) durch Anziehen der Sechskantschrauben mit dem beiliegenden Sechskantschlüssel...
-
Page 23: Table Of Contents
à côté, à la même hauteur, et tiré légèrement vers vous. Cette disposition vous permet de rester assis bien droit la plupart du temps. Qu’y a-t-il dans la boîte ? R-Go Caparo D2 R-Go Zepher C2 Mise en place Un seul bras de moniteur... -
Page 24: Smart Stoptm
Étape 1 Faites glisser le socle sur le bureau. Serrez la vis avec la clé Allen Étape 2a Insérez la tige dans le socle jusqu’à ce que vous entendiez qu’elle entre en contact avec la table. Étape 2b Maintenez la tige enfoncée tout en serrant l’anneau Smart StopTM Créez votre propre installation... -
Page 25: Configuration De Un Double Bras De Moniteur
Étape 6c (uniquement pour R-Go Caparo 4 D2) Selon le poids du moniteur, vous pouvez augmenter ou diminuer la résistance du bras du ressort à gaz (bras supérieur ) en serrant les vis hexagonales avec la clé... -
Page 26: Deutsch
Installez le premier bras en suivant les étapes 1 à 6 et suivez les étapes 3 à 6 pour installer le bras supplémentaire. Nederlands R-Go Caparo D2 (Twin) R-Go Zepher C2 (Twin) Monitorarmen Handleiding Inhoud Ergonomische tips Wat zit er in de doos? -
Page 27: R-Go Caparo D2
Deze opstelling zorgt ervoor dat je de meeste tijd recht zult zitten. Wat zit er in de doos? R-Go Caparo D2 R-Go Zepher C2 Set-up Enkele Monitor arm... - Page 28 Stap 3a Kies welke Smart StopTM opstelling je wilt (opstelling , zie pagina 10-11). Stap 3b Plaats de onderarm op de stang . Laat hierbij de pijl wijzen in de richting van het nummer van je gekozen opstelling. Zie nummers op de voet ( 1 | 4 2 | 3...
- Page 29 Stap 6c (alleen voor R-Go Caparo 4 D2) Afhankelijk van het gewicht van het beeldscherm, kun je eventueel de weerstand van de gasveer arm (bovenarm...
Need help?
Do you have a question about the Caparo D2 and is the answer not in the manual?
Questions and answers