Table of Contents
Advertisement
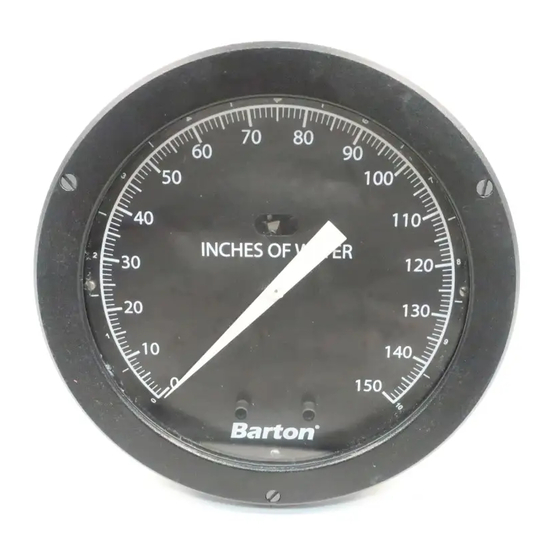
Model 200A
CONTENTS
Section 1 - Introduction .......................................................... Page 3
1-1. General....................................................................... Page 3
1-2. Main Components ....................................................... Page 3
1-3. Indicator Specifications ................................................. Page 3
1-4. Theory of Operation .................................................... Page 3
Section 2 - Installation ............................................................ Page 5
Section 3 - Maintenance ......................................................... Page 7
3-1. Required Tools............................................................. Page 7
3-2. DPU Test/Calibration/Maintenance Equipment .............. Page 7
3-3. Bezel and Lens Installation and Removal ........................ Page 7
3-4. Calibration Check ........................................................ Page 7
3-5. Pointer Installation and Removal ................................... Page 8
3-6. Complete Calibration ................................................... Page 8
3-7. Overrange Stop Adjustment .......................................... Page 9
3-8. DPU Maintenance........................................................ Page 10
3-9. Locking Drive Arm to Torque Tube ............................... Page 10
3-10. Troubleshooting ......................................................... Page 11
Section 4 - Parts Drawing/List ................................................ Page 12
4-1. Model 200A ................................................................ Page 12
Figure 4-1. 200A Parts Drawing ....................................... Page 12
Table 4-1. 200A Parts List................................................ Page 13
4-2. Models 227A and 227C ............................................... Page 14
Figure 4-2. 227A/227C Parts Drawing ............................. Page 14
Table 4-2. 227A/227C Parts List ..................................... Page 15
Section 5 - Installation Drawings .............................................. Page 16
5-1. 200A (0200-09043) .................................................... Page 16/17
5-2. 227A (0227-09013) Standard ...................................... Page 18/19
5-3. 227A (0227-09033) 500 psi Brass ............................... Page 20/21
5-4. 227C (227C-10013).................................................... Page 22/23
[This manual is for the Indicator only - before installing or
operating this instrument, refer to the separate DPU manual that is
appropriate for the instrument model listed above.]
MODELS 200A/227A/227C
DIFFERENTIAL PRESSURE INDICATOR
Model 227A
200A use 199 DPU
227A uses 224 DPU
227C uses 224C DPU
Installation Manual
Version 03D77d
ID#10055
4/2003
Advertisement
Table of Contents


Need help?
Do you have a question about the 200A and is the answer not in the manual?
Questions and answers