
Subscribe to Our Youtube Channel
Related Manuals for Energizer EOB1-1001-WHT


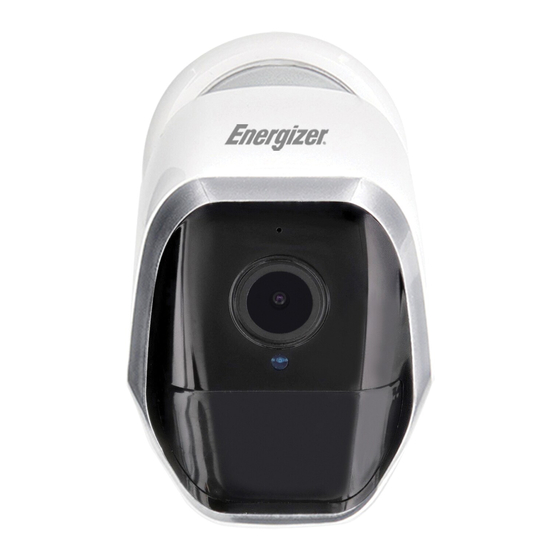
Summary of Contents for Energizer EOB1-1001-WHT
- Page 2 – Magnetic Mount – Mounting Equipment – Quick Start Guide Search: Energizer Connect or Scan the QR code For video tutorials, check out our YouTube channel...
- Page 4 1. Slide the latch of the baמּery compartment to the right. 2. Optional: Insert microSD card (not included) into microSD card slot, supports max to 128GB. 3. Turn the baמּery power switch to the ON position. microSD Card Slot Step 1 Step 2 Step 3 4.
- Page 6 Blinking Red Pairing Mode Blinking Green Waking Up/Detecting Motion Solid Green Awake...
- Page 8 Next Step...
- Page 10 Place the lens of the camera directly against the QR code that shows up on your screen and slowly move the camera back. Once you hear an audible prompt from the camera, press the “I Heard a Prompt” buמּon.
- Page 11 Your Energizer Smart Baמּery Camera is now ready to use. You ® can now view the camera remotely and receive mobile alerts. We hope you enjoy using your Energizer Smart Baמּery Camera. ® For frequently asked questions and instruction videos, please...
- Page 12 Option 1: For mounting without the magnetic mount, simply place the camera on any flat surface. Option 2: Install the magnetic mount to a wall using the included screws and place the camera on the mount. You can adjust the position of the camera around the ball mount to fit your needs.
- Page 13 In order to use Advanced Features such as Cloud Recording or 3rd party streaming services, you will need to have your baמּery camera constantly plugged into a power source. These features take up a lot of power and will deplete your baמּery unless you keep it plugged in.
-
Page 16: Live View Controls
Live view controls: Tap to Speak Photo (Scroll down to view) Storage Camera Timestamp Device Seמּings Quality Switch: Toggle WiFi Signal Stregth between High Definition (HD) Recording Stamp and Standard Definition (SD) Full Screen Landscape View Audio Switch: Enable camera audio so you can hear through Recording Playback Controls the camera... - Page 17 Local playback controls: Take a Photo Camera Timestamp Device Seמּings Pause Playback Full Screen List of Motion Detections: Click Playback Timeline on a time to see the recorded Date Selection event Duration of event recorded Take a Photo: Save a snapshot of the current live video to your Begin recording the smart device...
- Page 19 Try moving it to a spot closer to your router with few walls between the router and your camera. You can purchase a WiFi extender to increase your wifi range. You can create a separate 2.4GHz network just for your smart ...
- Page 20 Connected IOT, Inc. All other brand names are trademarks of their respective owners. Neither Jem Connected IOT, Inc. nor Energizer Brands, LLC is affiliated with the respective owners of their trademarks. Apple and the Apple logo are trademarks of Apple Inc., registered in the U.S.
Need help?
Do you have a question about the EOB1-1001-WHT and is the answer not in the manual?
Questions and answers