Table of Contents
Advertisement
Quick Links
Sheridan College
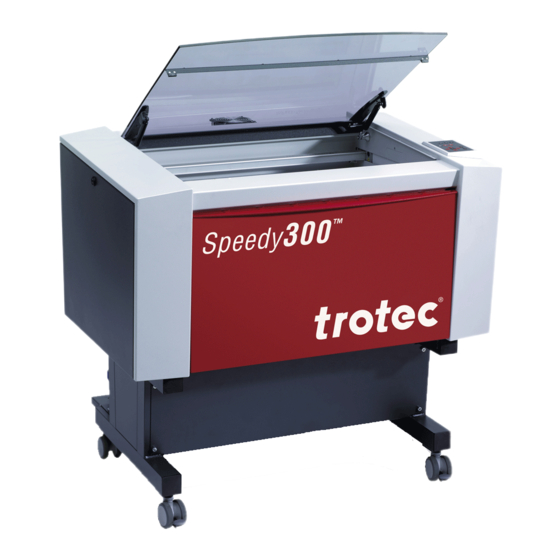
SPEEDY 300
The laser machine Speedy 300 in different version of Autocad makes it possible to cut and engrave
different materials with great accuracy (+/- 0.05mm). It is a good way to create an accurate model of your
design. This manual provides information on what should be done before using Speedy 300 and how to use
Speedy 300. Please read this manual carefully before start using Speedy 300. Note that the use of Speedy
300 is allowed only under supervision of qualified staff of the workshop.
Start with the machine setup!
Power switch
1
SPEEDY 300 LASER MANUEL
Powering On:
After turning on the power, the table will drop to
the "zero" Z axis position. Do not interfere with the
laser while it's doing this.
XYZ Controls:
•
•
•
control pad is the "Pause" button. DO NOT USE
The
red
arrow keys control XY movement
The black arrow keys control the Z axis
The only other button you may use on this
AUTOFOCUS, IT DOES NOT WORK
Advertisement
Table of Contents

Related Manuals for Trotec SPEEDY 300


Summary of Contents for Trotec SPEEDY 300
- Page 1 (+/- 0.05mm). It is a good way to create an accurate model of your design. This manual provides information on what should be done before using Speedy 300 and how to use Speedy 300. Please read this manual carefully before start using Speedy 300. Note that the use of Speedy 300 is allowed only under supervision of qualified staff of the workshop.
- Page 2 Sheridan College Focusing on your material: Install the sheet on the table and position to the top- left corner. Find the focusing probe that has a pin color that matches the lens color and rest in on the edge the laser head. Bring the Z axis up until it’s about 2mm above the surface and tap it the rest of the way until the focusing probe just falls off.
- Page 3 Sheridan College Click on PRINT (PLOT) and define the parameters Define printing area Define material Define custom paper size Process Mode = Standard Minimize to Jobsize = Checked Width = max 29 in. Cut Line = As you desire Height = max 17 in. Resolution = As you desire Keep the lid open when you send the printing job from ACAD to Job control.
- Page 4 Sheridan College Before final plot click on Preview, make sure everything is on the page you want to process and print after. Job Control automatically pops up. DRAG YOUR JOB TO THE PRINTING AREA AND LOCATE Your job is here ON THE HONEYCOMB TABLE Material Showing the...
- Page 5 Sheridan College For the acrylic apply these parameters Connecting the laser (Job Control): Click the plug and socket button! Make sure the ventilation filter system is turned on!
- Page 6 Troubleshooting • If Speedy 300 won’t cut and/or engrave in the right way, press ‘pause’ on your screen. Check in the AutoCAD file if you have drawn all lines as polylines, splines or circles. Check if you placed all lines on the same layer in the layer control.
- Page 7 Sheridan College Materials we can laser cut: We can cut the following materials. If you do not see your material listed, please ask a ULI if the material is okay to use. Plastics: • ABS (acrylonitrile butadiene styrene) Acrylic (also known as Plexiglas, Lucite, PMMA) Delrin (POM, acetal) —...
- Page 8 Sheridan College Other: • Cloths (leather, suede, felt, hemp, cotton) Magnetic sheets Papers Rubbers (neoprene)— for a supplier, try www.mcmaster.com. Teflon (PTFE, Polytetrafluoroethylene) — for a supplier, try www.mcmaster.com. Woods (MDF, balsa, birch, poplar, red oak, cherry, holly, etc.) — for a supplier, try www.midwestproducts.com.
Need help?
Do you have a question about the SPEEDY 300 and is the answer not in the manual?
Questions and answers