Table of Contents
Advertisement
Quick Links
Advertisement
Table of Contents

Related Manuals for Safe Spacer IK141

Summary of Contents for Safe Spacer IK141
- Page 1 Wearable social distance monitor...
-
Page 2: Table Of Contents
5 BATTERY LEVEL AND CHARGING 5.1 Battery level alerts 5.2 Charging 6 SOCIAL DISTANCE WARNING 7 CONTACT DATA LOG 8 CARE INFORMATION 8.1 Cleaning the wristband or belt loop 8.2 Cleaning the device casing 8.3 Allergy information 9 SPECS Safe Spacer REGULATORY... -
Page 3: Safety Instructions
SAFE SPACER IS NOT A MEDICAL DEVICE Safe Spacer is not a medical device and should not be used as a substitute for professional medical judgement. It is not designed or intended for use in the diagnosis of disease or other conditions, or in the cure, mitigation, treatment, or prevention of any condition or disease. -
Page 4: Repair And Modifications
CAUTION: Modifications to any component of Safe Spacer are not permitted, as they can endanger your safety or damage the device. Disassembling Safe Spacer may cause damage, result in loss of water resistance, and may cause injury to the user. -
Page 5: Overview
2 OVERVIEW LANYARD HOLE ON/OFF - RESET MICRO USB LED LIGHTS BUTTON PORT... -
Page 6: Installation
3 INSTALLATION Safe Spacer can be worn using a LANYARD, WRISTBAND, or BELT LOOP. NOTE: Before starting to use Safe Spacer, make sure it is fully charged (see: 5 Battery level and charging). -
Page 7: Lanyard
3.1 LANYARD • Use the lanyard to wear Safe Spacer as a necklace. • Insert the loop of the lanyard into one of the holes and push the loop in until it comes out of the other hole. • Thread the lanyard cable... -
Page 8: Wristband
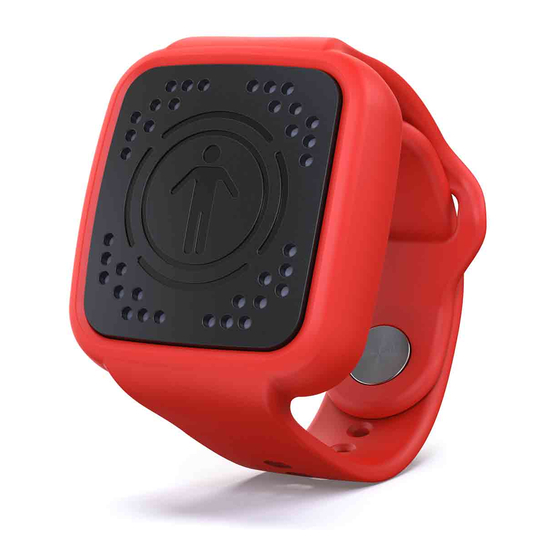
3.2 WRISTBAND • Put the Safe Spacer into the wristband with the logo facing outwards. • Put the wristband around either wrist and push the clasp firmly through the hole most comfortable to wear. Put the loose end of the top strap through the loop until both straps lie flat. -
Page 9: Belt Loop
3.3 BELT LOOP • Put the Safe Spacer into the belt loop with the logo facing outwards. • Put the belt loop around the belt and push the clasp firmly through the hole. • It is possible to remove the Safe Spacer from the belt loop. -
Page 10: On/Off/Reset Button
GREEN BLUE • Turn the Safe Spacer ON by pushing the button on the back of the unit. The unit will turn on and the lights will blink green/blue alternatively for 10 seconds. •... -
Page 11: Battery Level And Charging
It is possible to use the dedicated S-Charger bay or any micro-USB power supply capable of 5VDC and 1A. • While the Safe Spacer is charging, the lights on the unit will show you the battery level status: Charging error - if the... - Page 12 Don’t use a charging cable or power adapter that is damaged or modified. Failure to do so may cause fire, electric shock, injury, or damage to Safe Spacer or other property. Don’t wear Safe Spacer on your body or under clothing when charging the device.
-
Page 13: Social Distance Warning
6 SOCIAL DISTANCE WARNING Social distancing between workers is ensured by alerting them if they come too close to each other. The social distancing warning thresholds can be configurated with dedicated software. Default threshold values: 1.2m / 3.94ft 2m / 6.56ft •... -
Page 14: Contact Data Log
7 CONTACT DATA LOG It is possible to enable/disable the contact data log with dedicated software or command line interface. • By default, the contact data log is disabled: to turn it ON, connect the unit to a computer. -
Page 15: Care Information
8.2 CLEANING THE DEVICE CASING • Clean the casing of Safe Spacer with a damp cloth or a mild soap solution. Don’t use abrasive cleaners. • The casing of Safe Spacer can be sanitized by wiping it with isopropyl alcohol. -
Page 16: Specs
Re-charge time Approx. 3 hours (using optional S-Charger docking station) Power supply 5V, 1A max. through micro USB connector Dust resistant IP52 rated (IK141-112) Water resistant option IP67 rated (IK141-107) Operation -20°C to 55°C, 0 % to 98 % relative humidity Storage -20°C to 55°C, 0 % to 98 % relative humidity... -
Page 17: Regulatory
REGULATORY Safe Spacer P/N: IK141-107 (contains P/N:IK141-100) P/N: IK141-112 (contains P/N:IK141-108) Model Nr.: IK141 Contains FCC ID: 2AQ33-DWM1001 Contains IC: 23794-DWM1001 FCC statement This device complies with Part 15.107 and 15.109 Class B of the FCC Rules CFR47: October 2010.
Need help?
Do you have a question about the IK141 and is the answer not in the manual?
Questions and answers