Advertisement
Quick Links
instructions
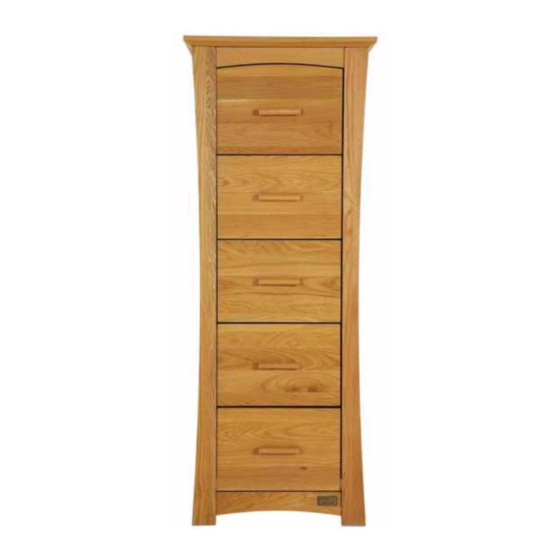
ocean tallboy
FR38TB:V1/04/08
© Mamas & Papas (Holdings) Ltd. 2008
IMPORTANT: Please read instructions carefully
and keep for future reference
Important: please read
these InstructIons
carefully before
startIng to assemble
your product.
Ocean Tallboy (print) V1.indd 1
Important: the
assembly of thIs
product requIres
two people.
30/7/08 10:40:26
Advertisement

Related Manuals for Mamas & Papas Ocean tallboy


Summary of Contents for Mamas & Papas Ocean tallboy
- Page 1 © Mamas & Papas (Holdings) Ltd. 2008 IMPORTANT: Please read instructions carefully and keep for future reference Important: please read Important: the these InstructIons assembly of thIs carefully before product requIres startIng to assemble two people. your product. Ocean Tallboy (print) V1.indd 1 30/7/08 10:40:26...
- Page 2 Runner screws (left & right hand versions) x 10 x 10 Bolts Rail inserts x 24 Allen key Cam stud x 24 x 10 Cams Handle screws x 20 Long screws Wall strap Screwdriver Ocean Tallboy (print) V1.indd 2 30/7/08 10:40:29...
- Page 3 (3) (this has the badge on it). Slot the rail onto the right side panel (2). Tighten the bolt into the side panel using the allen key (e). Ocean Tallboy (print) V1.indd 3 30/7/08 10:40:32...
- Page 4 (e). Attach the top front rail (4) to the side panel using a bolt (c) and rail insert (d). Fasten the bolt into the side panel using the allen key (e). Ocean Tallboy (print) V1.indd 4 30/7/08 10:40:35...
- Page 5 (c) and rail insert (d). Ensure that the groove in the back panel is aligned with the groove back leg of the side panel. Fasten the bolt into the side panel using the allen key (e). Ocean Tallboy (print) V1.indd 5 30/7/08 10:40:37...
- Page 6 (1) onto the assembled section. Fasten the rails to the right side panel using five bolts (c) and inserts (d). Use the allen key (e) to tighten the bolts into the side panel. Ocean Tallboy (print) V1.indd 6 30/7/08 10:40:39...
- Page 7 With the help of another person, lift the tallboy upright. Screw four cam studs (f) into the top (7) using a X-head screwdriver. Ocean Tallboy (print) V1.indd 7 30/7/08 10:40:42...
- Page 8 Turn the cams clockwise with the screwdriver (K). Screw four cam studs (f) into the top drawer front (8) and sixteen into the four drawer fronts (9) using a X-head screwdriver. Ocean Tallboy (print) V1.indd 8 30/7/08 10:40:44...
- Page 9 (12) drawer sides onto the drawer fronts as shown in the diagram. Insert twenty cams (g) into the holes in the drawer sides and turn clockwise with the screwdriver (K) to lock. Ocean Tallboy (print) V1.indd 9 30/7/08 10:40:47...
- Page 10 (14) onto the assembled sections. Insert twenty long screws (I) into the holes in the drawer sides. Tighten the screws into the drawer backs using a X-head screwdriver. All five drawers are now fully assembled. -10- Ocean Tallboy (print) V1.indd 10 30/7/08 10:40:50...
- Page 11 Slot the screw through the washer and then through one end of the wall strap. Tighten the screw into back of the top using a X- head screwdriver. The tallboy is now fully assembled. -11- Ocean Tallboy (print) V1.indd 11 30/7/08 10:40:52...
- Page 12 If you need assistance, spare parts or you are unhappy with any aspect of the goods please contact customer services on: 0870 8307700, or e-mail us at: customer.services@mamasandpapas.com. Visit our website at www.mamasandpapas.com for the latest product information. -12- Ocean Tallboy (print) V1.indd 12 30/7/08 10:40:52...
Need help?
Do you have a question about the Ocean tallboy and is the answer not in the manual?
Questions and answers