Advertisement
X3 AUGER
INSTALLATION
Purpose
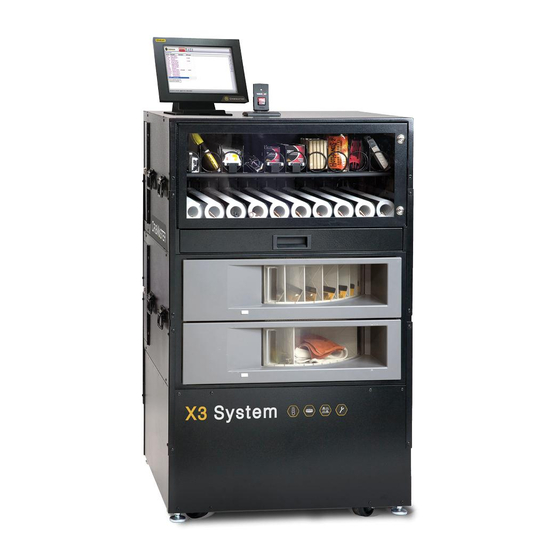
The following document outlines the procedures for replacing a coil with an Auger into the tray of an
X3 vending unit and loading inserts into the installed Auger.
The Auger is an alternative vending coil for the X3 vending machine and is designed to individually
vend small unpackaged items. The Auger consists of two components: the auger coil and a sleeve to
hold items in place.
Remove Coil and Load Auger into the X3 Unit
1. Unlock and open the X3 door.
2. Slide selected tray out from the unit as far as it will go.
Note: The drawer will remain connected to the X3 unit and will sit, still attached to the X3 unit, at
an angle of approximately 45° from the machine (See Figure 1). From this position remove the coil
and install the auger as described in the following steps..
© 2014 CribMaster. All rights reserved.
Figure 1
1 of 4
Revision 1 June 5, 2014
Advertisement
Table of Contents

Related Manuals for CribMaster X3 AUGER

Summary of Contents for CribMaster X3 AUGER
- Page 1 45° from the machine (See Figure 1). From this position remove the coil and install the auger as described in the following steps.. Figure 1 1 of 4 © 2014 CribMaster. All rights reserved. Revision 1 June 5, 2014...
- Page 2 3. To remove the existing coil from the tray, face the front of the tray and grasp the coil from positions near the front of the tray and near the motor (see figure 2). 4. Pull firmly until the coil releases from the motor drive. Note: Do not yank or jerk on the coil.
- Page 3 Note: This loading method is recommended over dropping the insert into the Auger. Attempts to drop the inserts into the auger have been proven unreliable. 5. When the Auger has been loaded push the vending tray back into the machine. 3 of 4 © 2014 CribMaster. All rights reserved.
- Page 4 4 of 4...
Need help?
Do you have a question about the X3 AUGER and is the answer not in the manual?
Questions and answers