Advertisement
Quick Links
Advertisement

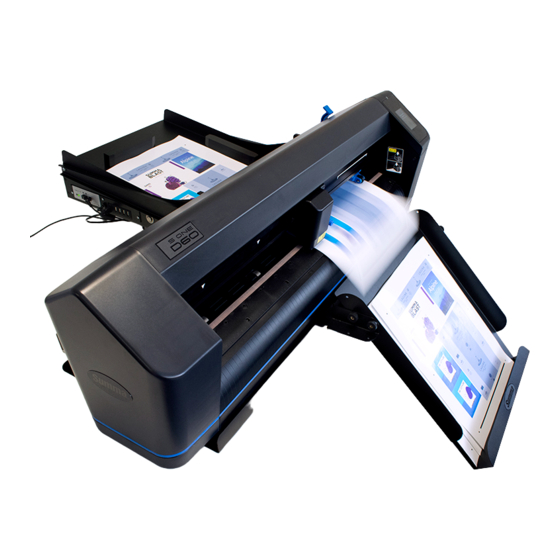
Summary of Contents for Summa TRAY ONE
- Page 2 Notice Summa reserves the right to modify the information contained in this User Manual at any time without prior notice. Unauthorized copying, modification, distribution or display are prohibited. All rights reserved. EU Waste Electrical and Electronic Equipment (WEEE) Directive The symbol (right) is shown on this product. It indicates that the product should not be placed in municipal waste but should be disposed of separately.
-
Page 3: Table Of Contents
Table of Contents Setup......................1-1 1.1.1 Driver installation ....................... 1-4 1.1.2 Parameter settings on cutter ..................1-4 Usage ......................2-1 2.1.1 General ........................2-1 2.1.2 Making template if plug-in is not available for your design software ....2-2 Table of contents... -
Page 4: Setup
1 SETUP 1.1 Assembling the sheet feeder The sheet feeder comes in two boxes. One box is with the parts that are specific for your model of cutter. Before assembling the sheet feeder check if that box is the correct one. This box will be referred to as box 2 in the assembly procedure below. - Page 5 Tray One User’s Manual Do the same at the other side. Slide the tray in the slots of the plates Put the brackets over the threaded pins and secure the with 4 washers and the smaller grip knobs. Mind the orientation of the...
- Page 6 Tray One User’s Manual Fully assembled. 2 magnetic blocks to hold loaded sheets aligned. Position pinch rollers (left one fixed, right one adjust to sheet size) 1. Connect adapter (next to sheet feeder ON/OFF switch) 2. USB cable that needs to be connect to computer 3.
-
Page 7: Driver Installation
Tray One User’s Manual 1.1 Set up computer and connect 1.1.1 Driver installation The program GoSign is used to drive the sheet feeder and cutter. Install first the program GoSign before connecting the cutter to the computer. During the installation of the program all the necessary files for the drivers will be copied to the computer. - Page 8 Tray One User’s Manual For the SummaCut: Power on the cutter (see section 1.4.3). Press ‘KNIFE PRESSURE’ will appear on the LCD. Press ‘SYSTEM SETUP’ will appear on the LCD. Press ‘ACTIONS’ will appear on the LCD. to scroll through the menu until ‘Configuration’ is reached. Press ‘IP CONFIG’...
-
Page 9: Usage
You can either work with a template with registration marks or use the GoSign plug-in from Summa for Illustrator or CorelDRAW to add the registration marks. The layer with the print data and the layer with the registration marks is then printed, the layer with the cut data and the registration marks is then send to the program GoSign. -
Page 10: Making Template If Plug-In Is Not Available For Your Design Software
Tray One User’s Manual NOTE: Recommended layer names are: Print Data for the layer with the print data. Regmark for the layer with the registration marks on them NOTE: If the layer name of the layer with the print data is always the same, then there is a setting in GoSign to ignore the data from this layer. - Page 11 Tray One User’s Manual 2.2 Output the job When a job is opened in GoSign then everything is normally set ready for output. In the sample above a separate action, set has been made for output to the cutter with the sheet feeder installed.
- Page 12 Tray One User’s Manual Click on the output action to send the cut file to the sheet feeder. The cutter will load the first sheet and prompt the user to put the tool above the first registration mark. For S one: 0.00...
- Page 13 Tray One User’s Manual 2.3 Using a rip instead of a standard printer driver When a rip is used, then the registration marks can be set by the rip and the file with cut data will be a typical cut file with DMPL or HPGL data in it. In this case the pro Pack for GoSign will have to be purchased since the standard version of GoSign cannot import DMPL, DMP, HPGL or HPG files.


Need help?
Do you have a question about the TRAY ONE and is the answer not in the manual?
Questions and answers