Table of Contents
Advertisement
Quick Links
O
M
WNER'S
ANUAL
I
O
NSTALLATION AND
PERATION
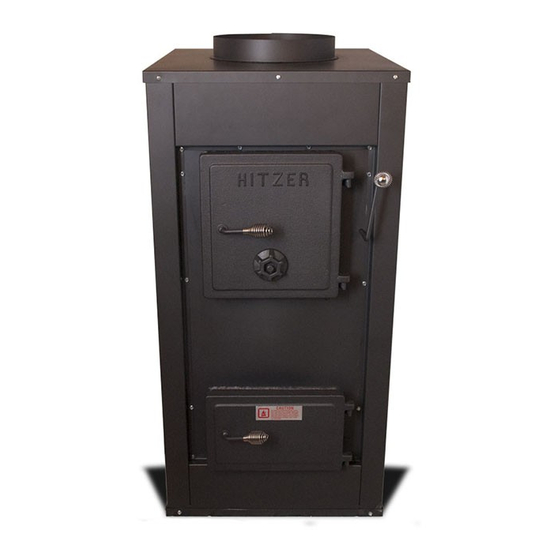
Model 55 Furnace
Model 82 Furnace
Save this Manual
Operating Instructions and Maintenance Enclosed.
Thoroughly Read and Understand Instructions.
Always Leave this Manual with Stove Owner.
WARNING
FOLLOW THE INSTRUCTIONS WITHIN THIS MANUAL. IF INSTRUCTIONS ARE NOT
FOLLOWED, A FIRE MAY RESULT CAUSING PROPERTY DAMAGE, PERSONAL INJURY,
OR DEATH.
FURNACE SURFACES MAY BECOME HOT WHILE IN OPERATION. HIGH FURNACE
TEMPERATURES MAY IGNITE CLOTHING OR FLAMMABLE MATERIAL.
FOR USE OF SOLID FUEL, COAL ONLY. OTHER FUEL SOURCES CAN RESULT IN
POISONOUS GAS EMISSION, STOVE DAMAGE, AND/OR FIRE.
FOR BEST RESULTS USE NUT OR PEA SIZED ANTHRACITE COAL. RUN OF MINE,
LUMP, AND EGG SIZE BITUMINOUS COAL MAY ALSO BE USED.
CARBON MONOXIDE AND SMOKE DETECTORS MUST BE PRESENT IN THE
HOME AND WORKING PROPERLY AT ALL TIME.
REFER TO FURNACE MARKINGS FOR MORE INFORMATION AND
SPECIFICATIONS
Advertisement
Table of Contents

Subscribe to Our Youtube Channel
Related Manuals for Hitzer 55 FA

Summary of Contents for Hitzer 55 FA
- Page 1 WNER’S ANUAL NSTALLATION AND PERATION Model 55 Furnace Model 82 Furnace Save this Manual Operating Instructions and Maintenance Enclosed. Thoroughly Read and Understand Instructions. Always Leave this Manual with Stove Owner. WARNING FOLLOW THE INSTRUCTIONS WITHIN THIS MANUAL. IF INSTRUCTIONS ARE NOT FOLLOWED, A FIRE MAY RESULT CAUSING PROPERTY DAMAGE, PERSONAL INJURY, OR DEATH.
-
Page 2: Welcome To Hitzer Family
I. Welcome to Hitzer Family Hitzer Inc. welcomes you to a proud and unified team of Hitzer stove owners. Thank You for your recent purchase of a Hitzer Furnace. We can assure you that your Hitzer furnace has the finest Swiss Amish Craftsmanship. -
Page 3: Flue Systems
II. Flue Systems A good chimney is essential. This room heater must be connected to (1) a listed Type HT (2100°F) chimney per UL 103 or ULC S629, or (2) a code-approved masonry chimney with a flue liner. Masonry Flue System: It is important to make sure that the masonry chimney is structurally sound and on a solid foundation. - Page 4 Hitzer Furnace. The flue size for the 55 furnace should be a minimum of 6 inches in diameter. The flue size for the 82 furnace should be a minimum of 7 inches in diameter.
- Page 5 Chimney Draft Requirements: Chimney draft is the measurement of the pull or vacuum created by the chimney. It can be measured with a manometer and is expressed in inches of water (inch wc). To measure you need to drill a small hole in the stovepipe between the flue collar and any stovepipe dampers installed into the stovepipe system.
- Page 6 be installed so that the upper pipe section fits inside the lower section. This way the condensation, creosote or soot building up inside the pipe will stay inside the pipe as it flows down the inside surface. Horizontal pipe runs should have the pipe seams turned up. Chimney connectors must not pass through the ceiling, concealed spaces, or enter the chimney in the attic.
- Page 7 Flue 28” 18” 28” Flue 82 FA 55 FA Clearance to Combustible Material: Unit to Side Wall: 28” Unit to Back Wall: 28” Chimney Connecter to a Combustible Wall or Ceiling: 18” Unit must be placed on a noncombustible floor.
- Page 8 Cut the 12” hole in your picked spot. Attaching a 12” takeoff collar, like on the top of the Hitzer furnace, to this hole will facilitate a better hookup. A takeoff collar is available at the same places where you get the 12” duct pipe. Assemble the duct pipe connecting the two systems.
- Page 9 Below are typical ways of approved installation formats. Note: these illustrations reflect typical installations and are for design purposes only. Illustrations and diagrams are for informational purposes only. These diagrams are not drawn to scale. Actual installation procedures may vary.
- Page 11 Do not have hot air from gas or oil furnace flow downward into the Hitzer Furnace and flow out the Hitzer Furnace to existing duct work.
- Page 12 Note: For the first fire in your new Hitzer Furnace, create a small hot fire to allow paint to cure to the stove. This will create an odor as paint cures to the stove. Let this small fire burn for at least 2 hours before you fully load the stove to maximum heating potential.
- Page 13 not covered, the coal will not ignite. Keep the draft controls open. Once a layer has started to burn and turn red, another layer can be added. Continue adding layers of Anthracite coal until there is a solid bed of burning coal. Adding to much coal at one time can put the fire out.
- Page 14 changes over the season as stated before. We do not advise turning the Dial Heat Regulator back more than one number at night and usually it is more satisfactory to allow the heater to operate with the setting in the same position day and night. It takes very little more fuel to maintain the temperature than to bring it back to normal in the morning.
-
Page 15: Disposal Of Ashes
When burning Bituminous coal, it will be necessary to shake the grates morning and evening also. Bituminous coal can have a tendency to fuse into clinkers. The amount of clinkering is dependent on the grade of coal you are burning and the temperature you are burning at. Before shaking you may have to break up ash clinkers with a poker. -
Page 16: Limited Warranty Agreement
Check outside painted surface of furnace. If surface rust or blemishes are present lightly rub with fine steel wool to remove. You can then touch up the paint with high temperature stove paint available at your Hitzer dealer. - Page 17 All shipping charges shall be the responsibility of the original purchaser and the said Hitzer, Inc. shall have the final determination and be the final determiner as to whether or not said component is defective.
- Page 18 In order for the above stated limited warranty to be effective and binding upon Hitzer, Inc., this portion herein must be detached and sent by the original owner to Hitzer, Inc. to the above stated address within ten (10) days from the date of purchase of said stove.
Need help?
Do you have a question about the 55 FA and is the answer not in the manual?
Questions and answers