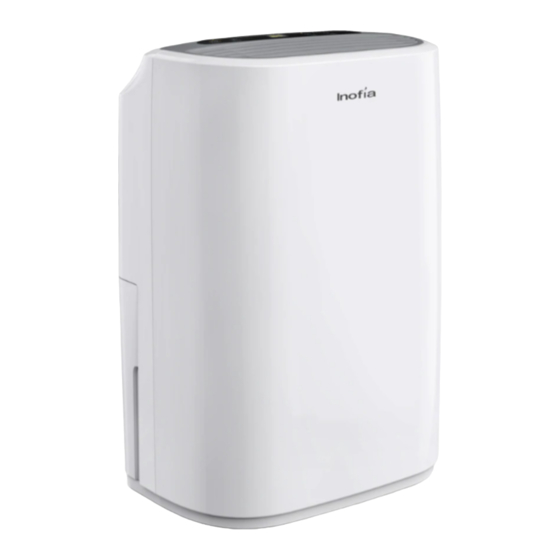
Summary of Contents for Inofia HD161A
- Page 1 User Manual Model No.: HD161A Please read this User Manual before operating and keep safe for future reference.
- Page 2 BEFORE FIRST USE: To prevent any internal damage, it is very important to keep refrigeration products (like this dehumidifier) upright throughout their journey. Please leave it standing upright and outside the box for HOURS before plugging it in.
- Page 3 To access customer support, please email to service@inofia.com with your purchase order ID to help us address the problem faster. Need Help? Before you request for customer support, here are a few things you can do to help us serve you better.
-
Page 4: Table Of Contents
TABLE OF CONTENTS Important Safety Instructions..................1 Parts Identification......................2 Operation Instructions......................3 Care & Cleaning.........................9 Troubleshooting........................11 Warranty..........................13 Product Specification......................14... -
Page 5: Important Safety Instructions
Important Safety Instructions To prevent injury to the user or other people and property damage, the following instructions must be followed when using the dehumidifier. Warning 1. Do not place the dehumidifier near a heater. Do not use the dehumidifier near flammable gas or combustibles, such as gasoline, benzene, thinner, etc. -
Page 6: Parts Identification
Parts Identification NOTE: Do not cover or block the air inlet or outlet. -
Page 7: Operation Instructions
Operation Instructions 1. Position Your Dehumidifier Properly • Place the dehumidifier on a smooth, level floor that is strong enough to support the dehumidifier with a full bucket of water. • To maintain efficiency, operate the dehumidifier in an enclosed area. Keep nearby doors and windows closed. - Page 8 when the timer function is active. Defrost Indicator Light The DEFROST indicator light will illuminate when the frost has accumulated on the interior of the dehumidifier. The dehumidifying function will cease until the frost has melted. The frequent defrost process indicates that the ambient temperature is too cold. Therefore, if the room temperature is lower than 60°F, please consider adding heat to promote proper drying.
- Page 9 1) Once plug it in, the control panel will be light up for a second and then turns off. You’ll need to press the POWER Button to turn the dehumidifiers on. 2) If the “FULL” light is on, remove the bucket and re-install it properly. Step 2: To turn the dehumidifier on, press the POWER button.
- Page 10 Follow the below steps to set the TIMER: 1) press TIMER button; 2) adjust the timer setting by tapping or holding the or button to change the delay timer at 1-hour increments, up to 24 hours. The control will count down the time remaining (8,7,6, etc.) until the dehumidifier either starts or stops.
- Page 11 Auto-Restart If the dehumidifier shuts off unexpectedly due to power being cut, the dehumidifier will restart with the previous function setting (set humidity and fan speed) automatically when the power resumes. 6. Removing Collected Water 1) Emptying the Water Bucket When the bucket is full, the dehumidifier will automatically shut down and make a beep sound for 5 seconds.
- Page 12 any other hoses with inner diameter of 0.39 inches instead.) a. Remove the plastic cover from the continuous drain outlet; b. Remove the water bucket; c. Attach the included drain hose to the drain outlet; d. Replace the water bucket to the dehumidifier properly; e.
-
Page 13: Care & Cleaning
Care & Cleaning To avoid possible electric shock, ensure to turn the dehumidifier off and disconnect the plug from the power source before before performing any cleaning or maintenance. 1. Clean the Vent and Case • Use water and a mild detergent. Do not use bleach or abrasives. •... - Page 14 4. When Not Using dehumidifier for Long Periods of Time • Operate the dehumidifier on high fan mode for half a day, and then wait 1 day before emptying the reservoir. • Clean the main dehumidifier, water reservoir, and air filter. Ensure the whole dehumidifier is clean and dry.
-
Page 15: Troubleshooting
Troubleshooting Problem Possible Causes Solutions Dehumidifier The power cord is unplugged. Plug it in. can not turn on The fuse is blown or circuit breaker is tripped. Check the fuse or the circuit breaker. Water bucket is full or not in the proper Make sure the water bucket is empty and has been position. - Page 16 1) Pressing any button on the control panel can release the alarm. 2) Turn off the dehumidifier and unplug it to check if any obstructions. 3) Restart the dehumidifier 10 minutes later. If the ERROR message does not disappear after the restart, immediately contact Inofia customer service at service@inofia.com.
-
Page 17: Warranty
Warranty Information Inofia offers a limited 1-year warranty on all of our products, with original proof of purchase and where a defect has arisen, wholly or substantially, as a result of faulty manufacture, parts or workmanship during the warranty period. -
Page 18: Product Specification
Product Specifications Inofia Dehumidifier Model No. HD161A Power Source AC 110-120V, 60 Hz Rated Power 205W Rated Current 1.9A Moisture Removal(65°F, RH 60%) 9.0 Pints/Day Moisture Removal(80°F, RH 60%) 13.5 Pints/Day Moisture Removal(86°F, RH 80%) 25.9 Pints/Day Moisture Removal(95°F, RH 90%) 30.7 Pints/Day...


Need help?
Do you have a question about the HD161A and is the answer not in the manual?
Questions and answers