Table of Contents
Advertisement
Advertisement
Table of Contents

Summary of Contents for Kidzone 060-ROT-03
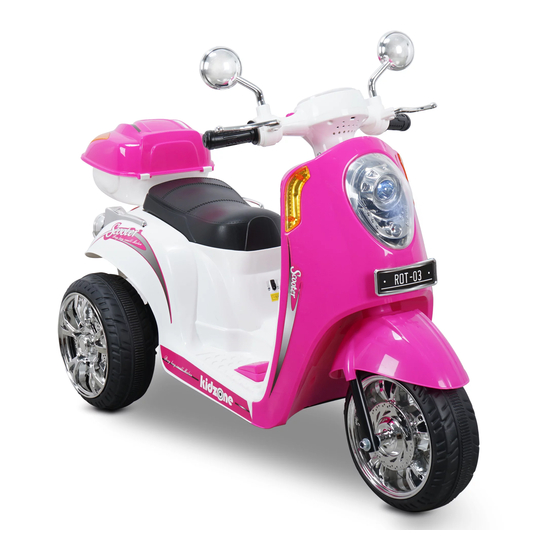
- Page 1 RIDE ON RETRO SCOOTER 3 WHEELS item number: 060-ROT-03...
-
Page 2: Safety Instruction
Safety Instruction When using electrical product, basic safety precaution should always be followed including the following Read all Instruction before use • To Protect against electrical shock, do not immerse cord, charger, transformer, battery, or the product in water or other liquid. •... - Page 3 Parts and Feature 1. Vehicle Body 6. Front Wheel 11. M10 Big Washer 2. Handle 7. Toolbox 12. M5 x 65 Bolt 3. Mudguard 8. Rear Axle 13. M5 Nut 4. Gear Box 9. M8 Nut 14. Wheel Hub 5. Driving Wheel 10.
-
Page 4: Assembly Instruction
Assembly Instruction Estimated Assemble Time: 40 mins Tools Needed: Screw Driver, pliers, hammer, spanner Some parts are small and have sharp edges. Do not let children handle parts or the assembly. This product should be assemble by adult. Wheel Hub M8 Nut Wheel M10 Big Washer... - Page 5 Assembly Instruction Mudguard Front Wheel Insert the front wheel and the mudguard to the front of the vehicle. Handle M5 x 65 Bolt M5 Nut Assemble the handle on the front axle, then secure using a M5 x 65 bolt and a M5 nut.
- Page 6 Assembly Instruction Rear View Mirror Insert the rear view mirror to the handle. Bolt Seat Remove the seat from the vehicle. Plug the power connector to the battery terminal. Replace the seat and secure using the removed bolt.
- Page 7 Assembly Instruction Assemble the tool box. M3.5 x 12 Screw Toolbox Attach the tool box to the rear of the vehicle. NOTE: Make sure all bolts are securely fasten before operating the product.
-
Page 8: User Instruction
User Instruction Using for the first time • Fully charge the battery for 8 - 12 hours. ⚠Do not charge the battery for more than 20 hours. Music Button General Power Switch Direction Switch Pedal Switch Operating the vehicle • Insert the key and turn on the general power switch. - Page 9 User Instruction Charging the battery • The charging port is located below the seat. NOTE: Make sure the power switch is turned off when charging ⚠WARNING • Only charge the battery for 8 - 12 hours, do not charge the battery for more than 20 hours to prevent overheating.
-
Page 10: Circuit Diagram
Circuit Diagram Care and Maintenance • Check the product regularly and make sure there is no missing or loose parts. Re-tighten any loose parts if necessary. • Make sure there is no cracked or broken plastic parts. • When not using store the product away from heat source, cover it with a tarp and away from wet weather. -
Page 11: Troubleshooting
Troubleshooting Problem Possible reason Solution Low Battery Fully charge the battery Fuse may tripped if the product is overload or operate incorrectly. Fuse Protection Wait 5-20 seconds for the fuse to reset. Vehicle does not move Loose wheel nuts Re-tighten all wheel nuts Disconnected / Badly connected Reconnect the battery battery... -
Page 12: Warranty Terms
2. Any product modifications by dealer, any circumstances. It is the retailer’s responsibility consumer, or other parties not authorized by to contact KIDZONE with a claim. We will not KIDZONE will void this warranty. handle claims from consumers directly; all 3.


Need help?
Do you have a question about the 060-ROT-03 and is the answer not in the manual?
Questions and answers