Table of Contents
Advertisement
Quick Links
Advertisement
Table of Contents

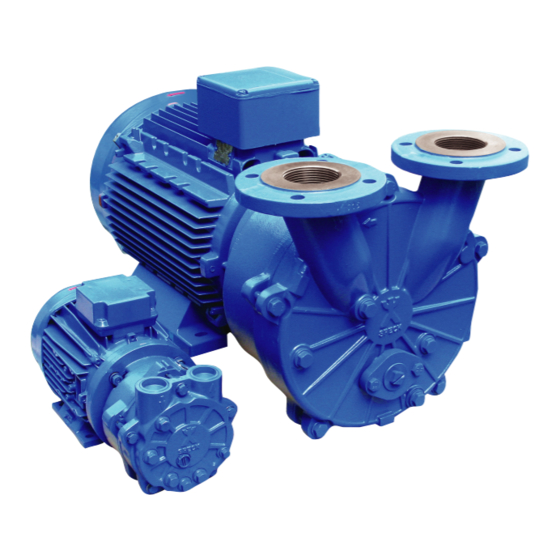
Summary of Contents for AirTech 3AV95
- Page 1 Repair Instructions 3AV 30 to 3AV 430...
-
Page 2: Table Of Contents
REPAIR MANUAL 3AV 30 - 3AV 430 Table of Contents Page Section: Number: 1.0 Dismantling Pump 1.1.1 3AV95/ 3AV130/ 3AV155/ 3AV330/ 3AV430 1.1.2 3AV255 1.2 Disassembling Impeller 1.3 Disassembling Shaft Seal Housing 1.4 Disassembling Mechanical Seal 2.0 Reassembling Pump 2.1 Reassembling Mechanical Seal 2.1.1 Rotating part of Mechanical Seal... -
Page 3: Dismantling Pump
Repair Instructions 3AV 30 - 430 General Remarks Before disassembly the pump, isolate the electrical input and disconnect the operation liquid connec- tion, and inlet and outlet connections. Disassemble and reassemble the pump on a level surface. Mark all parts as they become accessible during disassembly to ensure correct positioning for reassembly. Before starting disassembly, collect the parts, materials and standard tools, which are required for disassembly and reassembly of the pump Special Tools, Parts and Materials... -
Page 4: Disassembling Impeller
Repair Instructions 3AV 30 - 430 Disassembling Impeller • Block the impeller (230) at shaft seal housing (441) • Remove fixed hexagon nut from impeller adjusting screw • Remove impeller (230) from shaft • Remove impeller screw (906) and distance springs (950) from shaft. Notice position of distance springs Disassembling Shaft Seal Housing •... -
Page 5: Reassembling Pump
Repair Instructions 3AV 30 - 430 Reassembling Pump (e.g. 3AV 55) CAUTION Thoroughly clean all parts before reassembly, be sure to remove all old gasket mate- rial from mounting flanges. Remove burrs from mating surfaces and mounting faces. Remove rust at seat for mchanical seal. Reassembling Mechanical Seal 2.1.1 Rotating part of Mechanical Seal... -
Page 6: Reassembling Shaft Seal Housing
Repair Instructions 3AV 30 - 430 Reassembling Shaft Seal Housing Set motor on air ventilation cap Install distance springs (950, with molykote coated) on the impeller adjusting screw (906). Be carefull because the distance springs should be mounted as shown in the picture above. Coat the thread of impeller adjusting screw also with molykote Tread in the impeller adjusting screw into the motor shaft Align the studs of the motor flange with the holes of the shaft seal housing (441) -
Page 7: Reassembling And Adjusting Impeller
Repair Instructions 3AV 30 - 430 Reassembling and Adjusting Impeller Install impeller on motor shaft Coat the disk of impeller with liquid seal (Epple) Install washer on the coated disk of impeller Thread on nut to impeller adjusting screw Adjust impeller with the impeller adjusting screw. There should be a gap of 0.1 – 0.15 mm between the surface of the impeller and the surface of the shaft seal housing. -
Page 8: Reassembling Pump Case And Shaft Seal Housing
Repair Instructions 3AV 30 - 430 Reassembling Pump Case and Shaft Seal Housing Coat pump casing (101) with liquid seal (Epple) Install pump case (101) on inter casing (137). Thread in five hexagon head screws (901). Tighten the screws (901) cross-wise. Thread in all disassembled hexagon socket screwed plugs with their gaskets. - Page 9 Repair Instructions 3AV 30 - 430...
- Page 10 Marietta, GA 30067 Novato, CA 94949 Tel: 1 888 222 9940 Tel: 770 690 0700 Tel: 415 382 9000 Fax: 201 569 1696 Fax: 770 690 0709 Fax: 415 382 9700 airtech@airtechusa.com airtechsouth@airtechusa.com airtechwest@airtechusa.com CHINA ASIA EUROPE 2nd Building, Pfaffenpfad 5...


Need help?
Do you have a question about the 3AV95 and is the answer not in the manual?
Questions and answers