Advertisement
Quick Links
WARNING
Improper installation, adjustment, alteration, service or
maintenance can cause property damage, injury or
death. Read the installation, operating and maintenance
instructions thoroughly before installing or servicing this
equipment.
OWNER
Retain this Manual & ensure available for service.
Improper installation, adjustment, alteration, service or
maintenance can cause injury, death or property
damage. Read the installation, operation and service
instructions thoroughly before installing or servicing this
equipment
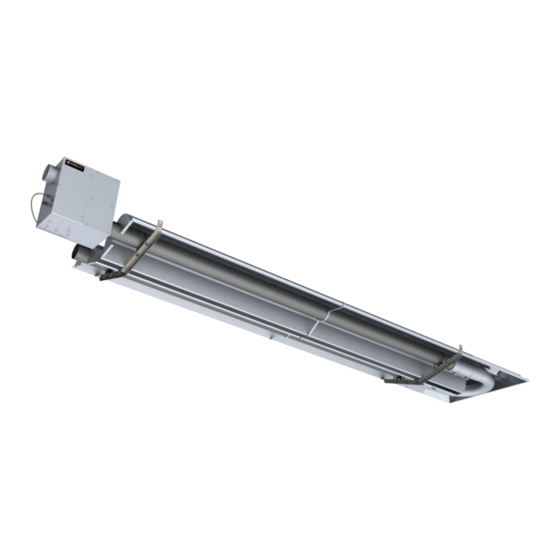
SRP BIG SHOT®
INFRARED HEATER
Canada: 563 Barton Street, Stoney Creek, Ontario L8E 5S1
USA: 315 N Madison Street, Fortville, IN 46040
www.superiorradiant.com
RADIANT AGRICULTURAL HEATER
WIDE HEAT DISTRIBUTION
FOR YOUR SAFETY
Do not store or use gasoline or other flammable vapors and
liquids in the vicinity of this or any other appliance.
If you smell gas:
1. Open windows
2. Don't touch electrical switches
3. Extinguish any open flame
4. Immediately call your gas supplier
Provide Manual to Owner upon completion of installation!
Read and thoroughly understand these Instructions before
attempting any installation
Page 1
Assembly Instructions
SRP BIG SHOT
INSTALLER
LT218 4/9/2019
®
Advertisement

Related Manuals for SRP BIG SHOT


Summary of Contents for SRP BIG SHOT
- Page 1 Assembly Instructions INFRARED HEATER ® SRP BIG SHOT RADIANT AGRICULTURAL HEATER WIDE HEAT DISTRIBUTION WARNING FOR YOUR SAFETY Improper installation, adjustment, alteration, service or Do not store or use gasoline or other flammable vapors and maintenance can cause property damage, injury or liquids in the vicinity of this or any other appliance.
- Page 2 Failure to do so may lead to premature equipment failure and invalidation of the warranty. Additionally, it is recommended that the equipment be installed with a slope downward and away from the burner of ¼" (6mm) in 10' (3m) to allow start-up condensate drainage. SRP BIG SHOT® Page 2 LT218 4/9/2019...
- Page 3 Thread the extra nuts upwards (they don’t need to be tight for now) Step 2-B: Install Tubes and U-Bolts. U-Bolt with extra nuts – close to Flange. The nuts sandwich the Hanger Bracket as pictured above. SRP BIG SHOT® Page 3 LT218 4/9/2019...
- Page 4 On the U-Tube side, the distance between the Flange and U-Bolt should be 9” the Tube’s end and U-Bolt should be 10” Step 4: Fasten the remaining 8 nuts onto the U-Bolts – leave these loose until the end! SRP BIG SHOT® Page 4 LT218 4/9/2019...
- Page 5 (Big Shot 80 only) 4 foot Baffle 6 foot Baffle (Big Shot 80 only) (Big Shot 60 and 80) Bend Baffle Tab Lock both Baffles together before inserting: over edge of Tube Align the little tabs and keyhole together at a 90 degree angle. Insert the tabs into the keyhole.
- Page 6 Both edges of the Tube and U-Tube should be touching. Step 7: Place Reflectors onto heater. They’ll be loose for now, but these two pictures depict how the Reflectors will be oriented once they are fastened: SRP BIG SHOT® Page 6 LT218 4/9/2019...
- Page 7 Qty 2 - CR009 Spring Clip Qty 4 - CH044 Screw, 8-32 x 1-1/4 62” Hex Head, Roberston #2 Step 8-B: Set the screws to a leave a gap of no more than 0.125” SRP BIG SHOT® Page 7 LT218 4/9/2019...
- Page 8 Step 9: Install the Inner End Cap with 6 screws, as pictured here: End Cap with flanges on the inside (hidden). SRP BIG SHOT® Page 8 LT218 4/9/2019...
- Page 9 Secondly, hold the Reflector tight to the bracket while fastening. perpendicular to the Reflector, and Screw the bracket to the reflector. then follow these dimensions: 6” 3” Match the profile of the Reflector and Bracket as pictured: SRP BIG SHOT® Page 9 LT218 4/9/2019...
- Page 10 Step 11-B: Step 11-A: Fasten the End Caps with a total of 12 Orient the End Caps onto the Reflector. standard screws. End Cap with flanges on the outside SRP BIG SHOT® Page 10 LT218 4/9/2019...
- Page 11 Step 12: Fasten the Hanger to the Reflector, using the standard screws. *While fastening, hold the Reflector tight to the bracket. SRP BIG SHOT® Page 11 LT218 4/9/2019...
- Page 12 Before fastening in the next step, ensure that there is a 2” gap between the U-Tube and End Cap. There should an overlap of about 9”, but the 2” space mentioned above is the driving dimension! SRP BIG SHOT® Page 12 LT218 4/9/2019...
- Page 13 Step 14: To fasten the Reflector, use standard screws as shown: SRP BIG SHOT® Page 13 LT218 4/9/2019...
- Page 14 Tighten these nuts to lock the U-Bolt in place, leaving the Tube loose. Don’t secure the Tube down, as it needs to move freely during heating and expansion These 6 nuts are to be snug. SRP BIG SHOT® Page 14 LT218 4/9/2019...
- Page 15 Step 16: Finally, attach the Burner Head to the Flange using the 4 lock washers and nuts provided. You should now have a fully assembled heater. SRP BIG SHOT® Page 15 LT218 4/9/2019...
Need help?
Do you have a question about the BIG SHOT and is the answer not in the manual?
Questions and answers