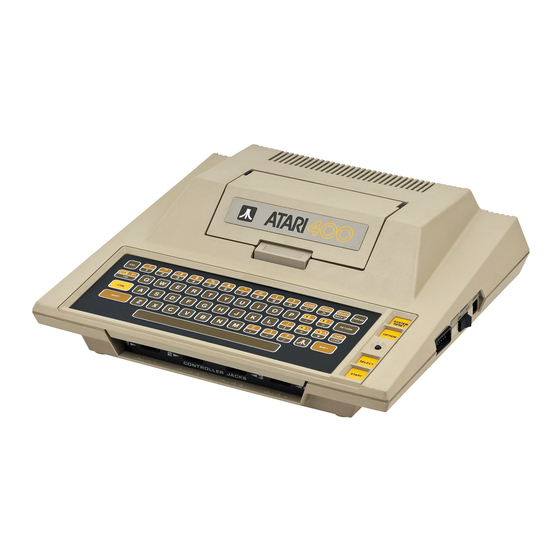
Atari 400 Installation Instructions Manual
48/52 kb ram card
Hide thumbs
Also See for 400:
- Technical reference manual (537 pages) ,
- Users handbooks (326 pages) ,
- User manual (244 pages)
Advertisement
Atari 400 48/52 KB RAM Card
Date: 2018 May 18, version 1.3
Author: Jürgen van Radecke (tfhh)
Introduction
Hi!
Thank you for your purchase of an Atari 400 48/52 KB RAM card. I hope you enjoy this piece of hardware
for our beloved Atari 8-bit computer systems
The Atari 400 48/52 KB RAM card is a replacement for the genuine, made-by-Atari CO61553 add-on card.
This one was only offered by Atari Service facilities and uses 8 pieces of 4164 DRAM (= 64 KB total) and
some TTL chips of the 74s series. Of course the upper 16 KB of 64 KB RAM can´t be used.
The advantages of my card comparing to the original card are:
Uses SRAM instead of DRAM (reducing power consumption, need just +5V, smaller PCB)
•
Enables the usage of a very common "little memory expansion" up to 52 KB using the former
•
unused area between $C000 and $CFFF
Enables the usage of up to 4 different operating systems installed on an industry standard EPROM
•
instead of the special Atari mask-ROMs found on the 400 mainboard
Enables the usage of an operating system which uses the former unused area of $C000-$CFFF
•
without modifications to the Atari 400 mainboard
Please read the whole manual completely at least once, even if you´re a professional. The installation of
the Atari 400 48/52 KB RAM card is very easy and only two wires must be soldered. These wires are
needed for detecting an inserted cartridge – otherwise the computer will crash if a cart is inserted.
The Atari 400 48/52 KB RAM card works fine in any Atari 400 computer using PAL or NTSC.
Please check the parts included in the kit:
The Atari 400 48/52 KB RAM card, populated with a 27C256 EPROM
•
One ready-to-use crimped connection ribbon cable with 16 pin IDC header and DIL adapter
•
All installation instructions are suitable for PAL or NTSC systems.
The default settings of the jumpers on the Atari 400 48/52 KB RAM card are:
48 KB RAM mode
•
Operating system chips on the 400 mainboard is used
•
Installation Instructions
1
Advertisement
Table of Contents

Related Manuals for Atari 400


Summary of Contents for Atari 400
- Page 1 Author: Jürgen van Radecke (tfhh) Introduction Thank you for your purchase of an Atari 400 48/52 KB RAM card. I hope you enjoy this piece of hardware for our beloved Atari 8-bit computer systems The Atari 400 48/52 KB RAM card is a replacement for the genuine, made-by-Atari CO61553 add-on card.
- Page 2 When all these simple tests are passed, go ahead. Otherwise please do troubleshooting first. If you think the original RAM card in your Atari 400 is faulty, you can try one from an Atari 800, too (you´ve to open the case, if there´s any around the 16 KB RAM cartridge).
- Page 3 Now take the short ribbon cable you got with your Atari 400 48/52 KB RAM card. There´s an IDC header on one end, this one will fit into the IDC connector at the Atari 400 48/52 KB RAM card. The other side has a 16 pin DIL plug.
- Page 4 When you plug the Atari 400 48/52 KB RAM card into your computer leaving all jumper bridges at their default positions, the Atari 400 48/52 KB RAM card acts like a 48 KB RAM solution only. For most users this is already fine. But you can do moreN let´s show you how to use the extended features.
- Page 5 When using a 27512 (64 KB) EPROM, both bridges are used to gain four combinations • Setting if using a 27256 EPROM (this type is already installed on your Atari 400 48/52 KB RAM card!): LEFT bridge set to 1-2: First 16 KB of 32 KB are selected (EPROM´s offset $0000-$3FFF) •...
- Page 6 The reason why is the change of current load at the 12V rail. The genuine RAM cards made by Atari uses 16 KBit DRAMs which require +12, +5 and -5 volts. Your new Atari 400 48/52 KB RAM card needs only +5 volts, so the voltage on the 12V rail increase a little bit (less than 0.3 volts).
Need help?
Do you have a question about the 400 and is the answer not in the manual?
Questions and answers