
Related Manuals for Agilent Technologies ESA-L1500A


Summary of Contents for Agilent Technologies ESA-L1500A
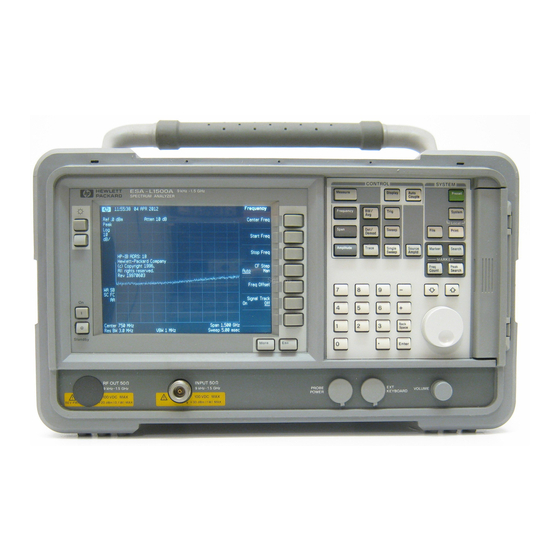
- Page 1 Installation Note Agilent Technologies ESA-L1500A Spectrum Analyzer Power Supply Upgrade Kit Number E4411-60021 Part Number E4411–90047 Supersedes E4411–90042 Printed in USA June 2000...
- Page 2 The information contained in this document is subject to change without notice. Agilent Technologies makes no warranty of any kind with regard to this material, including but not limited to, the implied warranties of merchantability and fitness for a particular purpose. Agilent Technologies shall not be liable for errors contained herein or for incidental or consequential damages in connection with the furnishing, performance, or use of this material.
-
Page 3: Installation Kit Parts List
Estimated Verification Time: ... . . 0.5 Hour Introduction This kit has been provided to reduce excess noise in the power supply of the ESA-L1500A spectrum analyzer. Installation Kit Parts List... -
Page 4: Tools Required
Tools Required A High Pot Test—also known as High Potential or Dielectric Withstand WARNING Test—is required after working on the high voltage section of the power supply. Ensure suitable test equipment is available for this test before performing this upgrade. Description Part Number TORX Hand Driver—Size T10... -
Page 5: Removing The Outer Case
Procedure Removing the Outer Case 1. Disconnect the spectrum analyzer power line. 2. Carefully place the analyzer on the work surface with the front frame facing down. Refer to Figure 2. 3. Remove the four screws (1) that hold the rear frame (2) and outer case (4) in place. 4. - Page 6 Removing the Inner Shield 1. Refer to Figure 3. Remove the 16 screws (2), (3), and (4) attaching the inner shield (1) to the chassis. If the tracking generator option is installed, the screw labeled (4) will not be present. In that case, there will be only 15 screws (2) and (3).
- Page 7 2. Refer to Figure 4. The inner shield (1) can now be removed from the chassis. Figure 4 Inner Shield Installation Note E4411–90047...
- Page 8 Removing the Front Frame Refer to Figure 5. 1. With the instrument still on its face, remove the two screws (1) on the bottom side of the instrument that secure the front frame to the RF assembly. 2. Place the instrument with the top side facing up. Remove the two screws (2) that secure the front frame subpanel to the chassis.
-
Page 9: Removing The Power Supply Assembly
Removing the Power Supply Assembly Refer to Figure 6. 1. Remove the vibration support bar (2) at the top rear of the instrument by pinching in the ends of the bar and rotating upward. The support can be removed by sliding it out of the holes in each assembly. CAUTION If forced, the vibration support can be broken;... - Page 10 Removing and Modifying Power Supply Board Refer to Figure 7. Before opening the cover of the power supply, ensure that at least 5 WARNING minutes have elapsed since the line power has been disconnected from the unit. Opening covers any soon is likely to expose dangerous voltages. 1.
- Page 11 Refer to Figure 8 for steps 6 through 12. 6. Unsolder and remove C34, R38, and CR43 (1). 7. Solder the two 10 ohm resistors (0757-0346) in place of C34 and R38. 8. Place the insulation sleeve (0890-0099) over one lead of the 4700 pF capacitor (0160-4831). Turn the board over.
- Page 12 Replacing Power Supply Board and Assembly Refer to Figure 7 for steps 1 through 7. 1. Replace the power board (3) onto the casing, and secure with the three screws (6). 2. Place the new label (9320-6209) over the barcode label on the power board. 3.
- Page 13 Refer to Table 5-2 in Chapter 5 of the ESA-L1500A Spectrum Analyzer Service Guide for the related adjustments and performance verification tests required for the A5 power supply assembly.