Table of Contents
Advertisement
Quick Links
Advertisement
Table of Contents

Subscribe to Our Youtube Channel
Related Manuals for birddog MINI


Summary of Contents for birddog MINI
- Page 1 MINI Quick-start guide Version 2.0...
-
Page 2: Firmware Update
Product Registration Please register your BirdDog Mini on our website to ensure you receive all the latest news and firmware updates via email. bird-dog.tv/register You can register here - What’s in the box... -
Page 3: Powering Options
Powering Options PoE Power over Ethernet (802.11af/at) Mini can receive power and data through a single Ethernet cable. Always use a certified 802.11af/at switch with minimum 12w port power capacity. Once PoE Ethernet cable is insered the unit will automatically power on. - Page 4 The final stage of booting will show the status light change to white indicating the BirdDog is ready and able to be found on the computer network. After initial boot up is complete your Mini unit will be visible as a source on any NDI compatible devices on the SAME ethernet subnet.
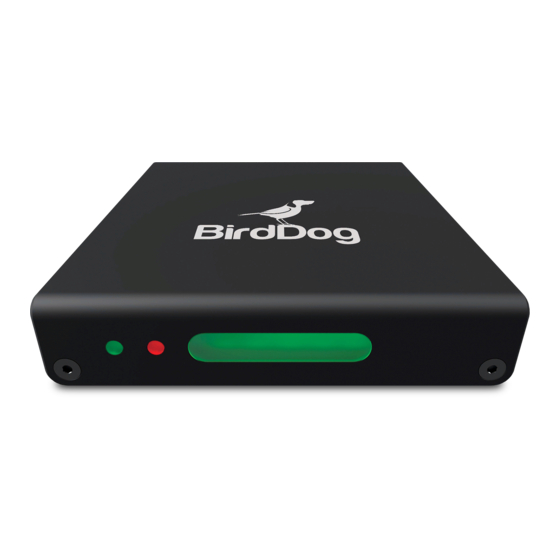
- Page 5 This indicates that the source is detected and the BirdDog is now streaming video over the NDI interface. No Input If the BirdDog Mini can not sync to a source or has no source attached the status LED will display red. This indicates that the BirdDog Mini is operational, available on the network but not detecting a valid source.
- Page 6 If a destination device is receiving the NDI signal being generated by Mini on the PREVIEW bus, the tally light will illuminate GREEN. If a destination device is receiving the NDI signal being generated by Mini on the PROGRAM bus, the tally light will illuminate RED.
-
Page 7: Connecting A Video Source
Connecting a video source If the video input format changes while BirdDog Mini is active, the unit will automatically reconfigure its settings to accommodate the change when set to 'AUTO' mode on the web configuration interface. The process of reconfiguring the inputs takes approxima- tely 3 seconds and is not recommended during a live production. - Page 8 Accessing the web configuration console After initial boot up is complete your BirdDog Mini unit will be visible as a source on any NDI compatible devices on the SAME ethernet subnet. For further networking architecture instructions including routing please consult either your system administrator or the support page at bird-dog.tv...
- Page 9 Alternative access to the Web configuration console As an alternative to directly typing in the URL of your BirdDog unit, BirdDog Finder is a beta (pre-release) application available for download at: bird-dog.tv/firmware...
- Page 10 Setting your video input It is important to set the video input correctly within the web configuration console, if the input is not set to the required settings then either no video will be displayed or unexpected video results can occur. To access the video settings press the video menu option at the top of the console.
-
Page 11: Manual Settings
Manual Settings Colour Space In HDMI manual operation you have an option to select colour space, in general the following is the expected colour space: | Computer based sources | Most video sources | Some computer sources like Apple Mac Please set this setting to match your cameras setting or experiment until you see the expected results in your NDI receiver. - Page 12 Connecting and receiving the NDI video stream Once you have powered on and configured your BirdDog Mini unit it should automatically appear on any NDI-enabled device as a video source. Once BirdDog shows a blue status light illuminated is it operational.
- Page 13 Network configuration reset From time to time it may be necessary to reset the network settings on your BirdDog unit. If your unit was configured with a static IP address and is now on a different network for example. To activate the reset function simply insert a paper clip and depress the Reset switch for 6 seconds.
- Page 14 BirdDog Mini web console via the fall back IP address in your web browser on a computer with it’s IP address set to the same subnet range. You may then set the fixed IP address of BirdDog Mini to be suitable for your network environment.
- Page 15 Internet router hardware. Can not see BirdDog as a source If BirdDog does not appear as a selectable video source in your application it may be because it is not currently receiving a valid video signal, please ensure you are delivering a compatible video signal and reboot the device or press restart video in the web console.
- Page 16 WELCOME TO THE FUTURE.
Need help?
Do you have a question about the MINI and is the answer not in the manual?
Questions and answers