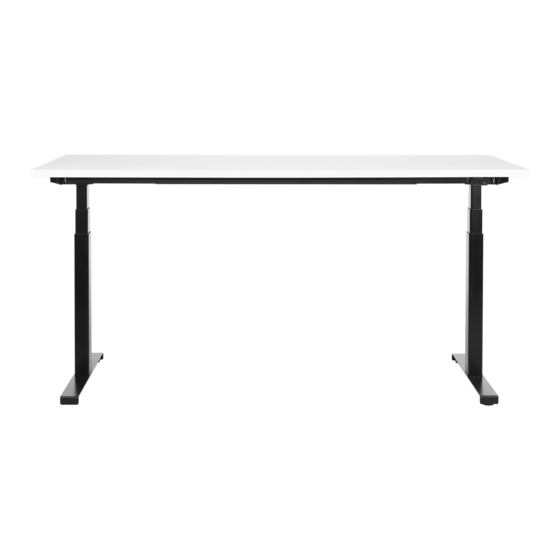
Summary of Contents for Bakker Elkhuizen WORK & MOVE
- Page 1 WORK & MOVE Desk Installation guide Instruction video www.bakkerelkhuizen.com Work Smart - Feel Good...
- Page 2 Parts: J. Power cable A. Cantilever (2x) K. Tabletop B. Columns (2x) L. Levelling feet C. Beam M. Screws: D. Feet (2x) E Anti collision dongle screws (20 + 2 extra) F. Manual controller G. UTP Splitter for the desk panel H.
- Page 3 Turn tabletop upside down with the drill holes facing up. Extend beam to required length (width 1150 to 1750 mm), adjustable in 50 mm steps. Make sure, when placing the beam on the tabletop, that the RJ45 socket is on the same side as the drill holes for the desk controller. Or in the case of a Table Top with pre-drilled holes: make sure that the drill holes match the holes in the beam.
- Page 4 Place a cantilever slightly tilted at end of beam. Press cantilever into place until a click is heard and pawls lock cantilever in correct position. Mount cantilever on the end of both sides of the beam. Make sure that the cantilevers are placed correctly and cannot be twisted off the beam.
- Page 5 Fasten frame to tabletop using 20 mounting screws as follows (lining up with drill holes): 4 screws at ends of beam. Use Insert the WORK & MOVE desk one of these to fix mains cable to UTP cable into the RJ-45 socket. beam with cable clamp creating a Connect this to the WORK &...
- Page 6 Connect the power cable Ensure to make a cable relief using the cable clamp when fastening the cable to the tabletop. Mount columns. Ensure columns are completely retracted. If the column extracts when turned upside down, turn the spindel clockwise until the end. Work Smart - Feel Good...
- Page 7 Tilt columns and place correctly on beam using guiding notches. Fix column to beam by pressing down until a “click” both is heard and pawls lock column in correct position. Click! Check that both pawls are visible after mounting of the columns. Otherwise, remove column and try again.
- Page 8 Mount leveling feet. Turn the WORK and MOVE desk around on his feet and make sure that it’s level. If necessary, level out the table with the adjustment leveling feet screws (see 9.2). Connect the WORK & MOVE desk to the power outlet. Your desk is now ready for use.
- Page 9 Disassembly For disassembling the beam, use a WORK & MOVE Desk frame disassembly tool (ordering code BNELINWMDT). The disassembly tool has ridges on one side. Set the desk to its minimum height so columns are completely retracted. Disconnect from mains supply. Turn table upside down.
- Page 10 Place disassembly tool on beam with the ridges facing towards the cantilever. Press straight down to loosen cantilever. At the same time press disassembly tool down and tilt firmly column to remove from beam. Repeat step 6 to 8 for the other side of the frame.
- Page 11 Work Smart - Feel Good...
- Page 12 BakkerElkhuizen Taalstraat 151 5261 BC Vught The Netherlands tel. +31 36 546 7265 fax. +31 36 546 7830 email. info@bakkerelkhuizen.com All rights reserved. All trade names are registered trademarks of the respective manufacturers listed. All specifications are subject to change without prior notice. Work Smart - Feel Good...

