
Related Manuals for AGRI EASE BE-WC42G

Summary of Contents for AGRI EASE BE-WC42G
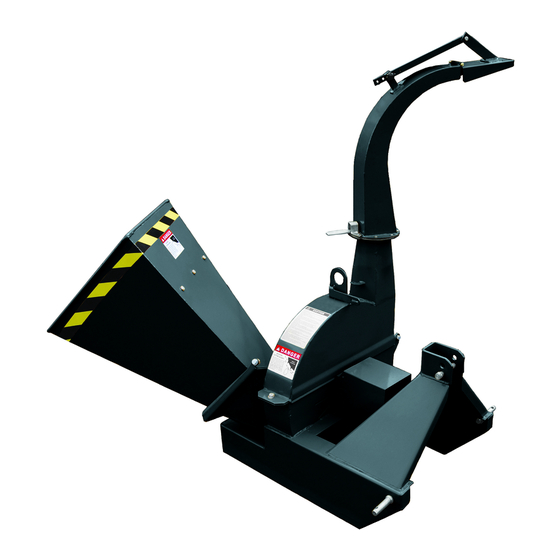
- Page 1 BE-WC42G Wood Chipper Operations & Parts Manual For Model: • BE-WC42G Purchase Date Model No. Serial No. Dealer...
- Page 2 TO THE CUSTOMER BE-WC42G This manual contains valuable information about your new wood chipper. It has been carefully prepared to give you helpful suggestions for operating, adjusting and servicing. Keep this manual in a convenient place for quick and easy reference. Study it carefully, only by proper care and operation can you expect to receive the service and long life designed and built into this mower.
-
Page 3: Safety Precautions
SAFETY PRECAUTIONS BE-WC42G Read and understand the Operator’s Manual before operating the machine. Keep all Children and pets away from area of operation to avoid injury caused by moving parts or flying debris. Keep hands, feet and clothing away from moving parts. Never wear loose clothing near chipper as entanglement may result. - Page 4 MOUNTING INSTRUCTIONS AND INITIAL SETUP BE-WC42G Note: If the PTO shaft is too long, the chipper and the tractor’s transmission may be damaged if the chipper is lifted as shaft may bottom-out when chipper reaches the nearest point to tractor.
-
Page 5: Chipping Operation
OPERATING INSTRUCTIONS BE-WC42G min 3" MAX. min 1/2" MIN. Never operate the chipper with the hopper in the raised position! Back tractor to chipper. Connect tractor to chipper using 3-Point hitch and PTO connections. PTO shaft must have at least 4 inches of overlap on telescoping tube for safe operation. -
Page 6: Stopping Instructions
STOPPING INSTRUCTIONS BE-WC42G PTO MODEL • Move tractor throttle to low idle. • Disengage tractor PTO and stop engine. • Remove key to avoid engine startup. WARNING! Make sure machine has come to a complete stop before disconnecting PTO or attempting to adjust or repair chipper. -
Page 7: Lubrication Schedule
STATIONARY KNIFE SETUP BE-WC42G After sharpening rotor knives, stationary knife may need to be set up. Loosen knife and set up with rotor knives to 1/32” clearance to the nearest knife. Always check clearance with all knives before tightening and using. - Page 8 WOOD CHIPPER PARTS - DIAGRAM BE-WC42G...
- Page 9 WOOD CHIPPER PARTS - PARTS LIST BE-WC42G REF NO. PART NO. DESCRIPTION REF NO. PART NO. DESCRIPTION 110001 Base Frame 110024 Top Rotor Housing 110002 Hex Bolt - M12x30 110025 Spacer Ring ø 110003 Flat Washer - 110026 Hex Bolt - M6x20...
- Page 10 AVOIDABLE DAMAGES POSSIBLE CAUSES CORRECTIVE ACTIONS SHIELD - Excessive wear of shield - Insu cient lubrication - Follow lubrication instructions bearings. - Incorrect chain mounting. - Mount chain to allow maximum angularity. - Shield interfering with - Avoid contact of the shields implement.
- Page 11 AVOIDABLE DAMAGES POSSIBLE CAUSES CORRECTIVE ACTIONS Cross Kit - Cross arms broken. - Extreme torque peak or chock - Use appropriate safety device. load. - Change to a larger P.T.O. size. - Axial Loads too high. - Shorten P.T.O. shaft - Replace defective cross bearings.
- Page 12 AVOIDABLE DAMAGES POSSIBLE CAUSES CORRECTIVE ACTIONS Quick-disconnect yoke - Quick-disconnect pin tight or - Quick-disconnect pin dirty - Clean, oil and follow service completely seized. (insu cient maintenance). instructions. - Quick-disconnect pin damaged - Quick-disconnect pin defective - Replace quick-disconnect pin. (broken or bent).
Need help?
Do you have a question about the BE-WC42G and is the answer not in the manual?
Questions and answers