
Related Manuals for MediaKind RX8000

Summary of Contents for MediaKind RX8000
- Page 1 MediaKind RX8000 Fox Cable IRD Installation Guide Installation Guide MediaKind RX8000 www.mediakind.com...
- Page 2 Changes to follow actual unit 16/12/20 Addition of analogue out connection 28/01/21 Correction to Search Range, adding the need to insert the CAM, and moved section 5 to before the old section 2. Added audio output settings. MediaKind RX8000 www.mediakind.com...
-
Page 3: Table Of Contents
Control Port 1 IP Address and Subnet .............. 9 Default Gateway 1 .................... 9 Setting CAM Auto Recovery..............10 CAM Auto Recovery ..................10 Configuring the Analog Audio Outputs ..........11 Authorising the RX8200 ............... 12 Unit Serial Number ..................12 MediaKind RX8000 www.mediakind.com... -
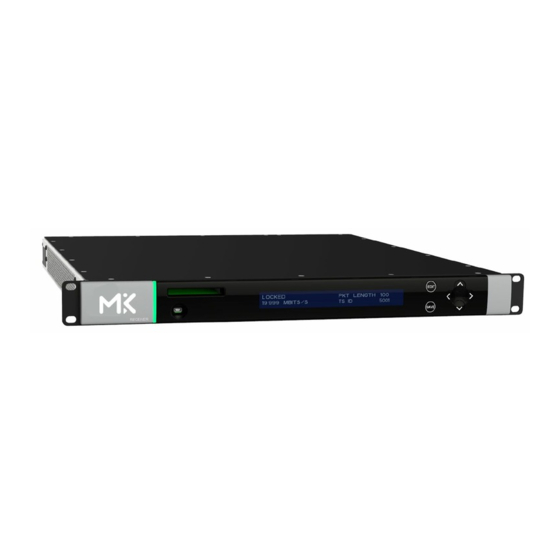
Page 4: Overview
Connect the audio, using the 9-pin D-shell connectors and break-out cables. The audio 9-pin D- shell connectors provide analog stereo outputs as well as AES3 digital outputs. AES3 Digital Audio + Ground Left + Right + Ground AES3 Digital Audio - Ground Left - Right - Connect the AC power. MediaKind RX8000 www.mediakind.com... -
Page 5: Tuning The Rx8200
This will normally be within the C-band or KU band frequency range (in this case C band). For the Fox transponder G15 Vertical this shall be set to 03820.00. Once the selection is made press the SAVE key. To access this menu from the above menu, press the (Down) key. MediaKind RX8000 www.mediakind.com... -
Page 6: Symbol Rate
Press EDIT then use the (Up) and (Down) keys to toggle between the available modulation types. Once the selection is made press the SAVE key. Roll Off Determines the roll-off rate. This shall be set to 20%. To access this menu from the above menu, press the (Down) key. MediaKind RX8000 www.mediakind.com... -
Page 7: Fec Mode
Allows the user to set the LNB value. To access this menu from the above menu, press the (Down) key until you reach this menu. This shall be set to OFF Note: The LNB is not being controlled by the RX8000. SOURCE 1 |LNB POWER 3.3.2.14... - Page 8 SOURCE 1 |LNB 22KHz 3.3.2.15 |DISABLE (UNLOCKED) Press EDIT then use the (Up) (Down) keys to select ENABLE or DISABLE. Once the selection is made press the SAVE key. MediaKind RX8000 www.mediakind.com...
-
Page 9: Setting Ip Address
(Down) key four times. GATEWAY |GATEWAY 1.1.5 |000.000.000.000 Use the (Up), (Down), (Forward) and (Back) keys to enter the address. Please enter the gateway address as needed for your network configuration. MediaKind RX8000 www.mediakind.com... -
Page 10: Setting Cam Auto Recovery
(Down) key to reach this menu. Please set this item to FALSE |CI AUTO RECOVER 5.4.5 |FALSE Press EDIT then use the (Up) (Down) keys to select TRUE or FALSE. Once the selection is made press the SAVE key. MediaKind RX8000 www.mediakind.com... -
Page 11: Configuring The Analog Audio Outputs
Select the Decode tab and click on the Output Routing button found in the Audio Decoders section. Select the source audio that will be fed onto each connector. The default is the source Audio1 is output on connector 1, and source Audio 2 on connector 2. MediaKind RX8000 www.mediakind.com... -
Page 12: Authorising The Rx8200
Make a note of this value, it is the unit serial number. The number is also printed on a sticker on the back panel of the unit. (The example given is FL12345). 1-888-882-5295 Call Fox on the following telephone number: Ask for the unit to be authorised, identifying it by this serial number. MediaKind RX8000 www.mediakind.com...
Need help?
Do you have a question about the RX8000 and is the answer not in the manual?
Questions and answers