Table of Contents
Advertisement
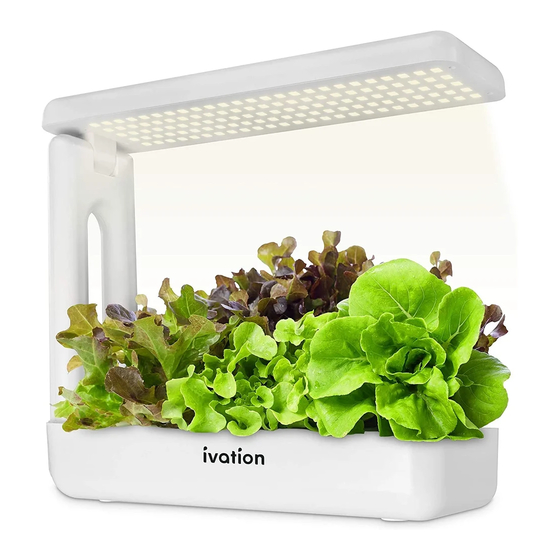
INDOOR
GARDEN KIT
WITH LED
LIGHTING
USER GUIDE
IVAHG20
Thank you for purchasing the Ivation® Indoor Garden Kit with LED Lighting. This User Manual is intended to
provide you with guidelines to ensure that operation of this product is safe and does not pose risk to the user.
Any use that does not conform to the guidelines described in this User Manual may void the limited warranty.
Please read all directions before using the product and retain this guide for reference. This product is intended
for household use only. It is not intended for commercial use
This product is covered by a limited one-year warranty. Coverage is subject to limits and exclusions. See warranty
for details.
TABLE OF CONTENTS
2
2
3
3
5
5
7
9
Advertisement
Table of Contents

Related Manuals for Ivation IVAHG20


Summary of Contents for Ivation IVAHG20
-
Page 1: Table Of Contents
IVAHG20 Thank you for purchasing the Ivation® Indoor Garden Kit with LED Lighting. This User Manual is intended to provide you with guidelines to ensure that operation of this product is safe and does not pose risk to the user. -
Page 2: Safety Precautions
• If for some reason the power cord becomes damaged, it must be replaced by either Ivation®, an authorized serviceperson, or a similarly qualified professional as soon as possible. Do not attempt to repair or replace the power cord on your own. -
Page 3: Initial Setup
INITIAL SETUP 1. Place the garden container on a flat, stable surface. 2. Connect the power cable to the container. The device will automatically begin a self-diagnostic. If the light bar stays on after flashing once, the unit is operating normally. The seed process is fairly lengthy, and the sections are broken up in order to make the process simpler for you to follow over specified periods of time. - Page 4 Procedure: 1. Pour a small amount of water into the seeding 2. Sit the sponge(s) in the water, with the hole facing box (just enough to cover the bottom). upward, until it’s moistened and settles at the bottom. Water line 3.
-
Page 5: Planting Seeds
PLANTING SEEDS Garden container 1. After 24 hours, your seeds should have little sprouts emerging from the top. Even if they do not, please continue with this process. 2. Connect the power cable to the garden container and turn it on. After the unit completes its self-diagnostic, turn on the LED lighting. - Page 6 First, you’ll need to remove the plant bed or open the water inlet so you can add water to the garden container. Step 1: Combine these ingredients in a separate container before filling the reservoir, in the exact order described below: 20ml 1.
-
Page 7: Frequently Asked Questions
3. Using tweezers, place each small sponge piece with its plant into the plant basket. Make sure that each sponge is firmly at the bottom of the basket, and that the roots can grow down vertically. NOTE: Try not to squeeze all the water out of the sponge, and make sure the roots remain intact. 4. - Page 8 What is the best location to place my Indoor Garden Kit? Do the plants require any additional natural sunlight? Your Ivation® Indoor Garden Kit only requires a power connection to operate. However, in order to more easily facilitate the transportation of water to and from the kit, it can be advantageous to place the kit in a room with easy access to a sink or a faucet.
-
Page 9: Warranty
WHAT DOES THIS WARRANTY COVER? This limited warranty covers defects in materials and workmanship of the Ivation Indoor Garden Kit with LED Lighting (the “product”) for the Warranty Period as defined below. WHAT DOES THIS WARRANTY NOT COVER? This limited warranty does not cover any damage due to: (a) transportation;...
Need help?
Do you have a question about the IVAHG20 and is the answer not in the manual?
Questions and answers