Advertisement
Quick Links
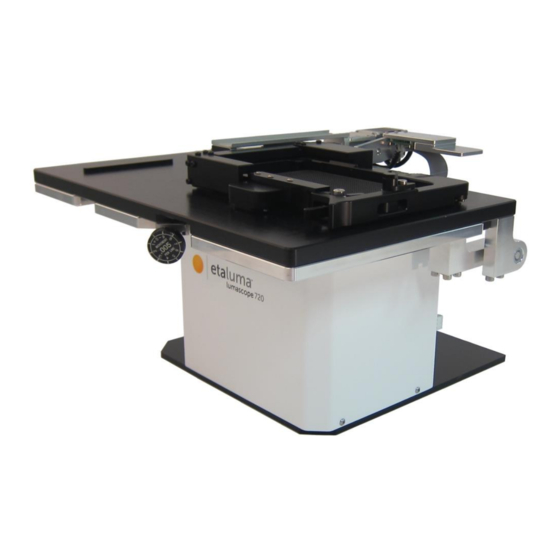
Lumascope 720
-- Startup Guide --
Lumascope 720
IMPORTANT: This Guide describes how to set up the LS720 (Section I) and start
using Lumaview 720-Series (Section II). It is important that you follow this Guide.
For assistance, please call 760-298-2355 or email support@etaluma.com.
Advertisement

Related Manuals for Etaluma Lumascope 720

Summary of Contents for Etaluma Lumascope 720
- Page 1 -- Startup Guide -- Lumascope 720 IMPORTANT: This Guide describes how to set up the LS720 (Section I) and start using Lumaview 720-Series (Section II). It is important that you follow this Guide. For assistance, please call 760-298-2355 or email support@etaluma.com.
- Page 2 4. Install Lumaview 720-Series by double clicking on Lumaview720-SeriesInstall_v(version#).msi. You will be asked about the location; note that the default is a new Etaluma folder inside the Program Files (x86) folder. During installation, a Device Driver Installation Wizard will open. Click to continue (twice) and finish installing the two drivers.
- Page 3 USB-B end into the square port (upper arrow) on the back of the Lumascope 720 (see Fig. 1). Connect the second USB cable onto the circuit board USB-mini port and the USB A into another USB port on your PC.
- Page 4 Click the first icon to adjust image parameters such as channel to be used, illumination, and Gain and Exposure, Etaluma, Inc. | 3129 Tiger Run Court, Suite 112 | Carlsbad, CA 92010 | 760-298-2355 | www.etaluma.com...
- Page 5 5. Uncheck the Calibrate button and choose Select Labware, choose 1536 well plate, and then select Navigate to well and confirm that the instrument in centered in a few distant wells. Etaluma, Inc. | 3129 Tiger Run Court, Suite 112 | Carlsbad, CA 92010 | 760-298-2355 | www.etaluma.com...
- Page 6 2. The Lumascope 720 is connected to the computer via the two UBS power/communication cables. 3. Lumaview 720-Series is open and has been calibrated with a 4x objective and 1536-well microplate. 4. Sample to be imaged is present on the Lumascope 720 stage (and fluorescence shroud is over sample if imaging involves fluorescence).
- Page 7 4. For quick review of your last image, click the Folder icon on the left tool bar to launch Windows Explorer, which will open the most recent Destination Folder. Etaluma, Inc. | 3129 Tiger Run Court, Suite 112 | Carlsbad, CA 92010 | 760-298-2355 | www.etaluma.com...
- Page 8 3. The first tab of the Protocol is labelled Information and contains Protocol information including data file path, file root, and image format. Etaluma, Inc. | 3129 Tiger Run Court, Suite 112 | Carlsbad, CA 92010 | 760-298-2355 | www.etaluma.com...
- Page 9 Lumascope 720-Series Startup Guide 4. The Acquisition Tab allows the selection of how images are gathered. Etaluma, Inc. | 3129 Tiger Run Court, Suite 112 | Carlsbad, CA 92010 | 760-298-2355 | www.etaluma.com...
- Page 10 6. The XYZ tab is where the labware is selected and the wells or positions within that labware are also selected. Autofocus settings and Tiling menus are also accessed from this tab. These are explained below. Etaluma, Inc. | 3129 Tiger Run Court, Suite 112 | Carlsbad, CA 92010 | 760-298-2355 | www.etaluma.com...
- Page 11 Lumascope 720-Series Startup Guide Autofocus Settings 8. Tile Selection Etaluma, Inc. | 3129 Tiger Run Court, Suite 112 | Carlsbad, CA 92010 | 760-298-2355 | www.etaluma.com...
- Page 12 For questions or comments, telephone the phone number below, email support@etaluma.com, or submit an inquiry through the Etaluma website at http://etaluma.com/contact. An Etaluma representative will be happy to assist you. Etaluma, Inc. | 3129 Tiger Run Court, Suite 112 | Carlsbad, CA 92010 | 760-298-2355 | www.etaluma.com...
Need help?
Do you have a question about the Lumascope 720 and is the answer not in the manual?
Questions and answers