Table of Contents
Advertisement
Quick Links
Advertisement
Table of Contents

Related Manuals for Vortech MP10


Summary of Contents for Vortech MP10
- Page 1 works with More information at mobius.app More information at 031620...
- Page 2 Vortech MP10 PROPELLER PUMP SETUP GUIDE...
-
Page 3: Table Of Contents
Congratulations on your purchase of a VorTech MP10 ™ Propeller Pump! Please read this entire setup guide before using your pump. By purchasing, installing or using this product, you are acknowledging that the Limited Warranty on p. 19 is part of the sale terms. -
Page 4: Customer Support
EcoTech Marine website at The EcoTech Marine Community is another tool for users to troubleshoot and learn about our products. For additional information about your VorTech community.ecotechmarine.com. Propeller Pump, please visit us at UNITED STATES & CANADA Contact EcoTech Marine directly for all warranty service and returns. -
Page 5: Inside The Box
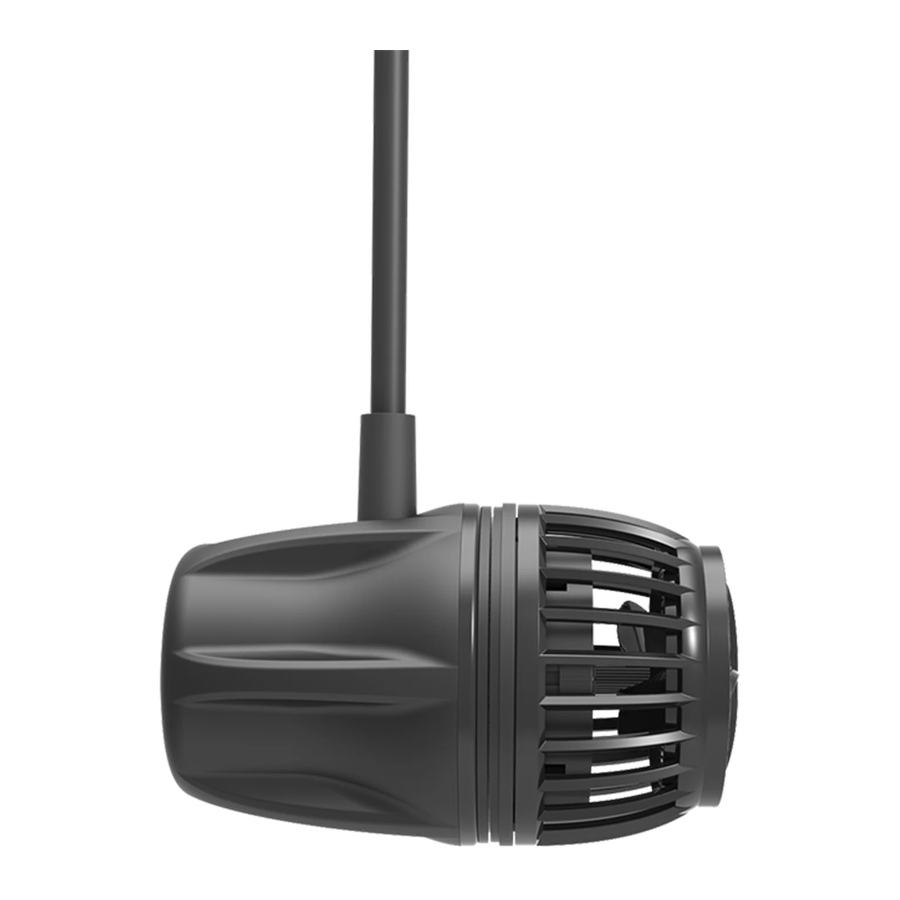
Inside the Box POWER SUPPLY POWER CORD FOAM GUARD MOUNTING TABS (X4) VELCRO STRIPS (X2) ZIP TIES (X4) DRIVER DRY SIDE WET SIDE RUBBER SPACER... -
Page 6: Maintenance
Maintenance Your VorTech Propeller Pump is designed to operate optimally with little attention after initial setup; however, due to the harsh conditions of a saltwater aquarium and resulting buildup of algae and other organic matter, it is advisable to clean your wet side to ensure the longevity of your purchase. -
Page 7: Installing The Vortech
Installing the VorTech ™ STEP 1: Choose Pump Location • Where the pump output is unobstructed • High enough above the sand bed so sand is not disturbed • Sufficiently below the surface so air is not sucked into a vortex STEP 2: Prepare Aquarium •... - Page 8 STEP 4: Place Dry Side on Aquarium • Place the rubber spacer directly on the wall of the aquarium at the desired location (Figure B). • The included rubber spacer must be used between the dry side and the aquarium wall for thicknesses of 1/8”...
- Page 9 Installing the VorTech ™ Continued STEP 6: Attach Wet Side • Place the wet side into the aquarium and allow ALL air to escape from the propeller housing. • Carefully align the wet and dry sides through the glass (Figures D).
- Page 10 STEP 7: Align Pump • Plug the power supply into the driver. If the pump is not already in Constant Speed Mode, press the MODE button until the control dial is green. • If there is vibration or excessive noise, carefully adjust the propeller housing (wet side) by moving it very slightly left, right, up or down until the noise/vibration is eliminated or minimized (Figure E).
-
Page 11: The Vortech™ Driver
The EcoSmar t Driver Wireless Indicator SET Button LED Strip MODE Button OPTION/Power Button Control Dial Battery Backup Input Pump Cable Slot Power Input USING THE DRIVE QUIET DRIVER WATCH THE VIDEO: ecote.ch/qdmodes... -
Page 12: Mounting The Driver
Mounting the Driver 1. Mount the driver where it will not get wet using the included velcro strips (Figure A). The driver is NOT water proof, and water damage will NOT be covered under warranty. Figure A 2. Plug the power supply into the driver and then plug the power cord into the outlet (Figure B). -
Page 13: Operational Modes
EcoSmar t Driver Operational Constant EcoSMART* Speed EcoSMART* (Hold) – Feed Mode (Hold) – Power Off... - Page 14 Modes Random* Short Pulse Gyre Reef Crest Speed Set Speed Set Random* Short Pulse Gyre Lagoon Freq. Set Freq. Set Saved Saved Wave Wave LED bar will indicate change between modes.
-
Page 15: Tidal Swell Mode
Side as Aquarium Master Master MASTER/SLAVE RELATIONSHIP Multiple VorTech pumps can be set up to run together. The colors in the diagrams above represent the flow pattern and placement of multiple pumps running together in a Master/Slave relationship. Master/Slave relationships... -
Page 16: Nutrient Transport Mode
The control dial is used to adjust the maximum pump speed during this mode. Back Side Opposite Aquarium Master are only available with wireless-enabled versions of the VorTech pump. For more information MASTER/SLAVE and instruction, visit our support community WATCH THE VIDEO: at community.ecotechmarine.com. ecote.ch/qdmasterslave... -
Page 17: Short Pulse Mode
Short Pulse Mode When first entering Short Pulse Mode, set the maximum pump speed with the control dial and press the SET button to lock it. The LEDs will begin to ramp, indicating the pulsing frequency between 0.2 seconds and 2 seconds. Next, use the control dial to adjust the pulse frequency. -
Page 18: Gyre Mode
Gyre Mode When first entering Gyre Mode, set the maximum pump speed with the control dial and press the SET button to lock it. The LEDs will begin to ramp, indicating the pulsing frequency between 2 seconds and 2 hours. Next, use the control dial to adjust the pulse frequency. -
Page 19: Reef Crest Random Mode
Reef Crest Random Mode Reef Crest Random Mode simulates a high-energy reef environment. It is indicated by both a yellow control dial and the first two blue LEDs illuminated. The control dial is used to set the maximum pump speed during this mode. -
Page 20: Lagoonal Random Mode
When a Battery Backup Press and hold the MODE and accessory is added to the SET buttons, pause, and then VorTech pump, the pump will press and hold the MODE and automatically switch to Battery Backup SET buttons again. The control dial will Mode during a power outage. -
Page 21: Troubleshooting
Troubleshooting In the event of a problem: 1. Check that the pump is plugged in and there is power. 2. Unplug the pump and check the wet side for damage or obstructions. 3. Reconnect the power and reset the driver (video: ecote.ch/resetdriver). 4. -
Page 22: Limited Warranty
Propeller Pump consists of a wet side operating unit that will be fully submerged in the aquarium and a motor and driver that must not be exposed to water at any time. EcoTech Marine’s warranty shall not apply: (i) to any damaged VorTech... -
Page 23: Regulatory Information
The power cord of this appliance cannot be replaced: If the cord is damaged, the appliance should be discarded. Never cut the cord. DO NOT DROP. The VorTech Pump is fragile, and a fall onto a hard surface can result in permanent damage. - Page 24 VorTech Pump can be used in the following countries: permission of EcoTech Marine LLC. EcoTech Marine and all other EcoTech Marine product names and slogans are trademarks or registered trademarks of EcoTech Marine LLC.
Need help?
Do you have a question about the MP10 and is the answer not in the manual?
Questions and answers