Table of Contents
Advertisement
Quick Links
Opensprinkler Bee WiFi 3.0 User Manual
(Mar 2021)
1. Introduction
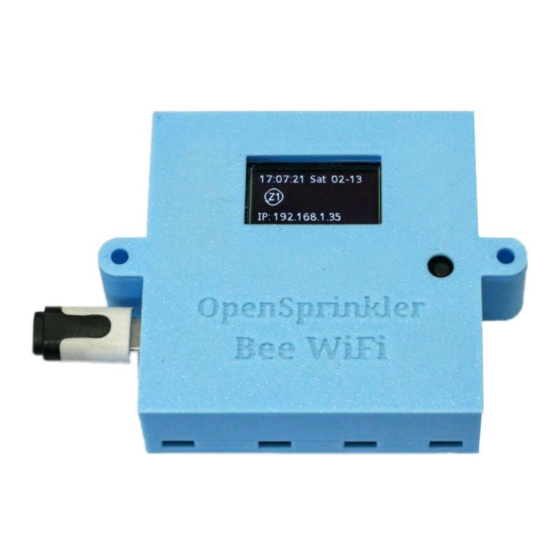
OpenSprinkler Bee
(OSBee) 3.0 is an open-source, WiFi-enabled sprinkler controller for latching solenoid
valves. It is suitable for garden and lawn watering, flower and plant irrigation, hydroponics, and other
types of watering projects. It comes with built-in WiFi, OLED display, laser cut acrylic enclosure, and can
switch up to 3 zones independently. It is primarily designed for latching solenoid valves, although with a
simple modification it can also operate non-latching valves (e.g. standard 24VAC sprinkler valves), low-
voltage fish tank pumps, and other types of low-voltage DC or AC valves and pumps.
The package includes one assembled and tested OSBee circuit board in 3D printed enclosure, USB
cable, and (optionally) a USB power adapter (5VDC output, minimum 1A current).
2. Hardware Setup
OSBee has four terminals marked COM (common), Z1 (zone 1), Z2, and Z3. The positive (+) wire (often
colored red) of each valve should be connected together and go to the COM terminal; the negative (-)
wire (often colored black) of each valve should go to an individual zone (1, 2, or 3). At the back of the
controller there are four big screws. Un-tighten a screw, insert the wire through the opening below it,
wrap the wire around the screw, then tighten the screw. OSBee is powered by a USB adapter through a
microUSB cable.
3. Software Setup
The first time you power on OSBee, or after each factory reset, the controller starts in AP (Access Point)
mode. In this mode, OSBee creates a WiFi SSID, the name of which is printed on the LCD screen (e.g.
OSB_xxxxxx). Use your smartphone, or laptop to connect to this WiFi SSID (there is no WiFi password).
Once connected, open a web browser on your phone (or laptop) and type in the IP address 192.168.4.1.
This should open the WiFi configuration page. The main purpose of the WiFi configuration is to let
OSBee know your home WiFi's name and password, so that it can subsequently connect to your WiFi. So
Advertisement
Table of Contents

Related Manuals for OpenSprinkler OSBee

Summary of Contents for OpenSprinkler OSBee
- Page 1 The first time you power on OSBee, or after each factory reset, the controller starts in AP (Access Point) mode. In this mode, OSBee creates a WiFi SSID, the name of which is printed on the LCD screen (e.g. OSB_xxxxxx). Use your smartphone, or laptop to connect to this WiFi SSID (there is no WiFi password).
- Page 2 WiFi). If you have already created a Blynk app token (see Section 5), you can also paste it here, otherwise, just leave the token blank. Click on 'Submit'. At this point, OSBee will attempt to connect to your WiFi, and if successful, it will reboot itself, and now WiFi configuration is complete. From now on, it remembers your WiFi and will always attempt to connect to it when it's powered on.
- Page 3 'Reboot' button there. LCD and button functions: OSBee has a built-in OLED display. It shows the current time, and zone status. At the bottom it shows the IP address. Clicking the black pushbutton (lower-right to the LCD) will cycle through additional information, such as MAC address etc.
- Page 4 Customize boosted voltage for valve opening/closing: by default OSBee generates a boosted voltage of 21V to open/close a latching solenoid valve. This usually works fine for all latching valves, regardless of the brand/type. However, some solenoid valves require a different voltage for opening the valve vs.
- Page 5 5. Using the Blynk App OSBee firmware supports remote access through the Blynk app. This allows you to remotely access the controller, check its current status, and run a program. To use this feature, first install the Blynk app on your smartphone.
Need help?
Do you have a question about the OSBee and is the answer not in the manual?
Questions and answers