Table of Contents
Advertisement
Advertisement
Table of Contents

Related Manuals for Planet Audio P350MB


Summary of Contents for Planet Audio P350MB
-
Page 2: Installation
Installation Installation Procedures First complete the electrical connections and then check for correctness. Installation Opening This unit can be installed in any dashboard Having an opening as shown below. 2.05 inches 7.20 inches Insert mounting collar into the dashboard and bend the mounting tabs out with a screwdriver. -
Page 3: Wiring Connections
Installation Connect all wiring harness and slide the head unit into the mounting collar until it clicks into place. Wiring Connections Radio Antenna White: Front Left PRE-AMP Output Red: Front Right PRE-AMP Output Red: Rear Right PRE-AMP Output ACC + (Red) GND - (Black) White: Rear Left PRE-AMP Output ANT + (Blue) -
Page 4: Overview Of The Components
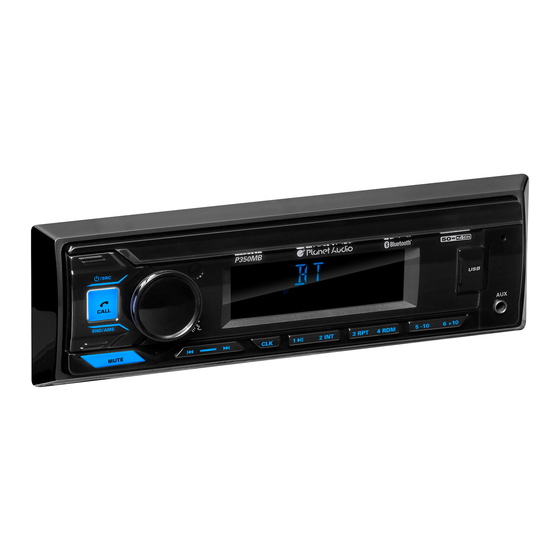
Overview of the Components (power On/Off) / SRC (source) button 2. VOL (volume) knob, (Push-To-Talk) button and SEL (select/menu) button 3. IR remote sensor 4. LCD Display 5. Hands-free Microphone (Answer Call / End Call) button 7. BAND button, AMS(automatic store, automatic music search) button 8. - Page 5 General Operation Push-To-Talk Press the button (VOL knob) to access to smartphones voice assistant capability via Bluetooth. Adjust Menu Options (SEL) • Press and hold the SEL button to access the audio / function, then press the SEL button repeatedly to cycle through the following audio /function: - ILL MID/HI/LOW: This receiver is equipped with 3 brightness settings.
-
Page 6: Radio Operation
Radio Operation Switch Between USA area and Europe area Frequency In radio mode, press and hold the SEL button to enter audio / function, then press the SEL button repeatedly to select the US (USA) and EU (europe) frequency, then rotate it to switch between US(USA) and EU(europe) frequency. -
Page 7: Usb Operation
USB Operation To play files on a USB device, insert a USB storage device into the USB port. The MP3/WMA files will be played automatically. Note: The USB port of this car radio is also designed for charging for iPhone / android mobile phone. -
Page 8: Bluetooth Operation
2. When the phone finds the car audio system, the “PLANET AUDIO P350MB” name will be displayed. 3. Choose the “PLANET AUDIO P350MB” from the device list to pair and connect with the car audio system. Upon confirming, the BT logo will stop flashing. - Page 9 Bluetooth Operation Switch Audio Between Car Audio and mobile Phone During a call, press the VOL knob/button to switch the audio source from the car audio system back to your mobile phone. Adjust Call Volume During a call, use VOL knob to adjust the call volume level. Audio Streaming (A2DP) The unit supports A2DP (advanced audio distribution profile) wireless streaming audio from your Bluetooth mobile device directly to your head unit.
-
Page 10: Remote Control
Remote Control (Power on/off) button 2. VOL+/VOL-(volume increase/decrease) button 3. Band button, (answer call) button 4. PREV: tune down, seek down; Track down, fast reverse 5. SEL(selection) button 6. NEXT: tune up, seek up; Track up, fast forward 7. Mute button, DEL(Delete) button 8. -
Page 11: Specifications
Specifications General Power supply Requirement : DC 12V Maximum power output : 50W X 4CH Speaker impedance : 4 - 8 Ohm Unit Dimensions(WxHxD) : 7.0 X 2.0 X 2.76 inches Weight : 1.04 lbs Fuse : 10 A RADIO Frequency Range: 87.5 MHz - 107.9 MHz (USA) 87.5 MHz - 108.0MHz (EUROPE)
Need help?
Do you have a question about the P350MB and is the answer not in the manual?
Questions and answers