Table of Contents
Advertisement
Quick Links
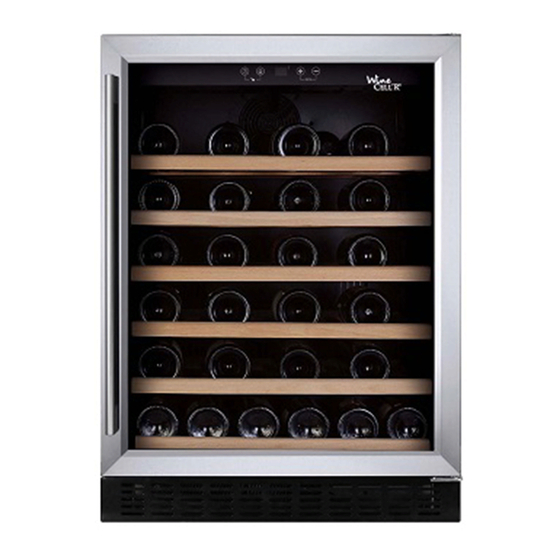
SINGLE ZONE CELLAR
WC46
INSTRUCTION MANUAL
This manual contains important information including safety and
installation instructions of the appliances. Please read it carefully
before use and follow al safety information & instructions.
It is recommended to keep this manual for easy reference so that
you can be familiar with the operation of the appliance.
17
Advertisement
Table of Contents

Subscribe to Our Youtube Channel
Related Manuals for Wine Cell'R WC46


Summary of Contents for Wine Cell'R WC46
- Page 1 SINGLE ZONE CELLAR WC46 INSTRUCTION MANUAL This manual contains important information including safety and installation instructions of the appliances. Please read it carefully before use and follow al safety information & instructions. It is recommended to keep this manual for easy reference so that...
-
Page 2: Table Of Contents
--CONTENTS-- IMPORTANT SAFETY INFORMATION ..............19 STRUCTURE AND INSTALLATION ..............21 ACCESSORY INSTALLATION BEFORE OPERATING ........22 UNPACKING AND CLEANING THE WINE COOLER ........... 22 LOCK & UNLOCK THE DOOR ................22 OPERATING THE WINE COOLER ................ 23 WINE STORAGE..................... 23 CONTROL PANEL .................... -
Page 9: Unlocking The Control Panel
UNLOCKING THE CONTROL PANEL • with 2 fingers at the same time and hold for 3 seconds . When unlocked a buzz sound will be heard. • The control panel will be automatically locked with a buzz sound heard after 10 seconds without being touched. -
Page 10: Temperature Setting
TEMPERATURE SETTING The temperature setting range is as below : 9C° …….--- 16C° 17C° 18C° 5C° 6C° 7C° 8C° 45F° …… --- 62F° 63F° 64F° 41F° 42F° 43F° 44F° Directly touch the + or - mark to set the wine cooler temperature as you want. - Page 13 5. Pry out the plastic caps at the left side of the cabinet, and remove them to the right side. 6. Install the hinge set which are packed as accessories with the instruction manual to the opposite side. 7. Rotate the door 180 so that the top is now the bottom, and install it by attaching the support rod with screws.
Need help?
Do you have a question about the WC46 and is the answer not in the manual?
Questions and answers