
Related Manuals for Eclipse Z-8082


Summary of Contents for Eclipse Z-8082
- Page 1 Z-8082 On-Counter 2D Image Scanner Service Guide Revision History Changes to the original manual are listed below: Version Date Description of Version June 29, 2017 Initial release June 5, 2019 Security code note added...
- Page 2 Table of Contents Table of Contents................................2 Scanner Parts ..................................3 Take Apart ..................................4 Before You Start ..............................4 Important Instructions ..............................4 Tools to Prepare ..................................4...
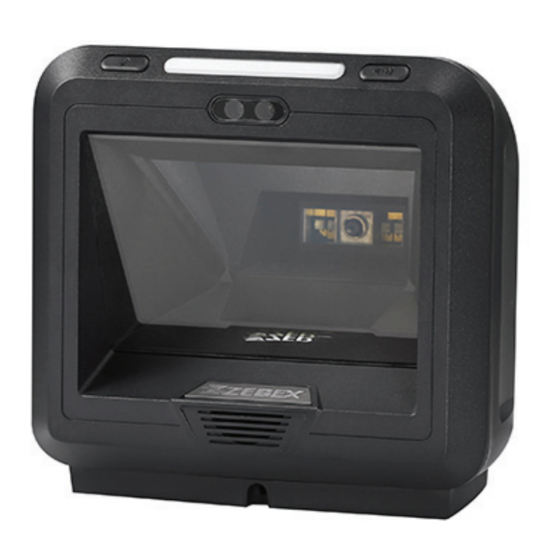
- Page 3 Scanner Parts The scanner includes the following parts: Name Quantity 866-808200-304 Z-8082 back cover assembly (for repair) 866-808200-305 Z-8082 bottom cover assembly (repair) 601-080820-003 Z-8082 trigger rubber 030-015008-000 FFC cable 689-100000-036 Z-8082 light guide panel 866-808200-206 Z-8082 front cover assembly (for repair) 521-003000-8R0 Self tapping screw, M2-8.0mm...
- Page 4 Read these instructions completely before you begin. Follow all instructions. Heed all warnings. Tools to Prepare Philips screwdriver. Please follow these steps to take apart Z-8082. Slide out the bottom cover (red arrows). Remove the screws and untie the EAS wire.
- Page 5 Separate the back cover and remove the front cover rubber. Remove the screws, the speaker, and the EAS wire. Remove the screws and separate the front cover, LED board, trigger, and the light guide panel.
- Page 6 Remove the screws and separate the LED board and the optical mirror base (red circles). Remove the nuts.
Need help?
Do you have a question about the Z-8082 and is the answer not in the manual?
Questions and answers