Advertisement
Quick Links
Advertisement

Related Manuals for Windmill Windmill AC

Summary of Contents for Windmill Windmill AC
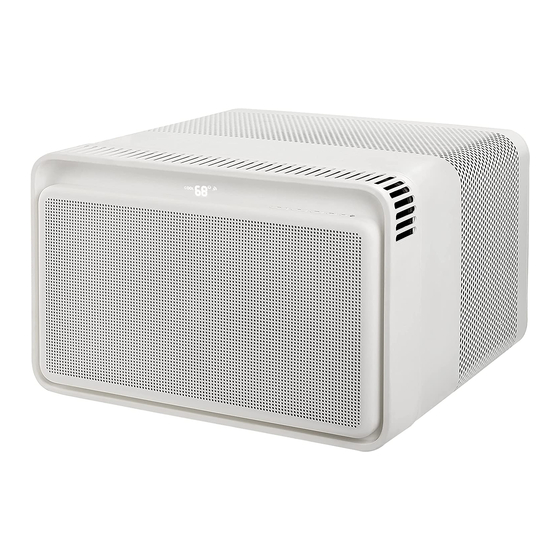
- Page 1 Welcome to the breezy life. The Windmill AC Installation Guide...
-
Page 2: Safety First
● Observe all local, state, and national electrical codes and only use about 45 minutes we have some options for you: ○ The Windmill AC is heavy. Two or more people are needed to move qualified, licensed, and authorized personnel for electrical assistance. windmillair.com/support and install the unit. -
Page 3: Window Requirements
To simplify your setup, the AC comes with the top and bottom install bars, the front Adhesive & non-adhesive window The Windmill AC is designed for windows that slide up and frame, side adapters, and both side panels insulation foam (1x each) down (double-hung windows) with a width of 23-37 inches pre-assembled.**... - Page 4 Step 1 Insulate your window. WHAT YOU NEED Flip to view steps.
- Page 5 Step 1. Insulate your window. Cut the adhesive foam to the Stick the adhesive foam across the Cut the non-adhesive foam to the height Insert the foam into the channels on width of your window. underside of the front window sash.** of the bottom half of your window.
- Page 6 Step 2 Lift the AC into the window. WHAT YOU NEED Flip to view steps.
- Page 7 Step 2. Lift the AC into the window. Wooden Windows Vinyl Windows Inside Outside Inside Outside Inside Outside Together with your helper, lift the Properly position the bottom bar Close the window down onto the AC, assembled AC into the window frame. BEHIND the inside window sill.
- Page 8 Step 3 Secure the AC. WHAT YOU NEED Flip to view steps.
- Page 9 Step 3. Secure the AC. Use the side panels to fit the Secure the AC using the included Fill the center hole on the front frame AC to the window. 1/2 inch screws. with the included rubber plug. Extend the side panels out until they reach the window Now that your AC is in the right position, you’ll need to This will give your AC a clean, finished look.
- Page 10 Step 4 Cut and attach the cosmetic panels. WHAT YOU NEED Flip to view steps.
- Page 11 Step 4. Cut and attach the cosmetic panels. Determine the width of your Find the corresponding number on Insert the trimmed side panels Snap the prongs into place. side panels. your cosmetic panels. into the front frame. This is the number on your side panel that falls just behind (Make sure you are using the correct panel.
- Page 12 Step 5 Lock and insulate your window. WHAT YOU NEED Flip to view steps.
- Page 13 Step 5. Lock and insulate your window. Option 1: Wood windows. Option 2: Vinyl windows. Cut the non-adhesive insulation foam Use the nonadhesive foam to fill the to fit the width of your window. gaps in your window. Attach the sash lock as shown in the diagram above. Attach the sash lock as shown in the diagram above.
- Page 14 To learn how to connect your Windmill AC to your Clean your large mesh filter at least monthly (and if Turn off the AC and unplug the power cord. To register your AC or learn about how to make a warranty ●...
- Page 15 windmillair.com @windmillair...
Need help?
Do you have a question about the Windmill AC and is the answer not in the manual?
Questions and answers