Advertisement
PRIOR TO INSTALLATION
• Check all components are in the carton.
Eberle RTR-E 6705
Maestro
12V DC Thermostat
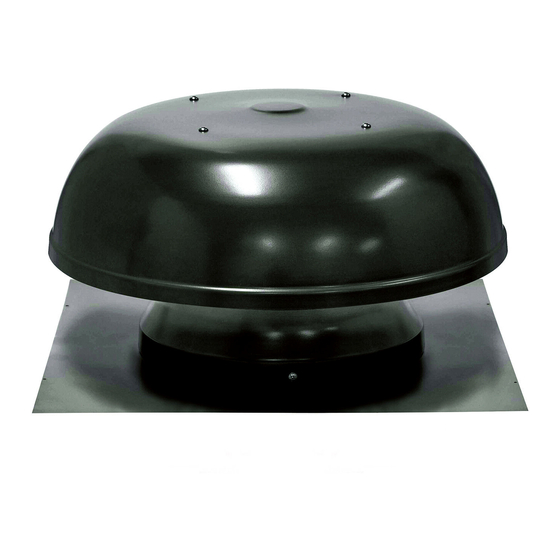
Maestro is an extremely energy efficient and reliable roof ventilator used to extract hot, humid or moist air from the roof space,
allowing it to be replaced by cooler, fresh air. This helps prevent roof space temperatures from reaching extreme levels in
summer, thereby improving the efficiency of insulation, and resulting in a more comfortable home. The unit's extraction rate
is equivalent to up to three wind-powered ventilators. The Maestro is available in 2
models, a 12V DC (low voltage) or Solar unit.
To achieve adequate ventilation it is imperative to provide adequate opportunity
for replacement air to enter the roof space, as shown in Fig 1.
It is recommended that at least 2 Whirly Mate ceiling grilles or at
least 8 under eave vents be installed evenly around the home for
each Maestro.
Selection of the number of Maestro's and their location on the roof will depend on the characteristics of each problem and the
size of the roof area to be ventilated. However, one Maestro power vent can provide adequate ventilation for a 20 square (180m
home. Locate the Maestro(s) evenly around the roof to give the best results.
• The Maestro is designed for general household ventilation only. DO NOT use to exhaust hazardous or explosive
materials and vapours.
• The Maestro has an unguarded fan assembly. DO NOT use in locations readily accessible to people or animals. The
fan is intended for use facing an unoccupied space only.
• The 12V DC model is designed for LOW VOLTAGE USE ONLY and must NEVER be connected direct to mains power.
Always use the 12V power pack supplied.
• Instructions for wiring the thermostat should be followed precisely.
• It is recommended that the Maestro be installed on roof slopes no greater than 45 degrees, as water ingress can
occur on steeper gradient roofs.
• DO NOT use this Maestro with any solid state speed control.
1. Select the appropriate position for the vent.
Remove a tile from the third row down from
the ridge cap. The removal of a tile higher
than this may damage the integrity of the
ridge tiles and is NOT recommended.
2. If the roof is 'sarked', cut sarking in a cross
and fold back corners to give a 300mm
square opening.
3. Take the flashing and push it under the
tiles above the opening created in the roof,
centre the vent over the opening. Dress the
flashing into the shape of the tile.
Note: Silicone can be used to ensure
installation is weatherproof.
4. Turn bottom edge of flashing down to seal
against lower tile.
5. From inside the roof, hook the fixing strap
supplied over the edge of the base flashing and nail or screw fix it to the bottom batten.
INSTALLATION INSTRUCTION
Maestro
CONTENTS OF PACKAGE
CONTENTS OF CARTON
D.C. Transformer with 6m cable
IMPORTANT NOTICE
TILE ROOF INSTALLATION
1
2
2 x Fixing Straps
3
Also:
Warranty
Installation Instructions
2
)
4
5
Advertisement
Table of Contents

Related Manuals for CSR Edmonds Maestro


Summary of Contents for CSR Edmonds Maestro
- Page 1 INSTALLATION INSTRUCTION Maestro PRIOR TO INSTALLATION • Check all components are in the carton. CONTENTS OF PACKAGE CONTENTS OF CARTON Also: Warranty Eberle RTR-E 6705 D.C. Transformer with 6m cable 2 x Fixing Straps Installation Instructions Maestro 12V DC Thermostat Maestro is an extremely energy efficient and reliable roof ventilator used to extract hot, humid or moist air from the roof space, allowing it to be replaced by cooler, fresh air.
- Page 2 INSTALLATION INSTRUCTION Maestro METAL ROOF INSTALLATION 1. Select the appropriate position for the vent. Place the flashing with top edge Note slipped under the ridge capping. Ensure the flashing covers the corrugations or ribs equally and is located between the roof joists.
Need help?
Do you have a question about the Edmonds Maestro and is the answer not in the manual?
Questions and answers