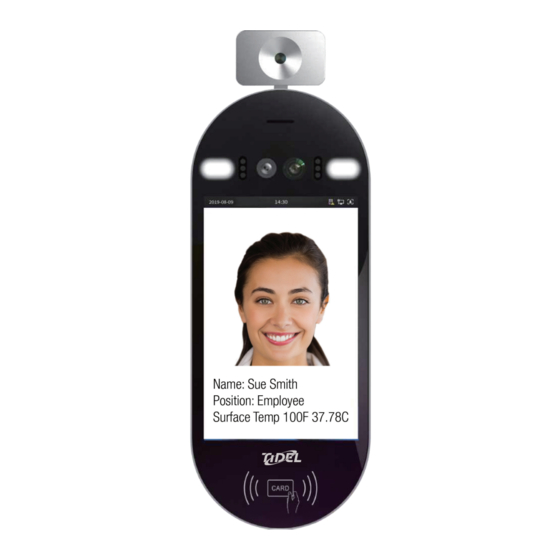
Summary of Contents for Tidel IES 50
- Page 1 IES 50 Intelligent Entry Scanner IES 50 WiFi ACTIVATION Tidel | 2025 W. Belt Line Rd. #114 | Carrollton, TX 75006 | Tel: 972.484.3358 800.678.7577 © 2020 Tidel | sales@tidel.com | www.tidel.com...
- Page 2 Before You Start X The IES 50 Terminal must establish an ethernet (cable) connection with the Host PC in order to setup WiFi capabilities. X When connecting to a WiFi network, perform the wall or stand mounting LAST X Refer the to the installation/startup manual for Terminal...
- Page 3 1. Connect the network cable from the IES 50 to an available port on the PC or network line switch. 2. Plug in the IES 50 Power Adapter. 3. Run the Tidel IES 50 Management Tool (desktop shortcut) IES 50 Intelligent Entry Scanner Select “Add”...
- Page 4 7. An authorization screen will pop-up over the Terminal Search Screen Manager Name = admin Password = 1 2 3 4 5 6 8. Select “OK” in the Authorization Screen 9. Select “OK” at the bottom of the Terminal Search Screen a.
- Page 5 (network addressing boxes should become subdued). 12. Select the “ENABLE WIFI” check box. 13. Enter the Wireless Network Name (that the IES 50 Terminal will connect to), in the “SSID” field 14. Enter the Wireless Network Password in the “PASSWORD”...
- Page 6 17. Open the Tidel IES 50 Management Tool Application 18. Select “Add” from the start up screen 19. Select “Find” The device’s assigned IP address will appear in the terminal search box when connected. 20. Select ADD. Add Change Terminal info appears here...
- Page 7 21. An authorization screen will pop-up over the Terminal Search Screen Manager Name = admin Password = 1 2 3 4 5 6 22. Select “OK” in the Authorization Screen 23. Select “OK” at the bottom of the Terminal Search Screen a.
- Page 8 Documentation; (ii) to any modifications to a Product or Software that are not made by Tidel or a third party authorized in writing by Tidel to make such modifications; (iii) if a failure to conform to the functional specifications set forth in the Documentation (a “Non- conformance”) is due to any third party hardware or software that is not provided as part of or included...


Need help?
Do you have a question about the IES 50 and is the answer not in the manual?
Questions and answers