Advertisement
CAUTION:
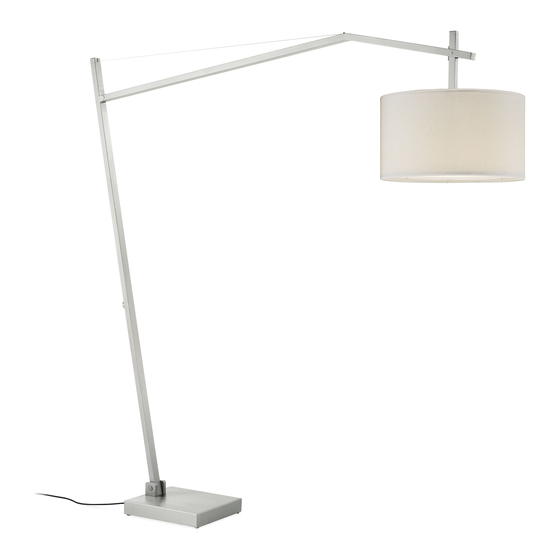
THIS PRODUCT INCLUDES:
A.
CLARKSON FLOOR LAMP
- It is strongly recommended that installation of this product is done by two
people.
-READ these instructions entirely prior to installation.
-Assembly of this lamp requires minor lifting. Improper handling of heavy
components could result in damage to the product.
B.
ASSEMBLY INSTRUCTIONS
Keep these instructions for future use
C.
D.
A. - Lamp shade
B. - Clarkson base assembly
C. - 3/16" Allen wrench
D. - Dimmable LED bulb
(not to scale)
Advertisement
Table of Contents

Related Manuals for Room&Board CLARKSON

Summary of Contents for Room&Board CLARKSON
- Page 1 -Assembly of this lamp requires minor lifting. Improper handling of heavy components could result in damage to the product. THIS PRODUCT INCLUDES: (not to scale) A. - Lamp shade B. - Clarkson base assembly C. - 3/16” Allen wrench D. - Dimmable LED bulb...
- Page 2 Carefully remove the base assembly packaging to prevent twisting the electrical cords that run between the upper and lower arms. Remove the small block at the base, which prevents the lower arm from shifting in transit. Do not allow the looped tension cable to kink or become pinched.
- Page 3 Gently tip the lamp upright to install the lamp shade and bulb. To attach the lamp shade, remove the threaded ring on the socket, then slide the metal shade ring up and over the socket. Hold the upper part of the socket while simultaneously tightening the threaded shade ring to the socket from below.
- Page 4 To adjust the pressure of the hinge connecting the upper arm to the lower arm, remove the black plastic plug at the back of the lamp and use the included 3/16” Allen wrench to tighten or loosen the internal set screw. The upper arm should be loose enough to move freely when the lamp’s position is adjusted, yet tight enough to maintain the position when unsupported.
Need help?
Do you have a question about the CLARKSON and is the answer not in the manual?
Questions and answers