Table of Contents
Advertisement
Quick Links
Advertisement
Table of Contents

Related Manuals for Epson EB-L30002U


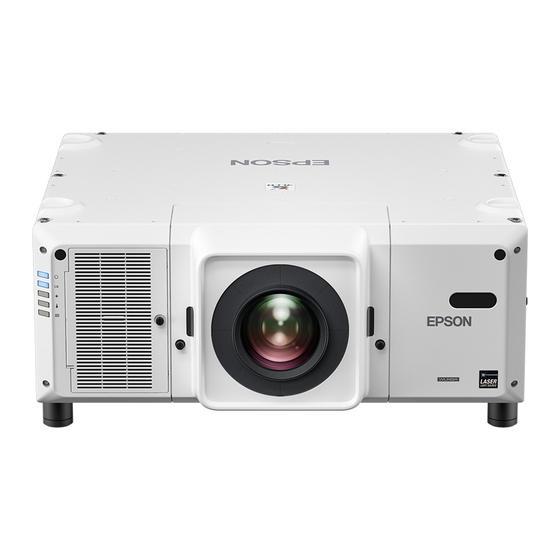
Summary of Contents for Epson EB-L30002U
- Page 1 Transport and Installation Handbook...
-
Page 2: Introduction
Make sure you check these manuals before use. • User's Guide Provides information on using this projector, using the Configuration menu, troubleshooting, and maintenance. • Specifications Provides information on the projector specifications, external dimensions, supported lenses, and so on. For More Information http://epson.sn... -
Page 3: Notations Used In This Guide
Introduction Notations Used in This Guide The documentation and the projector use graphical symbols to show how to use it correctly and safely to avoid personal injury, injury to others, and damage to property. The indications and their meaning are as follows. Make sure you understand them properly before reading the guide. -
Page 4: Table Of Contents
Contents Introduction About the Manuals for this Projector . . . 1 Booklet (Paper) Manual ....1 PDF Manuals ......1 For More Information . -
Page 5: Transport And Installation Handbook
Transport and Installation Handbook Notes on Carrying and Transporting Caution Before carrying this projector, make sure you turn it off and disconnect all cables. When Carrying Without Packing Note the following points when moving the projector by hand or by using a forklift to a close location without packing it up. -
Page 6: When Packing And Transporting
Transport and Installation Handbook When Packing and Transporting Note the following points when packing up this projector and transporting it on a track and so on. Caution Before packing, remove the lens unit from the projector, and attach the protective cap. If you have used lens shift to move the lens position, move the lens to the home position and then remove the lens unit. -
Page 7: Notes On Installation
Transport and Installation Handbook Notes on Installation Notes on the Installation Environment Warning Do not use or install the projector where it may be subject to water or rain, or high humidity, such as outdoors, in a bathroom, or shower room, and so Otherwise, it could cause a fire or electric shock. -
Page 8: Notes On Installing
Transport and Installation Handbook Caution When installing the projector in an environment in which a high-powered laser beam is being used, make sure it is installed so that the laser beam does not hit the surface of the projector's projection lens or the built-in camera. - Page 9 Transport and Installation Handbook Warning You may need dedicated installation mounts to tilt and install the projector. Contact a specialist and prepare the mount. • Plan so that the mount does not fall. • Make sure the mount is strong enough to support the projector. •...
- Page 10 Transport and Installation Handbook Caution Note the following points when installing a projector directly on top of another. This projector can be installed on top of another projector that has the carrying handles attached to the top. • Do not stack three or more projectors (you can stack up to two projectors). •...
-
Page 11: Cautions On Lifting
Transport and Installation Handbook Cautions on Lifting Caution Do not lift the projector with the front/back/side of the projector facing up. Use the four eye bolts installed on the same surface of the projector to lift it. Only use the eye bolts when temporarily transporting the projector and not for permanent installation. - Page 12 Transport and Installation Handbook Caution Make sure you attach eye bolts at the following locations. • When attaching directly to the projector Use four commercially available eye bolts M8 (ankle length 11 to 16 mm) and attach them to the handle securing section (4 corners). •...
-
Page 13: Notes On Connections
Transport and Installation Handbook Notes on Connections Warning Be careful when handling the power cord. Otherwise, it could cause a fire or electric shock. Note the following when handling the power cord. • Only use the specified power-supply voltage. • Do not plug multiple power cords in a single electric outlet. -
Page 14: Attaching The Lens Unit
Transport and Installation Handbook Attaching the Lens Unit The projector supports lens units with the following model numbers. • ELPLR05 • ELPLU05 • ELPLW07 • ELPLM12 • ELPLM13 • ELPLM14 • ELPLL09 • ELPLL10 We recommend setting the focus, zoom, and lens shift at least 20 minutes after you start the projection, because images are not stable right after turning on the projector. - Page 15 Transport and Installation Handbook While pressing the tabs on both sides of the lens replacement cover, pull it towards you to remove it. Turn the lock lever counterclockwise. Insert the lens unit straight so that the protruding points on the lens fit through the holes (2 points) at the top of the lens unit.
- Page 16 While holding the lens unit firmly, hold the lock lever and turn it clockwise to lock the lens unit. Check that the lens cannot be detached. To further secure the lever, tighten the screw. You can turn the screw by hand. Attach the lens replacement cover. Tighten the lens cover fixing screws. © 2020 Seiko Epson Corporation...
Need help?
Do you have a question about the EB-L30002U and is the answer not in the manual?
Questions and answers