Table of Contents
Advertisement
Quick Links
Advertisement
Table of Contents

Related Manuals for DIGITAL YACHT Aqua Compact Pro

Summary of Contents for DIGITAL YACHT Aqua Compact Pro
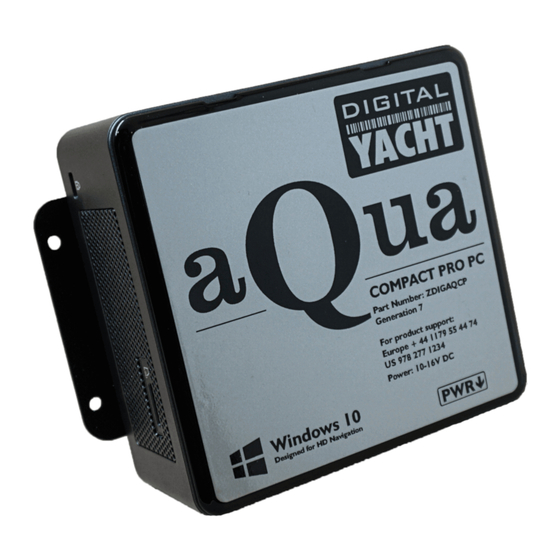
- Page 1 AQUA COMPACT PRO(+) MARINE PC...
- Page 2 Congratulations on the purchase of your Aqua PC. This manual is applicable to both the Intel i3 based Aqua Compact Pro PC and the Intel i7 based Aqua Compact Pro+ PC. For the purposes of readability, we will refer to both models as Aqua Compact Pro in this manual.
- Page 3 Ensure a suitable in-line fuse or circuit breaker is fitted (recommend 10A). • Run any USB or NMEA interfacing cables to the location where the Aqua Compact Pro PC will be mounted, but do not make any connections yet. ...
- Page 4 • On the rear of the Aqua Compact Pro PC is a 2.5mm DC jack socket which the supplied power cable should plug in to. Connect the Red (+) and Black (-) wires in the Power cable to the Victron converter’s Output terminals.
- Page 5 Once all devices are correctly connected to the Aqua Compact Pro PC ensure the 12v DC power is connected i.e. the circuit breaker is ON (if fitted). Press the Power switch on the front of the Aqua Compact Pro PC and the Power and Hard Disk LEDs should come on as the PC starts its power up sequence.
Need help?
Do you have a question about the Aqua Compact Pro and is the answer not in the manual?
Questions and answers