Advertisement
Quick Links
Power On the Locator
1.
Install the battery pack and
hold the trigger for one
second.
2.
Click to acknowledge the
warning.
3.
Click to open the Main menu.
Main Menu
Toggle to menu options and click trigger to select. Toggle down
Power Off
to find
Steps Required Before Drilling
1. Scan and Pick Optimized Bands
There are two methods to pick frequency bands: Quick Scan Pair
and Scan, Pick, and Pair. To decide which method to use, visually
inspect entire site for sources of interference, such as traffic loops
and other utilities.
Basic Method: Quick Scan Pair
At jobsites with minimum active interference, optimize the two
most commonly used bands preset for your region.
a.
With the Tx off, go to the spot on the bore path with the highest
noise or the deepest part of the bore.
b.
Quick Scan Pair
Select
© 2020 Digital Control Incorporated,
All rights reserved. 402-2049-21-B metric
1. Telemetry channel
2. Transmitter (Tx) band up/down
3. Tx Power Mode
4. Locator battery strength
5. Locate Mode
6. Tx Quick Scan Pair
7. Calibration
8. HAG and TrakStand
9. Settings
10. Tx Selection/Frequency
.
Pay attention to the deepest part of the bore
from the Main menu.
Optimization (Tx/FO)
digital-control.com
- 1 -
1. IR port
2. Toggle
3. Trigger
.
Advertisement

Subscribe to Our Youtube Channel
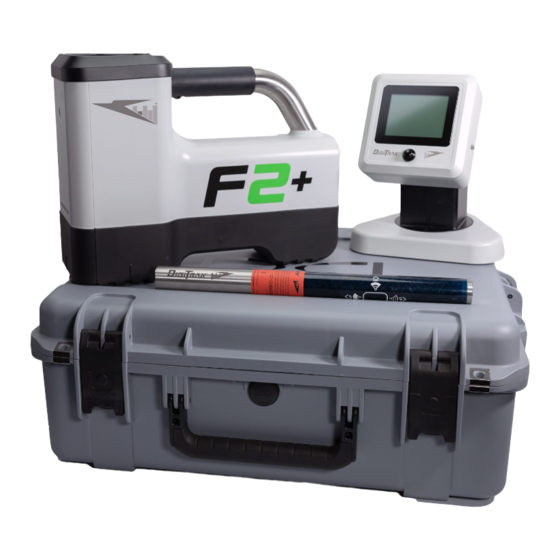
Summary of Contents for DigiTrak Falcon F2+
- Page 1 - 1 - Power On the Locator 1. IR port Install the battery pack and 2. Toggle hold the trigger for one 3. Trigger second. Click to acknowledge the warning. Click to open the Main menu. Main Menu 1. Telemetry channel 2.
- Page 2 - 2 - The screen displays the preset bands and power modes and is ready to pair. The presets may not be the best choice for many situations. You can Advanced: Scan, Pick, and Pair use the instead. To learn more about changing the preset bands and power modes, see the DCI DigiGuide App Advanced Method: Scan, Pick, and Pair At jobsites with challenging interference, use Frequency Optimization...
- Page 3 - 3 - 2. Pair the Locator with the Transmitter (Tx) Install transmitter (Tx) batteries and endcap. Confirm the Up and Down bands that will be paired to the Tx and their power mode level (low , standard , or high ).
-
Page 4: Settings Menu
- 4 - When the data appears on the Locate Mode screen, toggle down to the Calibration 1 pt calibration Main menu, and select and then Repeat Step 3 to calibrate and check AGR. The bands are optimized, the Tx paired, and the locator is ready to use. At the Locate Mode screen, have a coworker hold the transmitter a distance equal to the bore depth and walk the bore path together. - Page 5 - 5 - Transmitter and locator must be Paired and on the same band before data will display. For DigiTrak remote displays, see the DCI DigiGuide App. Locate Mode Screen Shortcuts • Toggle down to return to the Main Menu.
- Page 6 Watch our DigiTrak training videos at www.YouTube.com/DCIKent DCI, the DCI logo, DigiTrak, DigiTrak Falcon, F2, and Target Steering are registered trademarks and Ball-in-the-Box, Ball logo, Box logo, DigiGuide, Falcon Logo, HAG, and Max Mode are common law trademarks of Digital Control Incorporated. Additional trademark registrations are pending. U.S. and foreign patents apply to the product covered by this guide.
- Page 7 - 7 - Signal Attenuation If the signal strength flashes, this indicates extreme interference. Depth and locate points may be comprised and the locator will not calibrate. If the signal strength is not flashing but an icon appears in the roll indicator at depths shallower than 2.4 m, this is normal and you can ignore warning.
- Page 8 - 8 - Bird’s-Eye View on Locate Mode Screen 1. Locate Line Yaw 2. Locator (box) 3. Locate Line (LL) 4. Attenuation 5. Tx 6. Locator Locate Mode Screen Actual Position of (Line-in-the-box at LL) Locator and Transmitter Depth and Predicted Depth Readings Trigger held at LL 1.


Need help?
Do you have a question about the Falcon F2+ and is the answer not in the manual?
Questions and answers